One-click Unbrick For Samsung Phones

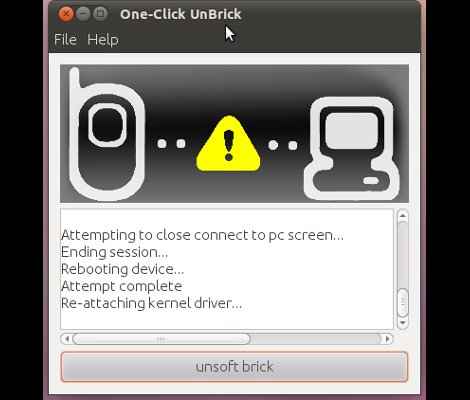
[Adam Outler] has been pretty heavy into mobile device hacking lately. The biggest problem with that field is recovering from back flashes or development firmware glitches. In many cases you can use a JTAG programmer to reflash stock firmware to resurrect a handset. Unfortunately you’ll be hard pressed to find a phone that comes with a JTAG header, and soldering to the microelectronic boards is not for the faint of heart.

But a solution is here, [Adam] pulled together a wide set of resources to create a package to unbrick Samsung phones. Now we’re sure that there’s more than a handful of people who would argue that a bad firmware flash that can be fixed this way means that the phone wasn’t actually “bricked” in the first place. But what we see is one more barrier torn down between being a hardware user and becoming a hardware hacker. You’re much more likely to get in there and get your hands dirty if you know that you’ll be able to undo your mistakes and reclaim you precious pocket hardware. See just how easy it is in the video after the break.

Continue reading “One-click Unbrick For Samsung Phones”

Re-manufacturing Inkjet Cartridges For 3d Printing


[Nullset] uses inkjet printer technology for his 3D printing needs. We usually think of hot-plastic printing like the RepRap or Makerbot when we hear about rapid prototyping, but this setup uses a liquid bonding agent to turn powder into a solid structure. Standard inkjet cartridges can be used to precisely place the bonding agent, but it’s hard on the heads and you have to replace them often. [Nullset] is getting pretty good at it, and decided to write a tutorial on the modifications necessary to print with bonding liquid.

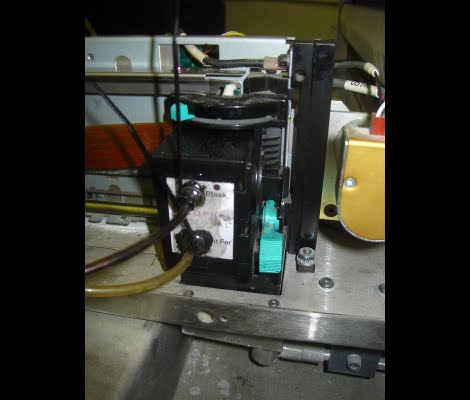
At its core, the method injects binder into the cartridge through one port while using a second for drainage. [Nullset] found that the needle fittings used to inflate a basketball work great for this. He drills a couple of holes that the threaded end of the needles fit into. That connection is sealed with some epoxy, and the tubing that delivers the binder is zip-tied to the needles. A bit of purging is necessary to get rid of any old ink, but after the initial flush you’ll be up and running pretty quickly. He figures the whole process can be one in around 10 minutes once you get the hang of it.

Accounting For Material Loss When Laser Cutting


When you cut something out, you lose a bit of material in the process. Think of a table saw and the sawdust it produces, that’s the waste material lost in an area the width of the blade. It’s really easy to measure that, just measure the blade. But [James] started wondering about a good way to measure material loss from a laser cutter.

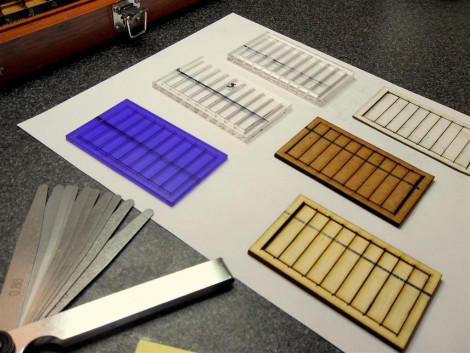
Why does it matter? If you’ve designed pieces that should fit together with each other, loss of material can lead to joints that aren’t tight. [James] figured out that the loss could be measured by making several cuts within a rectangular frame. You can see his test pieces above, with ten strips cut out of each frame. After the laser is done doing it’s work just slide all the pieces together and measure the opening created at one end. It helps to have an enhanced caliper to make the measurement easy to read. Now divide that distance by the number of laser passes and account for that dimension next time you design parts for the cutter.