[Captain Credible] is a chiptune music artist. He wanted to release an EP, but a regular old em-pee-three was too lame for him, so he made a tiny board with a coin cell, an ATtiny85, and a 3.5mm socket on it.
Rather than just writing some code to generate the tones for a pre-composed song, his “Dead Cats” EP generates the music itself. Using the arduino-tiny library, which adds the tone() function to the ATtiny, he has the chip pick its own time signature, key, subdivisions, and tempo. The melody and drum beat is randomly generated into an array. In addition to that, there are some code “one-liners” which insert unique sounds. After that the code just loops through the music.
If you don’t like the song, simply unplug the audio cable and plug it back in. The 3.5mm jack he chose has a built-in micro-switch, so the board is only powered up if someone is listening. If you’d like to see the circuit diagram, purchase the EP, or take a look at the code, all of that is available on his site.
There was a discussion in the comments when the Alpha Go results were released. Some commentors were postulating that AI researchers are discounting more fluid games such as the RTS StarCraft.
The comments then devolved into a discussion of what would make the AI fair to consider against a human player. Many times, AI in RTS games win because they have direct access to the variables in the game. Rather than physically looking at the small area of the screen where a unit is located and then moving their eye to take in strategic information like exact location, health, unit level, etc, the AI just knows that it’s at 120x,2000y,76%,lvl5, etc instantly. The AI also has no click lag as it gets direct access to the game’s API, it simply changes the variables and action queue of a unit directly.
So we were interested to see [Matt]’s Star Craft AI that required the computer to actually look at the game board and click. [Matt]’s AI doesn’t see using OpenCV, which in its own way is forcing the computer to look in a way that’s unnatural to it. He instead wrote some code to intercept the behind the scenes calls to the DirectX library.
The computer is then able to make determinations about what it is looking at using the texture information and other pieces sent to the library. Unlike AI’s that get a direct look at the variables, it has to then translate this and keep its own mental picture of the map and the situation. If a building is destroyed, for example, it has to go over and look at that part of the map, test what it’s seeing against a control, and then remove the building from its list.
The AI’s one big advantage are its robot fingers. Even though this AI has to click on the interface, it doesn’t do it with a weak articulated fleshy nub like the rest of us. This allows the AI to get crazy Actions Per Minute (APM) in the range of 500 to 2000.
The AI has only been tested against StarCraft’s built in cheater bots. So far it can win most games against the hard level bots. If you want to see a video of what the AI is looking at, check after the break.
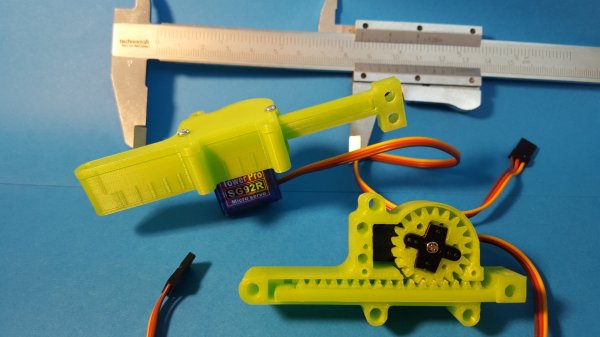
Micro servomotors are a hacker staple. You’ll find maybe four or five in an RC plane, while a hexbot build could soak up a dozen or more of the cheap and readily available devices. Unfortunately, long-throw linear actuators are a little harder to come by, so it’s nice to know you can 3D-print linear gearing for standard micro RC servos and roll your own.
Currently on revision 2, [Roger Rabbit]’s design is not just a quick and dirty solution. He’s really thought through the problems he observed with his first revision, and the result is a robust, powerful linear actuator. The pinion fits a trimmed servo crank arm, the mating rack is stout and stiff, and early backlash problems have been solved. The whole case is easy to assemble, and as the video below shows, the completed actuator can lift 300 grams.
We like [Roger]’s build process, especially the iterative approach to improving the design. We’ll stay tuned to see where it goes next – a continuous rotation servo for extra-long throws? While we wait, you might want to check out [Richard Baguley]’s recent primer on servos if you want a little background on the underlying mechanism.
PJON, pronounced like the iridescent sky rats found in every city, is a cool one wire protocol designed by [gioblu].
[gioblu] wasn’t impressed with the complications of I2C. He thought one-wire was too proprietary, too complicated, and its Arduino implementations did not impress. What he really wanted was a protocol that could deal with a ton of noise and a weak signal in his home automation project with the smallest amount of wiring possible.
That’s where is his, “Padded Jittering Operative Network,” comes in. It can support up to 255 Arduinos on one bus and its error handling is apparently good enough that you can hold an Arudino in one hand and see the signals transmitted through your body on the other. The fact that a ground and a signal wire is all you need to run a bus supporting 255 devices and they’ll play nice is pretty cool, even if the bandwidth isn’t the most extreme.
Aside from the cool of DIY protocols. We really enjoyed reading the wiki describing it. Some of the proposed uses was running your home automation through your ducting or water pipes (which should be possible if you’re really good at isolating your grounds). Either way, the protocol is neat and looks fun to use. Or check out PJON_ASK if you want to do away with that pesky single wire.
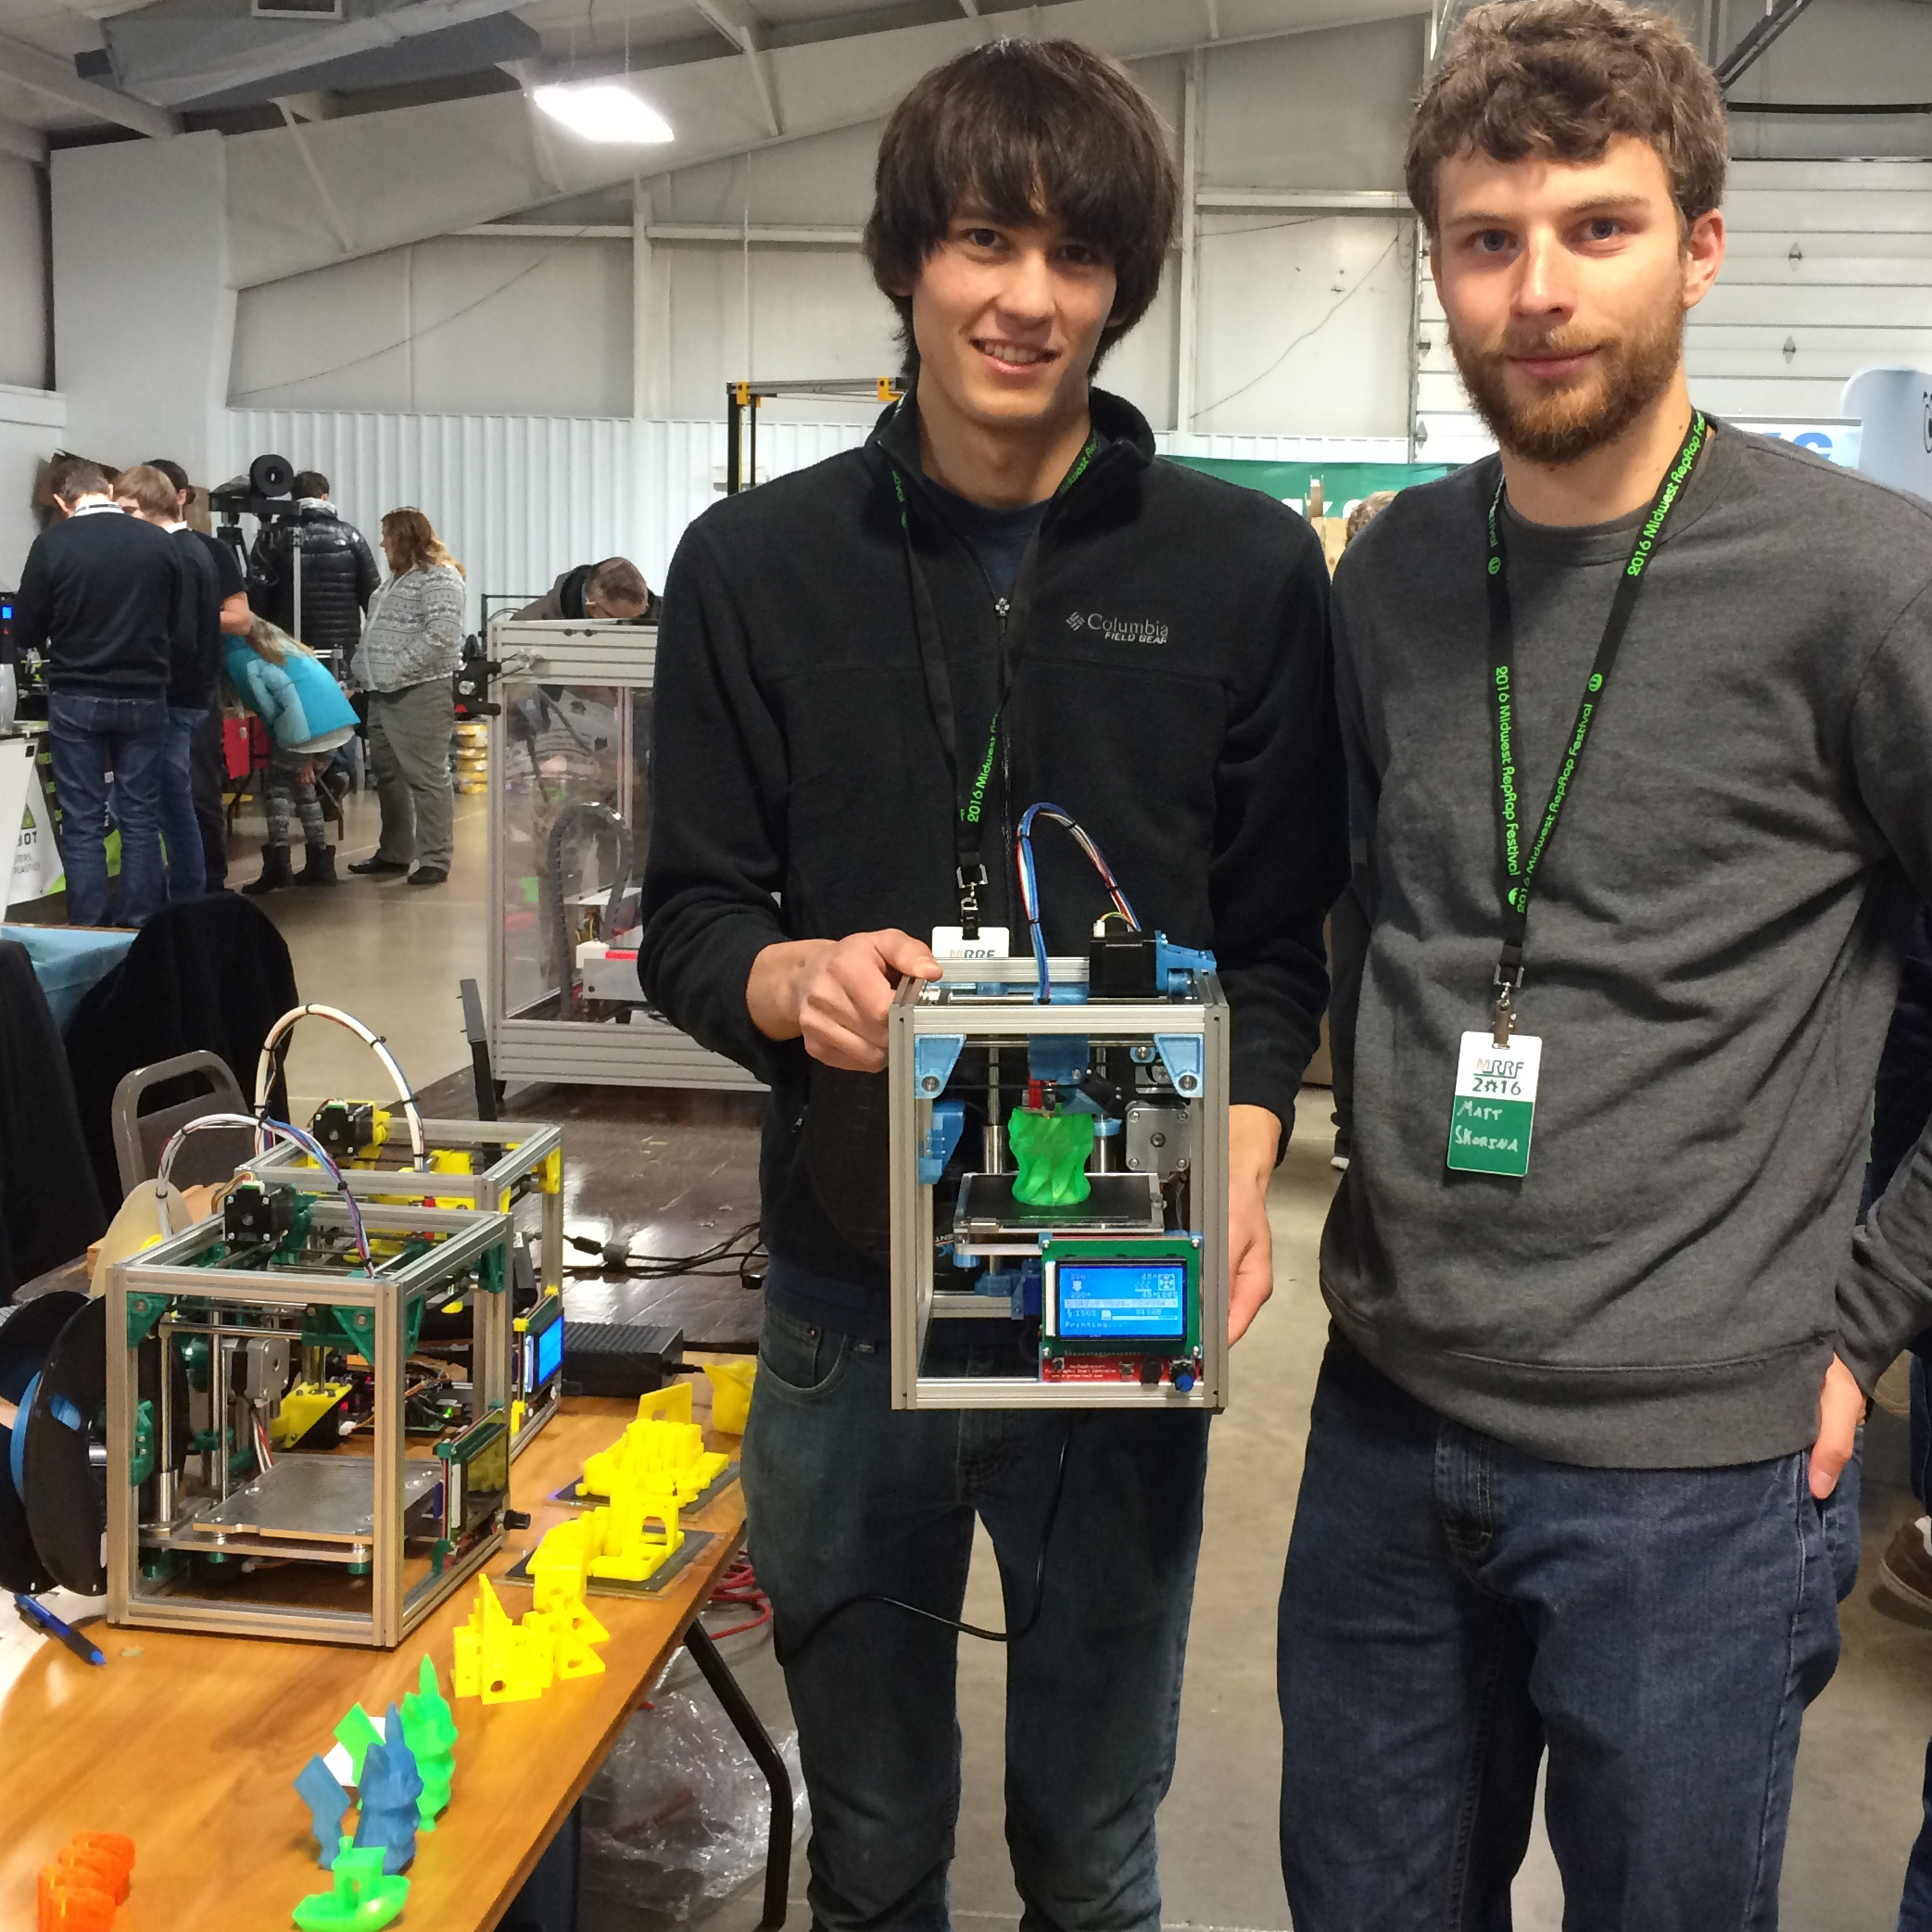
Patrick and Matt hold a running Kitten Printer. The frame is stiff enough that the printer can be held or turned upside down and it can keep printing without visible defects in the print.
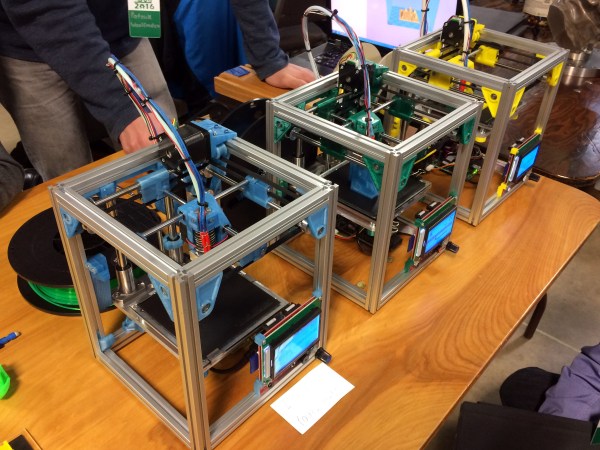
[Patrick] and [Matt] have been coming to the Midwest RepRap Festival from Minneapolis for the past few years and bringing their trusty Tantillus printers with them. However, sometime between this year and the last [Patrick] decided that it would be really fun to make his own 3D printer, and liking the size and accuracy of the Tantillus, started there.
The adorably sized printer is adorably named too: Kitten 3D printer. The printer is certainly an enthusiast’s choice. It’s expensive at 1200 and small, but very well made. Its one big advantage? It prints really accurate parts.
The Tantillus also printed well, but the extruder left a lot to be desired, and the low stretch fishing line movement was very difficult to get tensioned just right. The secret behind the Tantillus and Kitten’s great print quality, aside from good design, is the small xy movement and low weight of the extruder set-ups. By having a movement over a very small range, cumulative errors in construction never get to add up. Also vibrations are less likely to show and smaller moments on the joints mean less flex at the extremes of the movements.
Really stunning print quality almost entirely free of ringing and z-wobble. 100mm x 100mm tray. These are very small parts.
[Patrick] is a mechanical engineer for his day job, and since this was a just for fun printer, he cut no corners. The frame is made with Misumi extrusions and linear movements. The build plate sits on a machined aluminum plate. It’s not flexing or going anywhere.
Part of what really stood out to me about the printer are a lot of neat little features which show careful thought. For example, the extruder movement sits neatly under one of the motors. All the parts except for one can be printed inside its build envelope without support. It uses around 200g of plastic. Every axis is constrained just enough, rather than the common tendency to over constrain that plagues 3D printer design. The spec sheet reads like my printer part wishlist: Bondtech extruder, Rambo board, E3d nozzle, heated bed, flat borosilicate build plate, name brand linear movements, and a well designed Z.
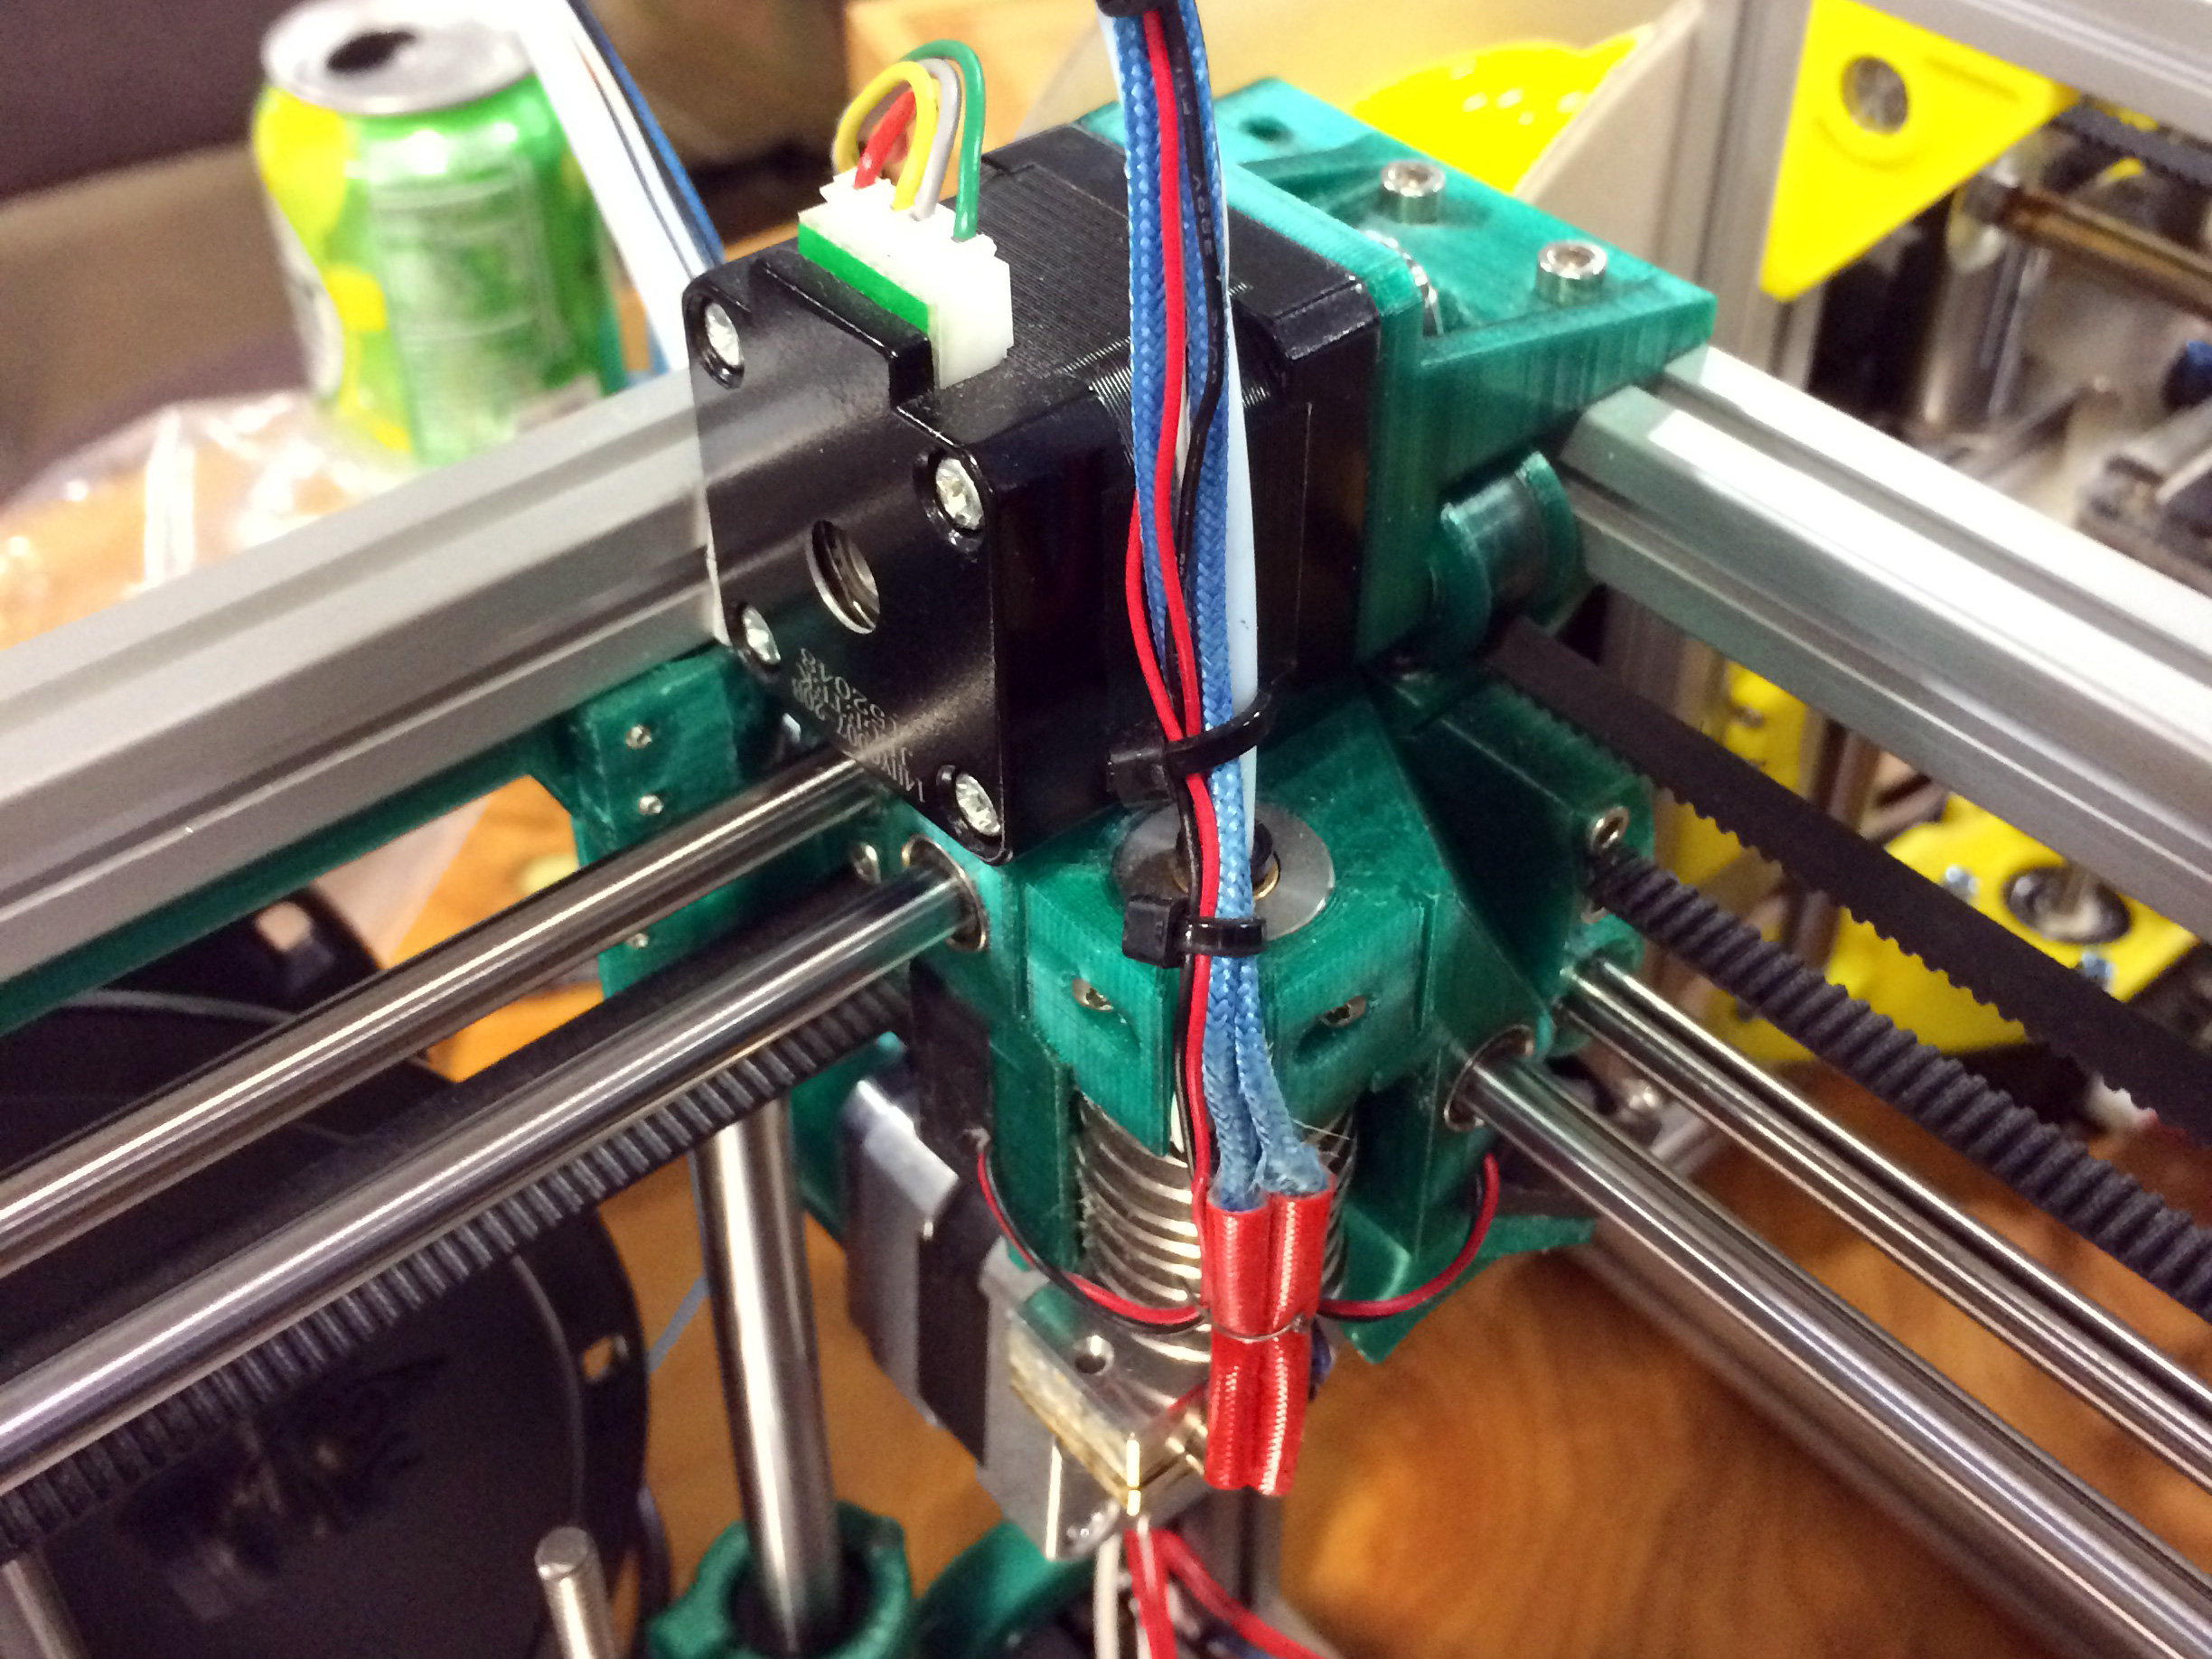
The entire extruder assembly tucks under one of the XY motors at the corner of its movement. Compare its size to the size of a NEMA14 stepper motor.
Another interesting aspect of the design is the extremely light extruder assembly. The lighter an extruder can get, the less ringing will show in your parts at speed. This is one of the most compact designs I’ve witnessed. It consists of two fans, an E3d v6 lite nozzle, and two small linear bearings. The cold end is handled by a bowden set-up and a Bondtech extruder at the back of the printer. The only way to get it lighter would be a different nozzle, such as the upcoming insanely light 13g Pico from B3 unveiled at the festival. I was also interested to see that the bearings on the supporting rails were printed bushings to keep the weight even lower. [nop head] has tested these extensively, they should be fine as long as the rods have a good finish.
I’ve mentioned the size before, but it’s hard to grasp just how adorable this printer is without seeing it. The build envelope is 100mm x 100mm x 100mm, the printer itself is 200mm x 200mm x 240mm. That’s only 50mm wider than the build footprint. It’s a really fun design just to look at and see how they fit it all in there. There are lots of neat little tricks with belt routing and part design to get it all right.
For the enthusiast this would make a good small parts printer and travel printer. However, for me, it was neat to see people still setting out to try designing their own printer. In some ways the 3d printer movement has become crowded with Chinese knock-offs, and I was excited to see something new at the festival. It wasn’t the only new printer design there, but it stood out to me the most. I like the uncompromising nature of it, many people try to design for the lowest BOM and not the nicer print. There are still lots of low-hanging fruit in the 3d printer world and many of them are just getting the mechanics right.
PLA Bushing
Seriously serious Z.
[Patrick] and [Matt] came to the festival with their printer to see if people would like it. They didn’t have grand dreams of selling tons of printers and making millions. They were quite aware that their price point and the small size made it not for everyone. However, their table always had a small crowd. They just really like 3D printers, and that honesty resonated. They didn’t even have a website up at the start of the convention, but by the end they had gotten so many requests they had to oblige. They expect to have 3 kit options available by the end of April. If you’re interested there’s a mailing list sign up on their website. Let’s hope we see them at MRRF again next year with another cool design to look over.
For the last few years, we’ve been going to the Vintage Computer Festival East in New Jersey. This is one of the best cons we go to every year; there are dozens of interesting exhibitors, awesome talks, a great venue, and a small consignment area filled with the weirdest stuff you can imagine. This year proves to be no different, and we’ll be there cataloging the weirdness and spectacular hacks of computer systems old enough to vote, plus something new.
Hackaday’s 8-bit game programming contest is happening for the first time at VCF East, April 15-17 in Wall, New Jersey. Competitors are given two and a half hours and an old 8-bit system (Apple II, C64, Atari 800, etc.). The goal is to create a game using only what is currently in memory, be that in the ROM or between the ears. There are two sessions on the Friday of the event, starting at 10am and 2:30pm.
You can call the 8-bit game programming contest a hackathon. That’s basically what it is; getting a small team together to whip up an application quickly with a number of constraints. The term ‘hackathon’ has been bastardized as of late, with companies requiring the use of a particular API or other nonsense. The 8-bit programming contest doesn’t have these limitations. All you need to do is create the coolest game in two and a half hours, and get the most applause from the audience. The best game wins a prize.
Of course, we’re not going to VCF East just to promote a retro hackathon. We’re only obliged to mention that first because we’re sponsoring it. VCF East is a fantastic event, with more retro goodies to satiate even the most curmudgeonly retro aficionado. The show is enormous with keynotes from [John Blankenbaker], inventor of the Kenbak-1 personal computer and [Stewart Cheifet], host of Computer Chronicles. Dr. Dr. Ted Nelson, author of Computer Lib and creator of Xanadu, the underlying software for computers that won’t be built for 100 years, will also be there. The weekend is, as always, packed with great exhibits of ancient tech, classes, and workshops.
Each Vintage Computer Festival is different, but if you’d like a sample of what it’s all about, check out these posts:
Apart from an announcement for the festival in New Jersey, there are a lot of changes in the organization of the various vintage computer festivals held around the country. The Vintage Computer Festival East was formerly organized by MARCH, the Mid-Atlantic Retro Computing Hobbyists. Late last year, MARCH was dissolved, and reformed as a 501(c)3 called the Vintage Computer Federation. The VCF (see what they did there?) also has the rights to hold VCF West, which last happened in 2007. The VCF Midwest, Southwest, Europe, and UK will remain independent.
If it isn’t already extremely obvious, this is one of the top-tier events we go to every year. No, it’s not DEF CON, it’s not HOPE, and it’s certainly not a big con. It’s just a bunch of nerds nerding out, which is the critical ingredient for the best events we attend all year.
Speech recognition coupled with AI is the new hotness. Amazon’s Echo is a pretty compelling device, for a largish chunk of change. But if you’re interested in building something similar yourself, it’s just gotten a lot easier. Amazon has opened up a GitHub with instructions and code that will get you up and running with their Alexa Voice Service in short order.
Whichever way you slice it, there seems to be a real interest in having our machines listen to us. It’s probably time for an in-depth comparison of the various options. If you know of a voice recognition system that runs on something embeddable — a single-board computer or even a microcontroller — and you’d like to see us look into it, post up in the comments. We’ll see what we can do.