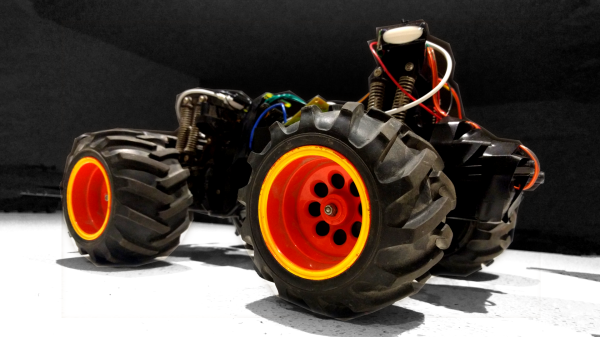
[TK] has a stretch goal for his RC car project — enabling it to recharge on solar power during the day and roam around under remote Internet control at night. It’s like a miniature, backyard version of NASA’s Curiosity rover.
Right now, he’s gotten a Raspberry Pi Zero and a camera on board, and has them controlling the robot over WiFi. He looks like he’s having a great time piloting it around his house. Check out the video down below for (crashy) remote-controlled operation.
We can’t wait to see if solar power is remotely possible (tee-hee!) as an option for this vehicle. The eventual plan to connect it via 3G cellular modem is still off in the future, and will probably demand more of the smarts of the Raspberry Pi than at present. But we love the idea of a long-running autonomous vehicle, so we’re pulling for you, [TK]!
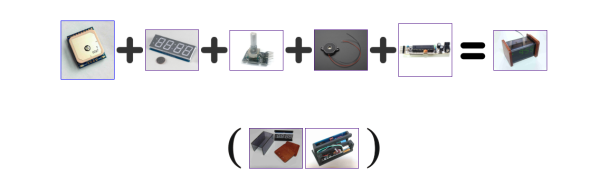
We’re not sure if [Derek Lieber] is messing with us or proving a point. Why are you doing this [Derek]? We know there’s technically enough information to build the clock. You even included the code. Couldn’t you have at least thrown in a couple of words? Do we have to skip straight to mediaglyphics?
Anyway, if we follow the equation. The equation… If you take a gps module, a 7 segment display with an HT16K33 backpack, a digital potentiometer, a piezo, and a boarduino we suppose we could grudgingly admit that these would all fit together to make a clock. We still don’t like it though, but we’ll admit that the nice handmade case was a nice touch, and that the pictures do give us enough details to do it ourselves.
It was also pretty cool when you added the Zelda theme song as an alarm sound. Also pretty neat that, being GPS corrected, there’s no need to ever set the time. We may also like the simplicity of the only inputs being the potentiometer, which is used to set the alarm time. It’s just. Dangit [Derek]. Nice clock build, we like it.
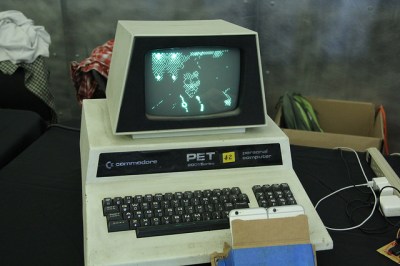
Here at the Vintage Computer Festival, we’ve found oodles of odds and ends from the past. Some, however, have gotten a modern twist like [bitfixer’s] recent Commodore PET project upgrades.
First off is [bitfixer’s] Augmented Reality upgrade. By the power of two iPhones and one raspberry Pi, the user dons a Google-Cardboard-esque heads-up-display and can visualize a 3D, ASCII rendering of the world before them. Not only does this view show up in the HUD, however, it’s also streamed to a Raspberry Pi whch then serializes it info a video display on the Commodore PET.
TRON Legacy, can you tell??
This hack builds on some of [bitfixer’s] prior work getting ASCII video streaming up-and running. Of course, the memory on the Commodore PET is nowhere near capable of being able to process these images. In fact, streaming and storing the video data onto the PET’s memory would fill it up in under one second! Instead, [bitfixer] relies on some preprocessing thanks to the far-more-powerful (by comparison) Raspberry Pi and iPhone processors that are capturing the images.
Next off is [bitfixer’s] full-color video display on the same Commodore PET. Again, leveraging another RaspPi to encode and reduce the video to bitmap images, the Commodore PET simple grabs these images and streams them to the screen as fast as possible–at a beloved 5.8 frames per second.
If you don’t have root, you don’t own a device, despite what hundreds of Internet of Things manufacturers would tell you. Being able to access and write to that embedded Linux system in your new flashy gadget is what you need to truly own a device, and unfortunately this is a relatively uncommon feature. At this year’s DEF CON, [Brad Dixon] unveiled a technique that pwns a device using only a sewing needle, multimeter probe, or a paperclip. No, it won’t work on every device, and the devices this technique will work with are poorly designed. That doesn’t mean it doesn’t work, and that doesn’t mean the Pin2Pwn technique isn’t useful, though.
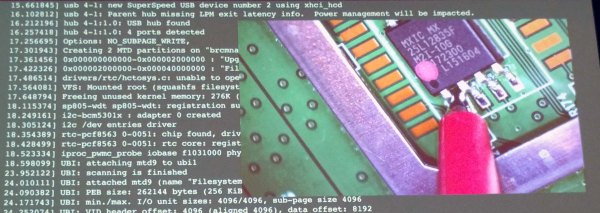
The attack relies on how an embedded Linux device boots. All the software needed to load Linux and the rest of the peripheral magic is usually stored on a bit of Flash somewhere on the board. By using a pin, probe, or paperclip to short two data pins, or two of the latch pins on this memory chip, the bootloader will fail, and when that happens, it may fall back to a uboot prompt. This pwns the device.
There are a few qualifications for this Pwn using a pin. If the device has JTAG, it doesn’t matter – you can already own the device. If, however, a device has a locked-down JTAG, unresponsive serial ports, or even their own secure boot solution, this technique might work.
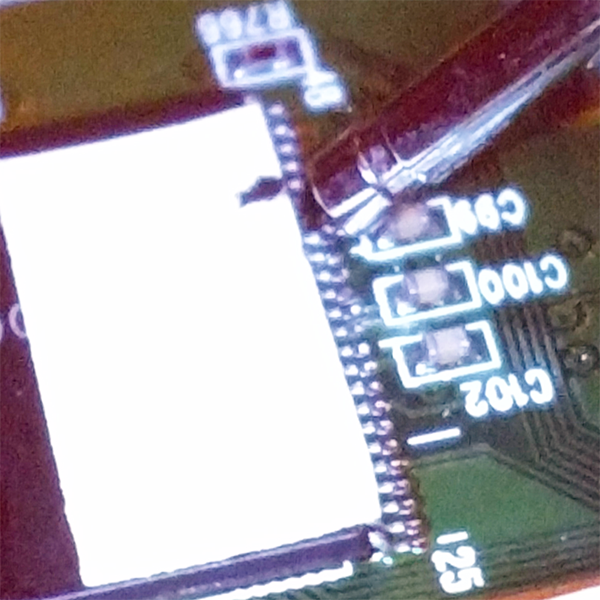
Two data pins on a TSSOP Flash shorted by a multimeter probe
This exploit works on the property of the bootloader. This bit of code first looks at a piece of Flash or other memory separate from the CPU and loads whatever is there. [Brad] found a few devices (mostly LTE routers) that would try to load Linux from the Flash, fail, try to load Linux again, fail, and finally drop to a uboot prompt.
As with any successful exploit, an equally effective mitigation strategy must be devised. There are two ways to go about this, and in this case, the software side is much better at getting rid of this attack than the hardware side.
Since this attack relies on the software falling back to uboot after an unsuccessful attempt at whatever it should be booting, the simplest and most effective mitigation technique is simply rebooting the device if the proper firmware can’t be found. Having a silent serial console is great, but if the attack relies on falling back to uboot, simply not doing that will effectively prevent this attack.
The hardware side is a little simpler than writing good firmware. Instead of using TSSOP and SOIC packages for storing the device firmware, use BGAs. Hide the pins and traces on an inner layer of the board. While this isn’t a foolproof way of preventing the attack – there will always be someone with a hot air gun, magnet wire, and a steadier hand than you – it’s hard to glitch a data line with a sewing needle if you can’t see the data line.
Rarely on these pages have I read such a fluff piece! Al Williams’ coverage of Emacs versus Vim was an affront to the type of in-depth coverage our Hackaday readers deserve. While attempting to be “impartial” he gave a seven-sentence summary of Vim, the Ultimate Editor. Seven sentences! Steam is pouring out of my ears like Yosemite Sam.
Al, like a lot of you out there, thinks that he “knows how to use vi”. I’m here to tell you that he doesn’t. And unless you’ve spent the last few years alone in a cave high in the Himalayas, with only food, drink, a laptop, and Vim Golf, you probably don’t either. Heck, I don’t consider myself a Vim master, but I’m going to write this overwrought essay praising it (using Vim, naturally).
The reason I’m writing this is not to perpetuate the vi-versus-Emacs war. That idea is silly anyway, and was probably invented by Emacs folks to steal some of vi’s limelight. You see, vi-versus-Emacs is a red herring. Vi and Vim are so strange, so different from any other editor you might use, that it makes Emacs look simply boring in comparison: it’s just a normal editor with decent extensibility (if you can stand Lisp), horrible key combinations that may or may not cause carpal tunnel syndrome, and code bloat that rivals Microsoft Word. If you’re comfortable using Pico or Nano or Joe or Notepad++ or Gedit or Kate, or anything else for that matter, you can be comfortable using Emacs in a month or so. It’s really just another editor. Yawn.
Vi is something else. It’s a programming language for editing text that’s disguised as an editor. If you try to use it like a normal text editor, you will suffer. If you approach your text editing chores like factoring code into functions, you’re starting to understand Vi.
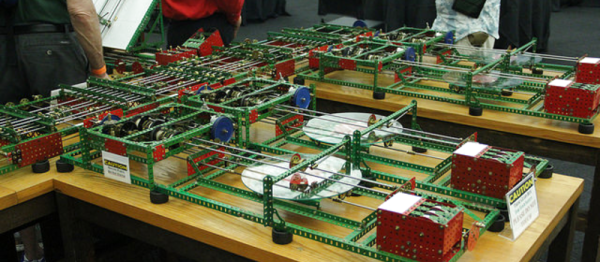
Here at VCF, we stumbled across a gigantic contraption that spanned several tables. Rube Goldberg machine this was not. Instead, this device actually does something useful! [Tim Robinson’s] differential analyzer can solve differential equations through several stages of mechanical integrators. The result is a pen-plot graph of the solution to the input equation, input by displacing a rod as a function of time.
Differential analyzers have been around for over a century. [Tim’s] claim to fame is that this particular DA is constructed entirely from Meccano-branded parts. We’re thrilled to see Meccano, over 100 years old at this point, continue to find new uses outside the toy box.
The Torque Amplifier
The differential analyzer is riddled with mechanisms that are bound to swing some heads for a double-take. Since the input shaft that transmits the input function f(x), has very little friction, the result can only be carried through the remainder of the machine with some means of torque amplification. To do so, [Tim], and most other DA designers implement a torque analyzer. For [Tim], though, this feat proved to be more difficult (and more triumphant) than other solutions, since he’s using a set of parts that are entirely from Meccano. In fact, this feature took [Tim] through about 20 iterations before he was finally satisfied.
VCF West continues to run through the end of the weekend at the Computer History Museum in Mountain View, CA. If you haven’t already packed your bags for DEF CON, stop by for a few more bewildering brain teasers.
As many of the members of the Brian Benchoff hate/fan club know, the life of a Hackaday writer is nomadic and filled with exciting adventures. Jenny List is actually crime fighting cyborg (think Bond); it’s why she knows so much about electronics. James Hobson is Iron Man. The list goes on. There are lots of unnecessary details, but to summarize: Last month I was living in Washington State, this month I am in Paris, France. It’s really nice here, the buildings are beautiful, the cathedrals stunning, and the food significantly tastier.
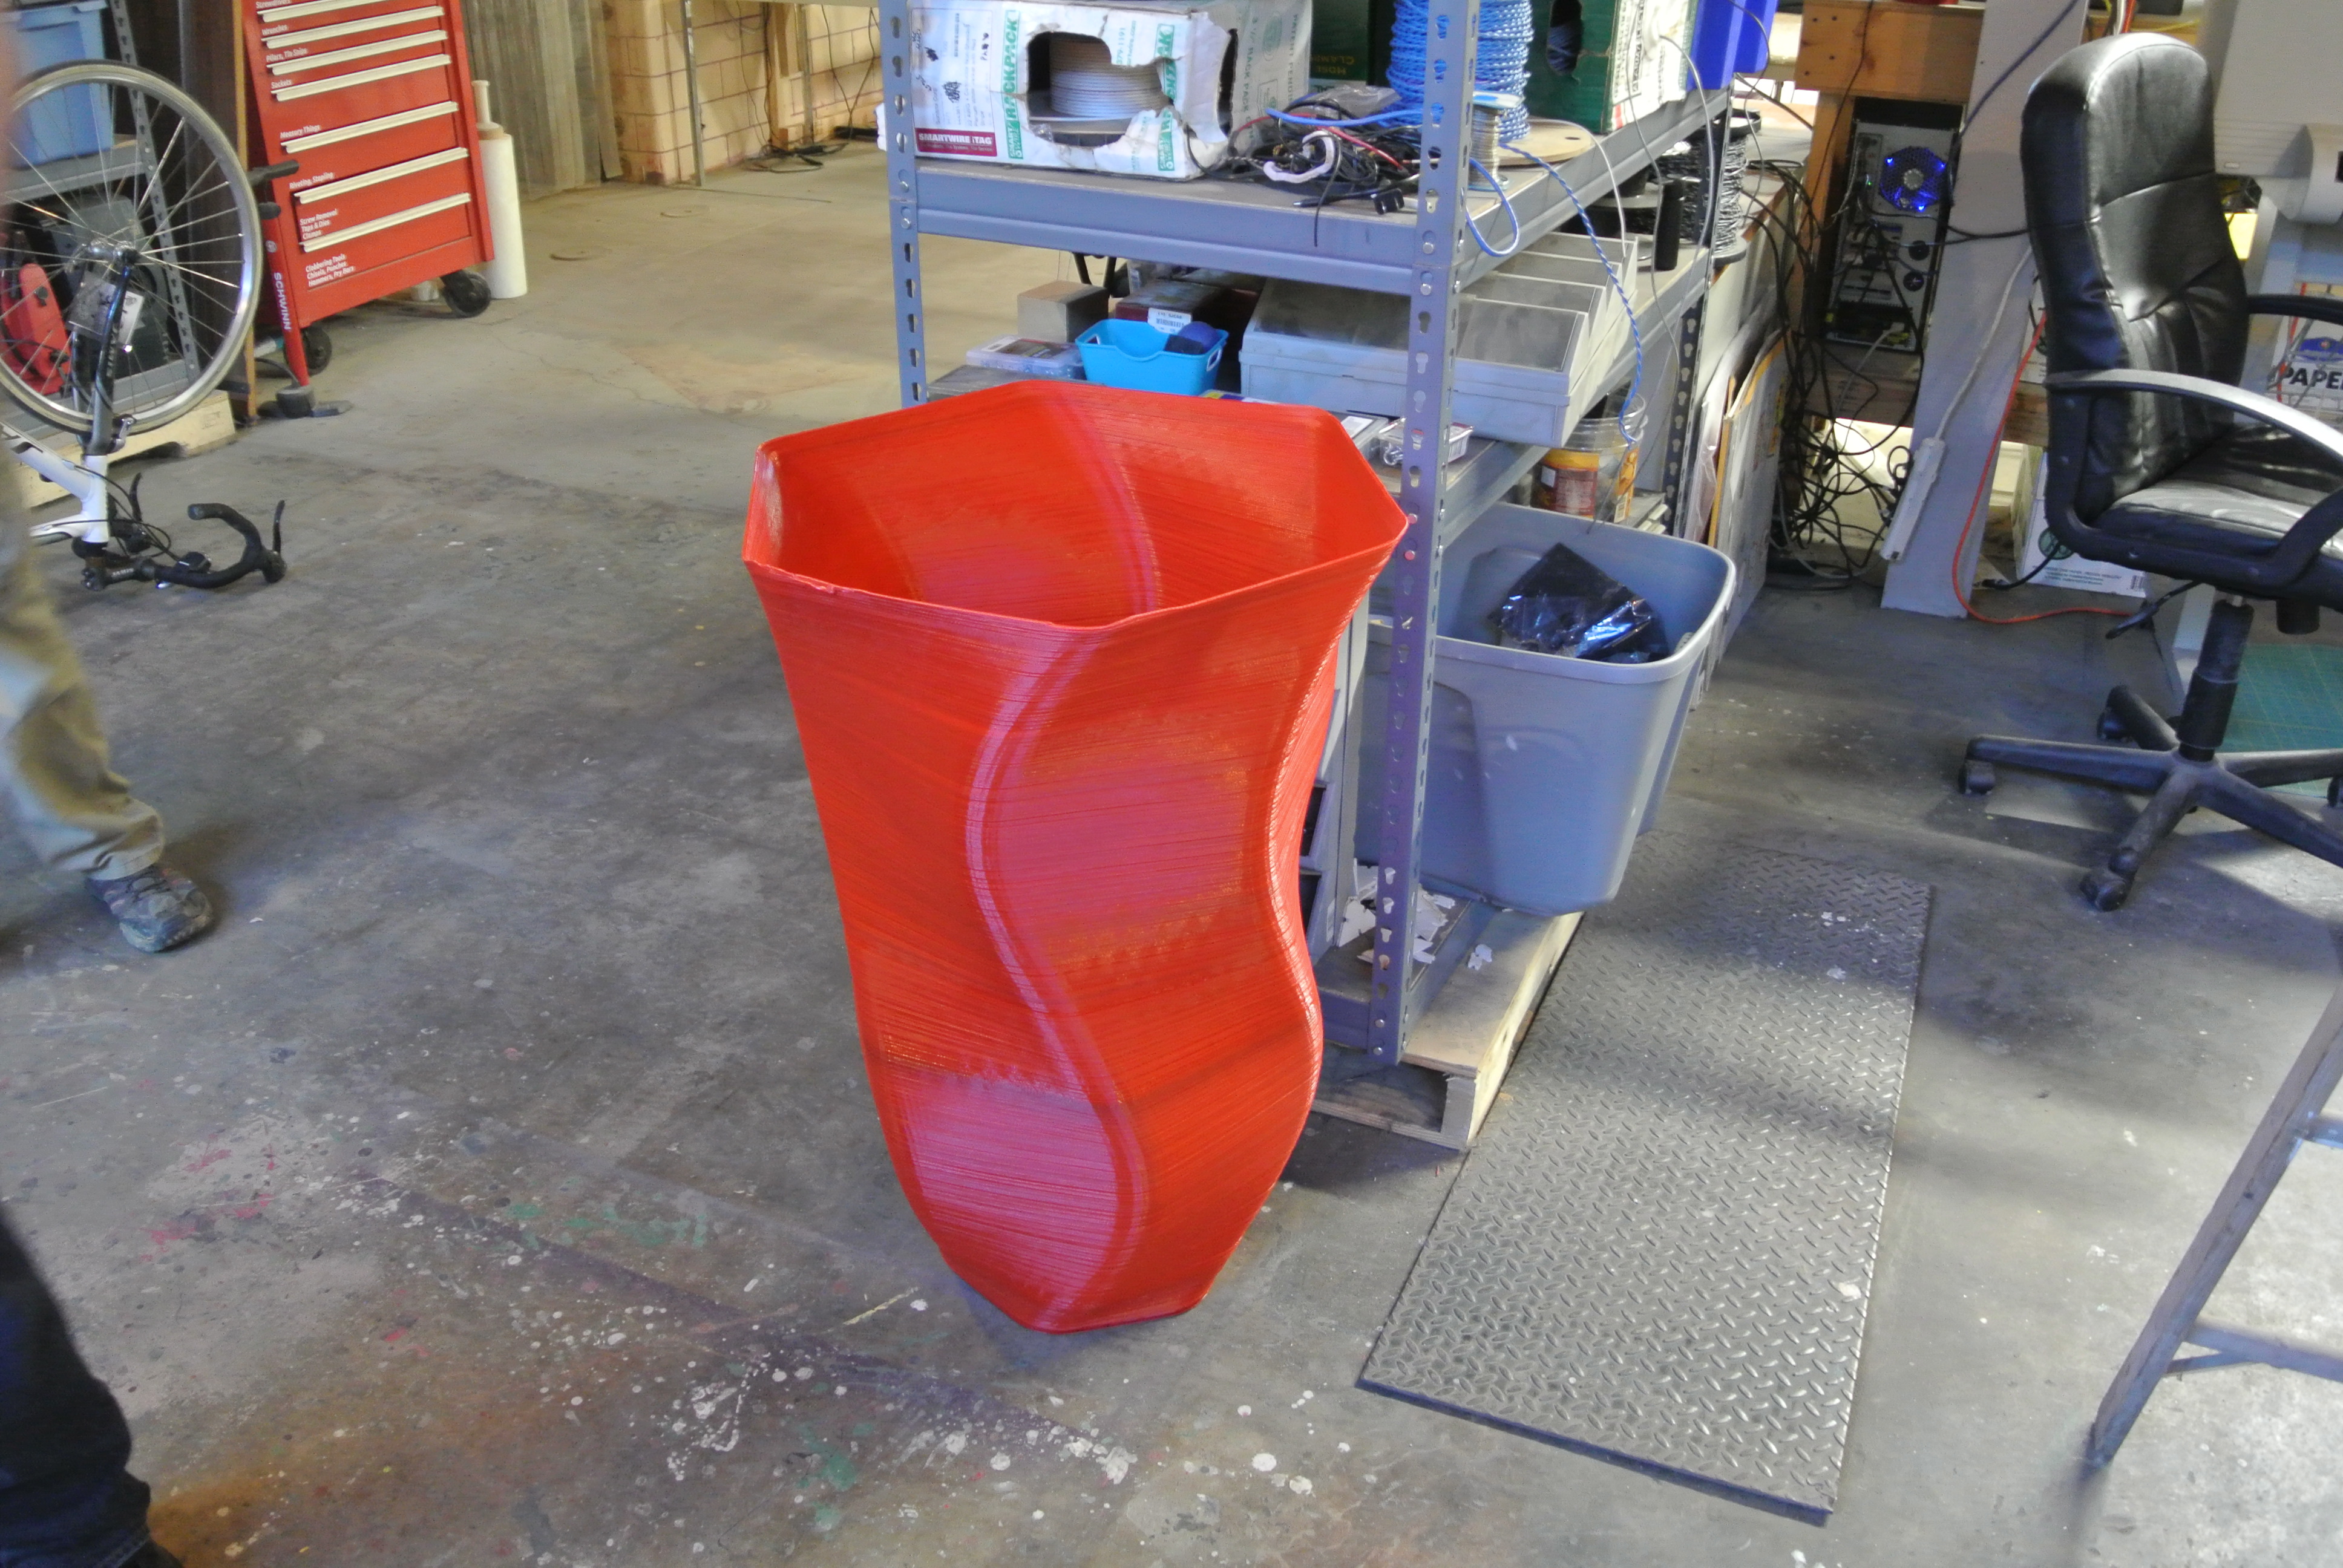
However, as a contracting engineer with a project involving a deadline; I found myself in dire need of a significant amount of quick turn-around 3D printing during my working vacation to France. Through a lot of trial and tribulation, I eventually discovered that the most cost-effective way to get the prints done… was to just buy a cheap 3D printer and run it into the ground.
I was spoiled by my hackerspace in Louisville, KY. They had enough 3D printers to go around and the pricing was fixed at 10 cents a gram. For the amount of printing I needed, this would be a perfectly economical arrangement. So, I set out to find a hackerspace in Paris. Whereupon I reached my first and obvious problem; I speak very little French.
Most of the hackerspaces listed in Paris are, as far as I can tell, illegally squatting in a scary part of town, exclusive to a university, exclusive to a business, or closed down.
So, I googled a bit harder. Wow! Apparently a Techshop opened up in Paris. It’s about an hour away from where I live, but having toured a Techshop before, I knew they would have the nice version of the tool I need. So, one morning bright and early I got on the metro and headed over to get a tour of the place.
What I’ve discovered is this: If you need things like a water jet cutter, welding station, or a 50 grand CNC machine, Techshop is a really economical way to get access to and play with tools like that. However, if all you want is access to a laser cutter and a 3D printer, it will set you back five-hundred dollars and you’ll have to jump through some incredibly annoying hoops just to get access to them.
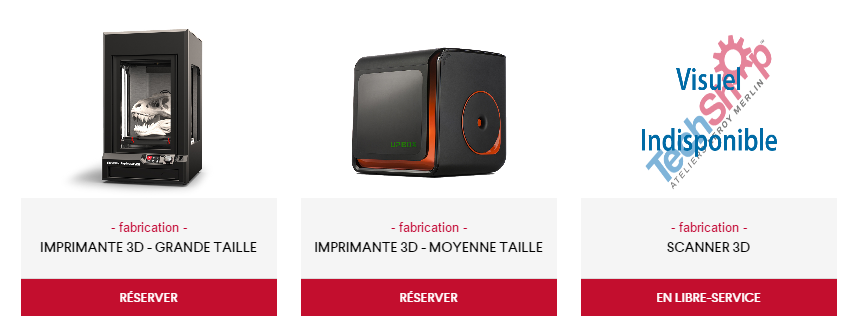
Only a small fee of 400 euros to used these bad boys.
See, most pieces of equipment at a Techshop need to be reserved. Only the 150 euro and 300 euro a month membership tiers can reserve equipment. The 150 tier can reserve something for two hours, the 300, four. If you’ve ever 3D printed you can immediately spot the problem with that. For small prints this could be workable, but if you have a lot of large prints four hours is just not enough. However, there is a work around. If you’re willing to take a metro ride late at night, arriving at the Techshop at 10:00pm, you can, of course, run a print overnight.
There were two more glitches in the Techshop plan. To be able to touch the printers required a two-hour course with a 100 euros fee. The filament also ran 65 euro per 500 g. My printing needs would easily cost me tens of hours in travel and had a starting fee of 400 euros to be workable.
The entrance to Usine.io is terrifying. It’s this massive pitch black hallway. I had no idea if I was in the right place until I got to the desk.
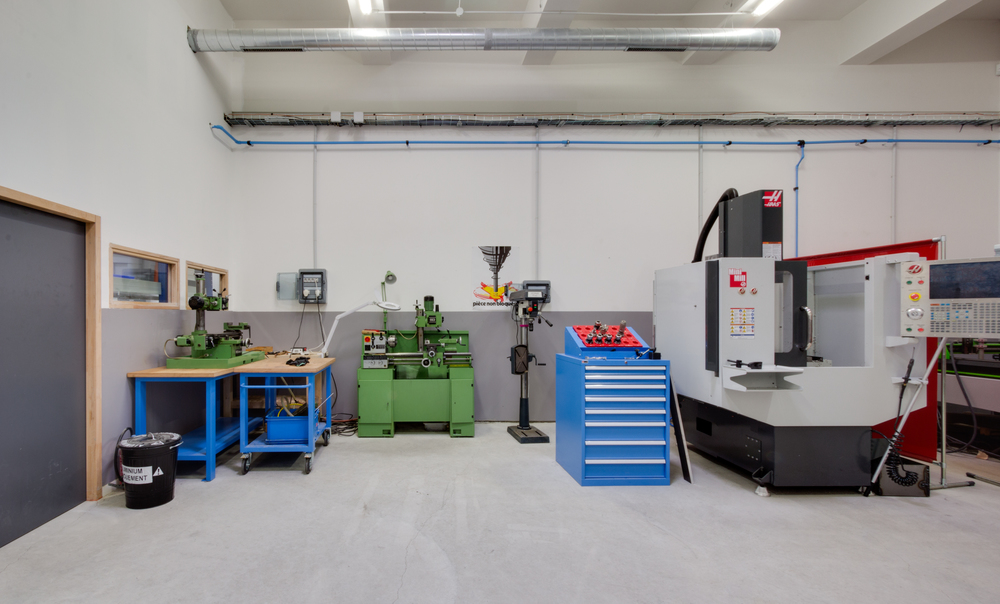
Now, I’m not saying Techshop isn’t absolutely wonderful when it comes to more advanced tools. It’s probably the only Hackerspace in the world where you’re entitled to expect that the CNC machine is in working order, properly trammed, and there are actually cutting bits for it. However, if all you need is a 3D printer, don’t bother.
Now, I asked around some more and found that there was a competing space in Paris called Usine.io. It had a flat fee of 180 euros a month and the training was free. I actually did end up getting a membership here for access to a CNC and basic tools, but for 3D printing it was a bust. They only had three printers serving a sizable membership base. This left the printers with a 48 hour line to get your print started and a maximum of 40 hours of printing a month. A die-hard user of 3D printing can easily use 40 hours in 3 days. Because I had to test many iterations for my project, my need the next month was easily triple that number.
However, the shop itself is really nicely outfitted.
The last avenue available to me aside from 3D printer ownership was contracting someone with a 3D printer to run my prints for me. However, after asking around I found the service to be quite expensive. Rent isn’t cheap in Paris after all. If I just needed a single small print it would be worth it, but if I needed lots of printing it would quickly add up to be more money than I had.
That left me with one option. Which, honestly, sounded absolutely insane for someone visiting a country for a few months. Buy a printer. It’s an indication of the state of 3D printing that the price has come down so far that buying a printer is more economical than having someone do it for you. Even a few years ago this was not possible. However, European Amazon Prime had a workable enough import printer to my doorstep faster than any commercially available service could even process my order. We’ve come a long way since the Darwin. That’s for sure.
 Here at the Vintage Computer Festival, we’ve found oodles of odds and ends from the past. Some, however, have gotten a modern twist like [bitfixer’s] recent Commodore PET project upgrades.