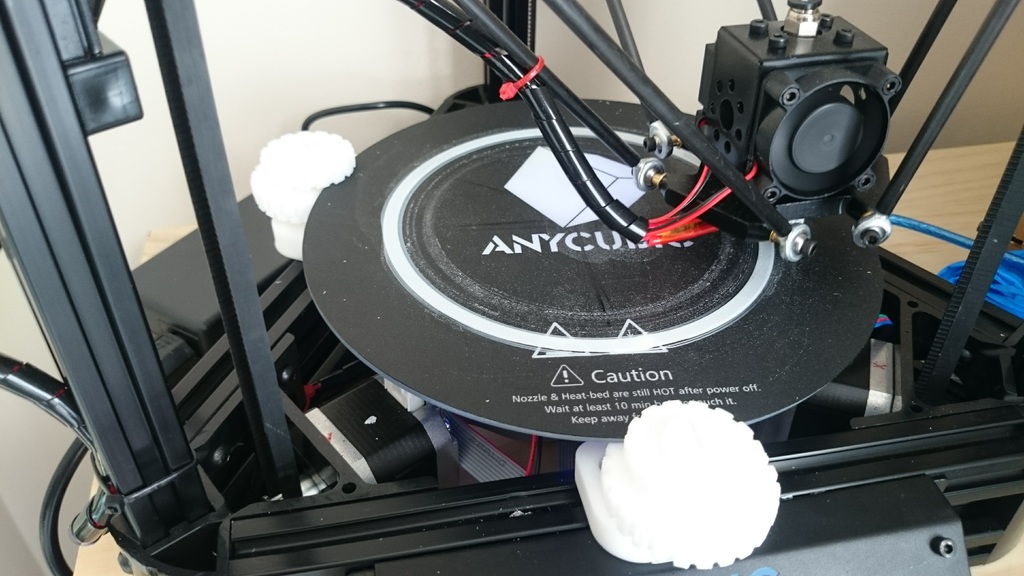
For all their applications, 3D printers can be finicky machines. From extruder problems, misaligned or missing layers, to finding an overnight print turned into a tangled mess, and that’s all assuming your printer bed is perfectly leveled. [Ricardo de Azambuja’s] new linear delta printer was frustrating him. No matter what he did, it wouldn’t retain the bed leveling calibration, so he had to improvise — Blu-Tack to the rescue.
It turns out [Azambuja]’s problem was so bad that the filament wouldn’t even attempt to adhere to the printing bed. So, he turned to Printrun Pronterface and a combination of its homing feature and the piece-of-paper method to get a rough estimate of how much the bed needed to be adjusted — and a similar estimate of how big of a gob of Blu-Tack was needed.
Pressing the bed into place, he re-ran Pronterface to make sure he was on the level. [Azambuja] notes that you would have to redo this for every print, but it was good enough to print off a trio of bed leveling gears he designed so he doesn’t have to go through this headache again for some time.
 Of course, many printers have auto-leveling capabilities that work to varying degrees, as well as homebrew solutions. — or even printers where an uneven bed is a facet of the design principle. So however you achieve your zero, happy printing, hackers!


Reminds me of my first mounting system for the bed of my printer.
Rubber feet were attached to the frame and the glass bed stuck on to the feet with hot melt glue.
If he’s printing with PLA, a Lexan bed would be perfect. Not sure how well it works with other filaments. It’s cheap though, a 1/4″ sheet cost me $20 from my local glass shop, cut to spec. I once made a mistake and my head was 2mm above the surface, and it still stuck! Can’t go wrong with PLA and Lexan.
Some deeper investigation as to why the printer does not keep it’s zero-position should be the better solution. Maybe the endstops are just bad (low repeatability), the homing-routine is driving into the endstops too fast (does not stop when hitting the switch) or the printer looses a few random steps over it’s travel distance because of weak current settings, too large travel/acceleration values,…. Or maybe one of the gears on the motor shaft is a bit loose, so it turns a little bit on the shaft, the belt has too much slack?
There are a lot of possible problems to check and fix first, before you “hack” something up to get the bed leveled by adding a manual offset to it.
i agree. my guess is the endstops are not level.
Well done for hacking it together to print parts to solve your problem.
But auto leveling is a cheat used for badly/often cheaply built printers.
From my observations it seems to be hard to set up and hard to keep working reliably.
Why not spend that time and money improving the structure of your printer and bed mounting.
The cheap geeetech delta I recently bought comes with auto bed levelling but there’s no way the parts supplied will work properly without a lot of attention. So I scrapped the auto levelling.
Instead I’m improving the bed mounting and stiffening the structure. The plastic mk8 extruders are rubbish as well. But that’s part of another long list of improvements I’m working on.
my cheap ass printer has the bed leveled by screws on each corner. I set it once and thats about it unless i have a crash/change parts/move it to another location (even then its usually still fine)
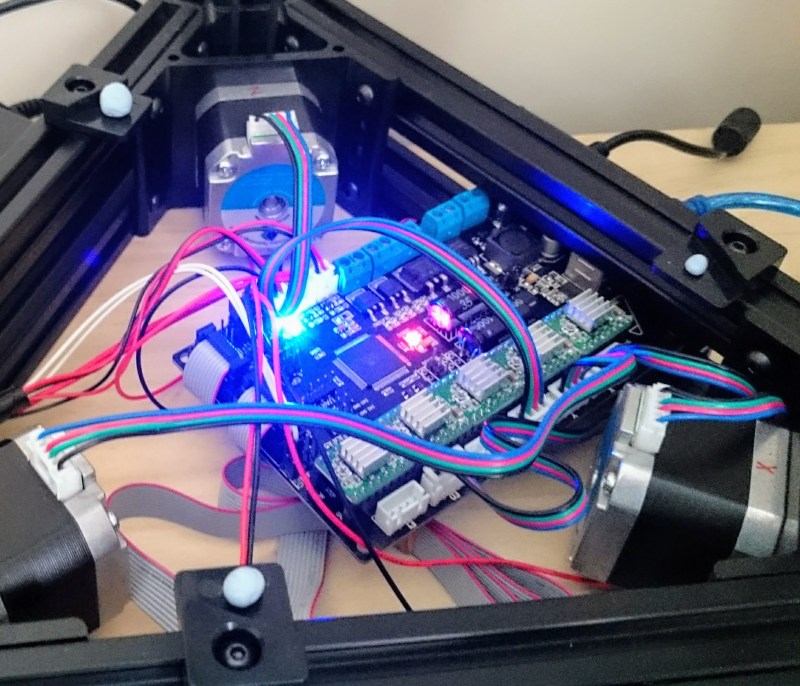
What’s the name of the controller board of his delta printer?
the printer is an anycubic kossel, and the board is a trigorilla. I just recently got the same printer and have been too busy to calibrate it, but it’s definitely got some issues.
The anycubic printer takes some time to zero in the calibration. First step is dialing in the corners and adjusting the endstops. Eventually you get the heights about even at the corner. Then you look at the height of the center. Next adjust for convex and concave, each time going back to looking at the corners and center. with Marlin RC8 there are now some zprobe calibration techniques. I have yet to try them, but if the bed is close enough it should correct the rest.