Game Boy Recreated In Verilog

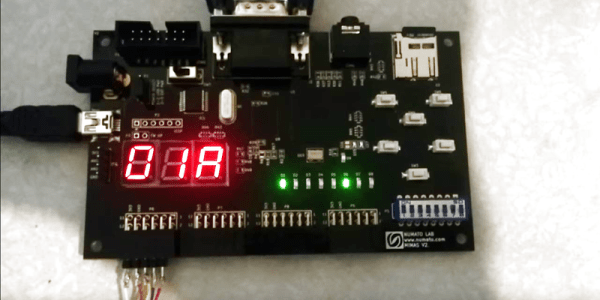
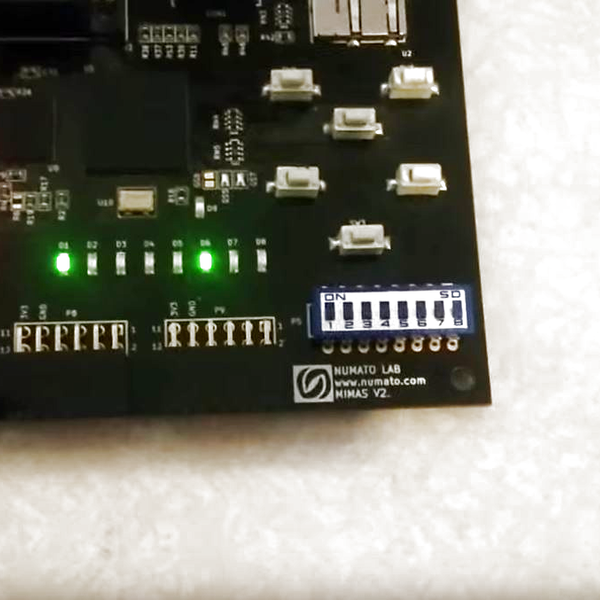
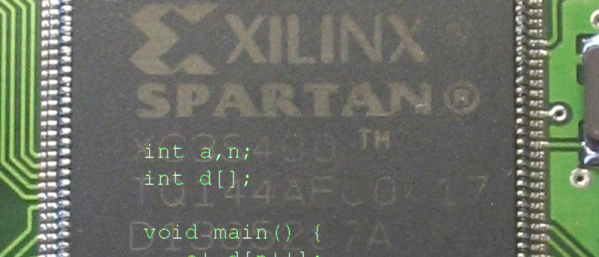
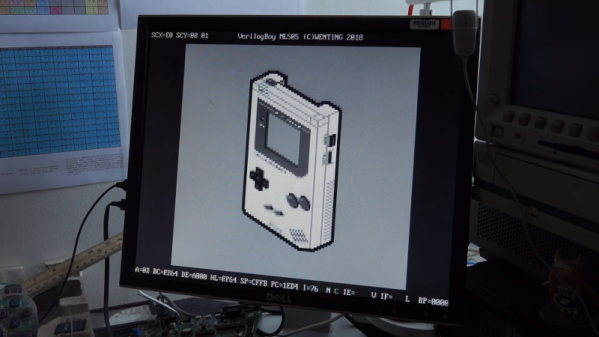
With the wide availability of Raspberry Pi hardware and pre-baked Linux distros with emulators ready to go, making a retro handheld is easier than ever. Emulation isn’t the only way to go about playing old games however. [Wenting Zhang] decided to instead recreate the Nintendo Game Boy in Verilog, and has documented the effort.

The project runs on a Spartan 6 FPGA. [Wenting] first developed the hardware to use a DualShock controller for input, and output video to a regular LCD monitor. However, work is now underway to produce a handheld VerilogBoy. This will feature a 320×320 LCD screen, with pixels being quadrupled from the original Game Boy 160×144 resolution, with some pixels to spare. [Wenting] is also looking at porting the code to some Pano Logic units, which we’ve discussed before. The thin clients pack FPGA hardware and lots of IO ports that make them perfect for such a project.

Code is available on Github for the curious tinkerers out there. While there are easier ways to play old handheld games, the amount of learning value of such a project should not be underestimated. We’ve seen FPGAs used for other Nintendo hijinx, too – like this NES cart that packs some serious muscle. Video after the break.

Continue reading “Game Boy Recreated In Verilog”

Hidden LED Video Wall At The Oregon Museum Of Science

Glowing and blinking things are some of our favourite projects around these parts, and the bigger, the better. [Thomas] wrote to us recently to share the design and construction of a large LED wall at the Oregon Museum of Science, and the results are nothing short of impressive.

The concept involved a large LED wall that would be completely hidden when switched off. The team decided to approach this by hiding high-brightness LED panels using APA102 strings behind milky-white plexiglass panels covered with a woodgrain print. The screen has a total of 90,000 pixels, arranged in a 408×220 resolution display.

A lot of bespoke LED displays have some pre-coded patterns, or perhaps some basic reactive features. In this case, FPGA grunt was brought to bear on the problem and the display accepts standard HDMI input. Four Spartan 6 Mojo FPGA boards split up the task of addressing the panels, each receiving the same HDMI signal, but only crunching the pixels relevant to their area of the display. To make sure clean SPI signals get to each panel, special RS485 driver chips are used to send the signal over a differential pair from the FPGA, before breaking the signal back out to standard SPI at the destination.

Building such a large display takes special techniques, and [Thomas] notes that the help of a local construction company was imperative to making the construction of the final video wall look easy. It’s always interesting to see what goes into these large installations. Sometimes, a major build can even clear out world stocks of important components.

FPGA Persistently Rick Rolls You

When [Im-pro] wants a display, he wants it to spin.  So he built a persistence of vision (POV) display capable of showing a 12-bit color image of 131 x 131 pixels at 16 frames per second. You can see a video about the project below, but don’t worry, you can view it on your normal monitor.

The project starts with a Java-based screen capture on a PC. Data goes to the display wirelessly to an ESP8266. However, the actual display drive is done by an FPGA that drives the motor, reads a hall effect index sensor, and lights the LEDs.

Continue reading “FPGA Persistently Rick Rolls You”

Lightweight Game Console Packs A Punch

Any maker worth their bits will look for new ways to challenge themselves. [Robert Fotino], a computer science student at the University of California, is doing just that: designing and building his own lightweight hobbyist game console that he has appropriately named Consolite.

[Fotino] wrote his own compiler in C++ that converts from C-like languages to a custom-designed assembler that he has dubbed Consolite Assembly. To test his code, he also wrote an emulator before loading it onto the Mimas V2 FPGA board. Presently, Consolite  uses 64KiB of main memory and 48 KiB of video memory; a future version will have 32 bit support to make better use of the Mimas’ 64 MiB of on board ram, but the current 16-bit version is a functional proof of concept.

consolite-status-leds-and-hardware-switches_thumbnailAn SD card functions as persistent storage for up to 256 programs, which can be accessed using the hardware switches on the Mimas, with plans to add user access in the form of saving game progress, storage outside of main memory, etc. — also in a future update that will include audio support.

As it stands, [Fotino] has written his own versions of Breakout, Tetris, and Tron to show off his project.

Not wanting for diligence, [Fotino] has provided thorough documentation of nearly every step along the way in his blog posts and on GitHub if you are looking for guidelines for any similar projects you might have on the back burner — like an even tinier game console.

[via r/FPGA]

Xilinx FPGAs In C For Free

When you think of developing with FPGAs, you usually think of writing Verilog or VHDL. However, there’s been a relatively recent trend to use C to describe what an FPGA should do and have tools that convert that to an FPGA. However, at least in the case of Xilinx parts, this capability is only available in their newest tool (Vivado), and Vivado doesn’t target the older lower-cost FPGAs that most low-cost development boards use.

[Sleibso] who blogs for Xilinx, has an answer. It turns out you can use the Vivado C compilation tools to generate code for older FPGAs; it just involves a less convenient workflow. Vivado (even the free version) generates unique files that the rest of the tool uses to pick up compiled C code. However, it also generates RTL (Verilog or VHDL) as a by-product, and you can import that into the older ISE tool (which has a perfectly fine free version) and treat it as you would any other RTL files.

There’s an example of using the Vivado tool in the video below. [Sleibso] points out that the video is three years old, and the talk about licensing on the video is out of date. The free tools now including this capability. [Sleibso] talks about using a Spartan 6, but the same split workflow should work with most devices ISE supports.

Continue reading “Xilinx FPGAs In C For Free”

[Bunnie] Launches The Novena Open Laptop

Today [Bunnie] is announcing the launch of the Novena Open Laptop. When we first heard he was developing an open source laptop as a hobby project, we hoped we’d see the day where we could have our own. Starting today, you can help crowdfund the project by pre-ordering a Novena.

The Novena is based on the i.MX6Q ARM processor from Freescale, coupled to a Xilinx Spartan 6 FPGA. Combined with the open nature of the project, this creates a lot of possibilities for using the laptop as a hacking tool. It has dual ethernet, for routing or sniffing purposes. USB OTG support lets the laptop act as a USB device, for USB fuzzing and spoofing. There’s even a high speed expansion bus to interface with whatever peripheral you’d like to design.

You can pre-order the Novena in four models. The $500 “just the board” release has no case, but includes all the hardware needed to get up and running. The $1,195 “All-in-One Desktop” model adds a case and screen, and hinges open to reveal the board for easy hacking. Next up is the $1,995 “Laptop” which includes a battery control board and a battery pack. Finally, there’s the $5000 “Heirloom Laptop” featuring a wood and aluminum case and a Thinkpad keyboard.

The hardware design files are already available, so you can drool over them. It will be interesting to see what people start doing with this powerful, open computer once it ships. After the break, check out the launch video.

Continue reading “[Bunnie] Launches The Novena Open Laptop”

Autonomous Quadcopter Fits In The Palm Of Your Hand

[Horiken Engineering], which is made up of engineering students at the department of aerospace at the University of Tokyo have developed an autonomous quadcopter that requires no external control — and its tiny. By using two cameras and a sonar sensor, the quadcopter is capable of flying by itself due to its ability to process the data from the on-board sensors. To do the complex data processing fast enough to fly, it is using a Cortex-M4 MCU, a Spartan-6 FPGA, and 64MBs of DDRSDRAM. It also has the normal parts of a quadcopter, plus gyros, a 3D printed frame and a 3-axis compass. The following video demonstrates the quadcopter’s tracking ability above a static image (or a way point). The data you see in real-time is only the flight log, as the quadcopter receives no signal — it can only transmit data.

Continue reading “Autonomous Quadcopter Fits In The Palm Of Your Hand”