When Is A 6502 Not Quite A 6502?

We all know that fake chips are a risk when it comes to buying parts on eBay or from Chinese markets such as AliExpress. It’s a simple enough scam, take a cheap chip and mark it as an expensive one, pocket the difference. It’s happened in several different forms, with everything from completely different devices through cheaper equivalents to incredibly, chips purpose fabricated to emulate better-known ones. We have a chance to see such a scam in action via [LinuxJedi], with a 6502 that wasn’t quite as it seemed.

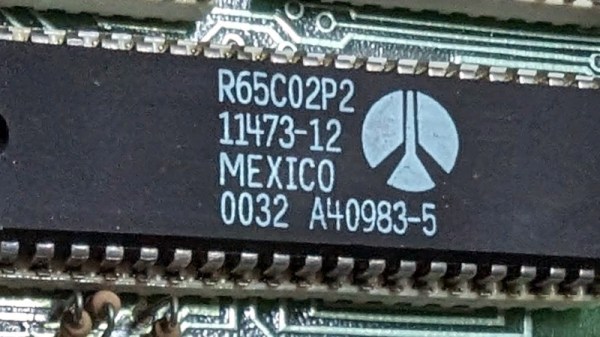
The chip in question was a Rockwell 65C02 destined for an Acorn Atom, and when installed it failed to deliver the expected power consumption saving. Unsurprisingly when tested it turned out to be a fake, in this case a run-of-the-mill 6502 with new markings. The interesting part for Hackaday readers comes in the physical clues. The too-bright markings started to dissolve with a bit of acetone. A deeper investigation revealed the date and wafer codes did not agree with the branding. A new chip was secured which also turned out to be a fake, though in this case a real 65C02 rated for a lower clock speed than marked.

It’s evident that in-demand retro chips are likely to be an ever-greater minefield of fakes as time passes, and the number of survivors dwindles. It’s as well to be aware then and learn from any fakes like these posted online. It’s not the first fake chip we’ve brought you.

Dry Ice From Seashells, The Hard (But Cheap) Way

[Hyperspace Pirate] wants to make his own dry ice, but he wants it to be really, really cheap. So naturally, his first stop is… the beach?

That’s right, the beach, because that’s where to find the buckets of free seashells that he turned into dry ice. Readers may recall previous efforts at DIY dry ice, which used baking soda and vinegar as a feedstock. We’d have thought those were pretty cheap materials for making carbon dioxide gas, but not cheap enough for [Hyperspace Pirate], as the dry ice he succeeded in making from them came out to almost ten bucks a pound. The low yield of the process probably had more to do with the high unit cost, in truth, so cheaper feedstocks and improved yield would attack the problem from both ends.

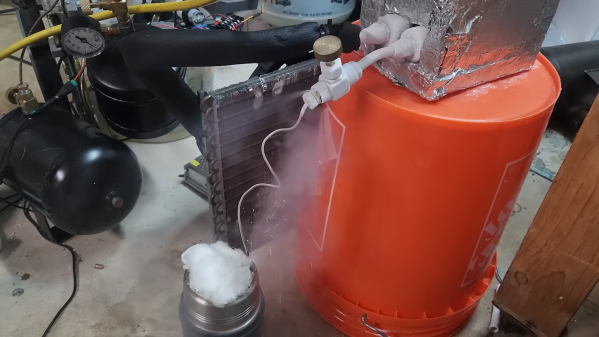
With a supply of zero-cost calcium carbonate from the beach and a homemade ZVS-powered induction heater tube furnace at the ready, [Hyperspace Pirate] was ready to make quicklime and capture the CO2 liberated in the process. That proved to be a little more difficult than planned since the reaction needed not just heat but a partial vacuum to drive the CO2 off. An oil-free vacuum pump helped, yielding a little CO2, but eventually he knuckled under and just doused the shells in vinegar. This had the fun side effect of creating calcium acetate, which when distilled not only corrodes the copper still plumbing but also makes a lousy but still flammable grade of acetone. Once enough CO2 was stored in a couple of beach balls, the process of cooling and condensing it into dry ice was pretty much the same as the previous method, except for taking advantage of the Joule-Thomson cryocooler he built a while back.

The result is a hundred or so grams of dry ice snow, which isn’t great but still shows promise. [Hyperspace Pirate] feels like the key to improving this process is more heat to really drive the calcination reaction. Might we suggest a DIY tube furnace for that job?

Continue reading “Dry Ice From Seashells, The Hard (But Cheap) Way”

Silicon Photolithography The PCB Way

[ProjectsInFlight] has been doing some fantastic work documenting his DIY semiconductor fab lately. Next up: exploring down-and-dirty photolithography methods.

If you’ve been following along with this series — and why wouldn’t you? — you’ll recall [ProjectsInFlight]’s earlier experiments, like creating oxide layers on silicon chips with a homebrew tube furnace and exploring etchants that can selectively remove them. But just blasting away the oxide layer indiscriminately isn’t really something you need to do when etching the fine features needed to fabricate a working circuit. The trouble is, most of the common photoresist solutions used by commercial fabs are unobtainium for hobbyists, leading to a search for a suitable substitute.

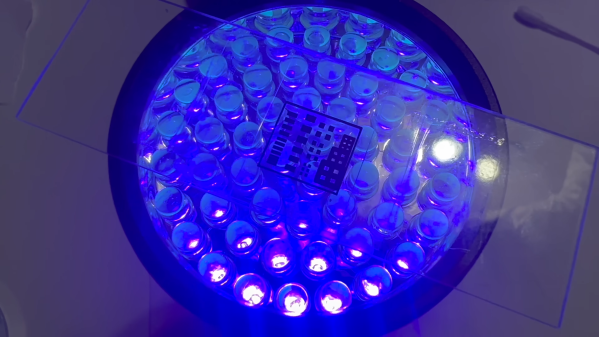
Surprisingly, PCB photoresist film seemed to work quite well, but not without a lot of optimization by [ProjectsInFlight] to stick it to the silicon using a regular laminator. Also in need of a lot of tweaking was the use of a laser printer to create masks for the photolithography process on ordinary transparency film, including the surprisingly effective method of improving the opacity of prints with acetone vapor. There were also extensive experiments to determine the best exposure conditions, a workable development process, and the right etchants to use. Watch the video below for a deep dive into all those topics as well as the results, which are pretty good.

There’s a lot to be said for the methodical approach that [ProjectsInFlight] is taking here. Every process is explored exhaustively, with a variety of conditions tested before settling on what works best. It’s also nice to see that pretty much all of this has been accomplished with the most basic of materials, all of which are easily sourced and pretty cheap to boot. We’re looking forward to more of the same here, as well as to see what others do with this valuable groundwork.

Continue reading “Silicon Photolithography The PCB Way”

Bespoke Implants Are Real—if You Put In The Time

A subset of hackers have RFID implants, but there is a limited catalog. When [Miana] looked for a device that would open a secure door at her work, she did not find the implant she needed, even though the lock was susceptible to cloned-chip attacks. Since no one made the implant, she set herself to the task. [Miana] is no stranger to implants, with 26 at the time of her talk at DEFCON31, including a couple of custom glowing ones, but this was her first venture into electronic implants. Or electronics at all. The full video after the break describes the important terms.

The PCB antenna in an RFID circuit must be accurately tuned, which is this project’s crux. Simulators exist to design and test virtual antennas, but they are priced for corporations, not individuals. Even with simulators, you have to know the specifics of your chip, and [Miana] could not buy the bare chips or find a datasheet. She bought a pack of iCLASS cards from the manufacturer and dissolved the PVC with acetone to measure the chip’s capacitance. Later, she found the datasheet and confirmed her readings. There are calculators in lieu of a simulator, so there was enough information to design a PCB and place an order.

The first batch of units can only trigger the base station from one position. To make the second version, [Miana] bought a Vector Network Analyzer to see which frequency the chip and antenna resonated. The solution to making adjustments after printing is to add a capacitor to the circuit, and its size will tune the system. The updated design works so a populated board is coated and implanted, and you can see an animated loop of [Miana] opening the lock with her bare hand.

Biohacking can be anything from improving how we read our heart rate to implanting a Raspberry Pi.

Continue reading “Bespoke Implants Are Real—if You Put In The Time”

Cooling Paint You Can Actually Make

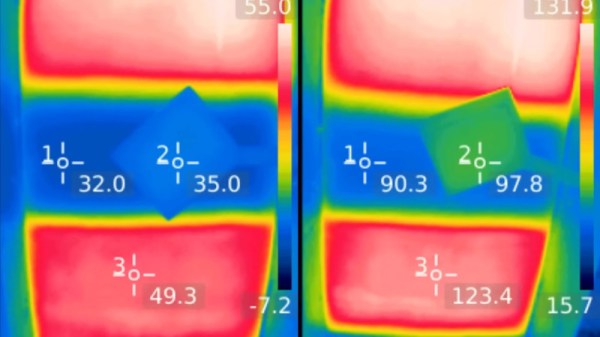
[NightHawkInLight] has been working on radiative sky paint. (Video, embedded below.) That’s a coating that radiates heat in the infrared spectrum at a wavelength that isn’t readily absorbed or reflected by the atmosphere. The result is a passive system that keeps materials a few degrees cooler in direct sunlight than an untreated piece in the shade. That sounds a bit like magic, but apparently the math checks out.

Continue reading “Cooling Paint You Can Actually Make”

Ferrofluid Drum Synth Dances To The Beat

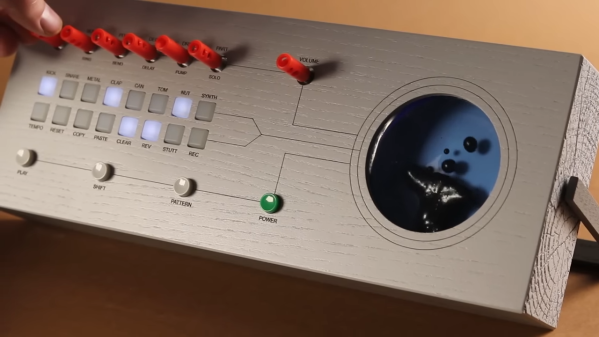
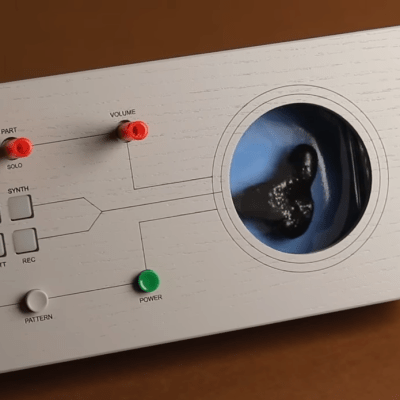
[Love Hultén]’s work often incorporates reactive sound elements, and his Ferrofluid drum synth is no exception. Sadly there are no real build details but have no fear: we’ve gathered plenty of DIY insights when it comes to ferrofluid-based projects.

Ferrofluid isn’t easy to work with, but there are plenty of DIY resources to make things easier.

First of all, ferrofluid is shockingly expensive stuff. But if you can get your hands on some old VHS tapes and acetone, you can make your own. Second, working with ferrofluid to make reactive elements is harder than it may look. Particularly, making the stuff dance to sound beats isn’t as simple as putting a container of the stuff in front of a speaker coil, but people have discovered a few ways that work more reliably than others.

[Love Hultén]’s drum synth was inspired by this custom Bluetooth speaker with dancing ferrofluid by [Dakd Jung], which drives an electromagnetic coil with frequencies selected from the audio with an MSGEQ7 equalizer. That way, only frequencies that work best for moving the fluid in interesting ways get used for the visualization. The MSGEQ7 spectrum analyzer chip is very useful for music-driven projects, as demonstrated by these sound-reactive LED shades which illustrate the audio element nicely.

The coils that create the electromagnetic field causing ferrofluid to move can take different forms, but two very interesting ones are this 12-layer PCB coil and for more intricate displays, there’s a 12×21 coil array that creates a dot-matrix-like display.

We have one last tip to share about enclosures. Some readers may have noticed that this drum synth project is housed in what looks like a piece of painted lumber. Wood is certainly a versatile material for making custom shapes, and for lettering and labels it turns out that toner transfer works just as well on wood as it does for making custom PCBs.

Continue reading “Ferrofluid Drum Synth Dances To The Beat”

You Can Make Ferrofluid On The Cheap With VHS Tapes

Ferrofluid is a wonderous substance. It’s a liquid goop that responds to magnetic fields in exciting and interesting ways. It’s actually possible to make it yourself, and it’s cheap, too! The key is to get yourself some old VHS tapes.

The only fitting end for a copy of Speed II. 

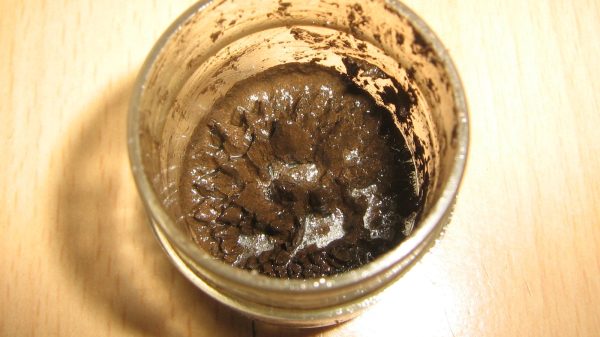
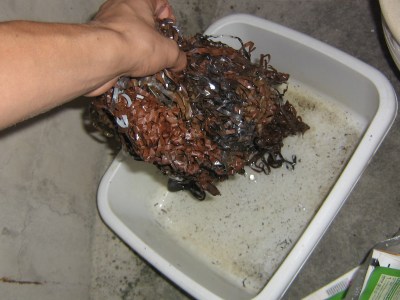
The trick is to separate the ferric oxide from the plastic tape inside the VHS cassette. Step one is naturally to smash open a cassette, and pull out the plastic tape from inside. The tape can then be dunked in acetone to dissolve the plastic, leaving behind the ferric oxide that once stored your cherished copy of Heat. A magnet is an easy way to collect the ferric oxide, which should then be left to dry. The powdery substance can then be blended in a ratio of 1 mL of ferric oxide to 0.333 mL of cooking oil. Poor mixing can be improved by adding a droplet of water mixed with dish detergent. You should end up with a brownish sludge that acts as a rudimentary ferrofluid.

It’s a neat bit of home science. As with most such activities, it bears noting the safety risks. Don’t leave your acetone uncovered to form a nasty flammable vapor, and keep yourself keenly aware of any fire or ignition risks. Overall though, it’s a fairly straightforward process. While the resulting material isn’t necessarily lab grade, you could potentially use it to build your own ferrofluid display!