Homebrew 3D Printer Goop Promises Better Bed Adhesion

Back when 3D printers were pretty new, most of us had glass beds with or without painter’s tape. To make plastic stick, you’d either use a glue stick or hair spray. Many people have moved on to various other build surfaces that don’t require help, but some people still use something to make the bed sticky and there are quite a few products on the market that claim to be better than normal glue or hairspray. [Jonas] wanted to try it, but instead of buying a commercial product, he found a recipe online for “3D printer goop” and made it himself.

You need four ingredients: distilled water and isopropyl alcohol are easy to find. The other two chemicals: PVP and PVA powder, are not too hard to source and aren’t terribly dangerous to handle. The recipe was actually from [MakerBogans] who documents this recipe as “Super Goop” and has another formula for “Normal Goop.” You’ll probably have to buy the chemicals in huge quantities compared to the tiny amounts you really need.

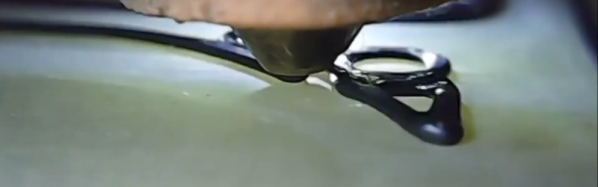
We assume the shots of the 3D printer printing its first layer is showing how effective the glue is. This looks like a very simple thing to mix up and keep in a sprayer. If you have some friends,  you could probably do a group buy of the chemicals and it would cost nearly nothing for the small amounts of chemicals you need.

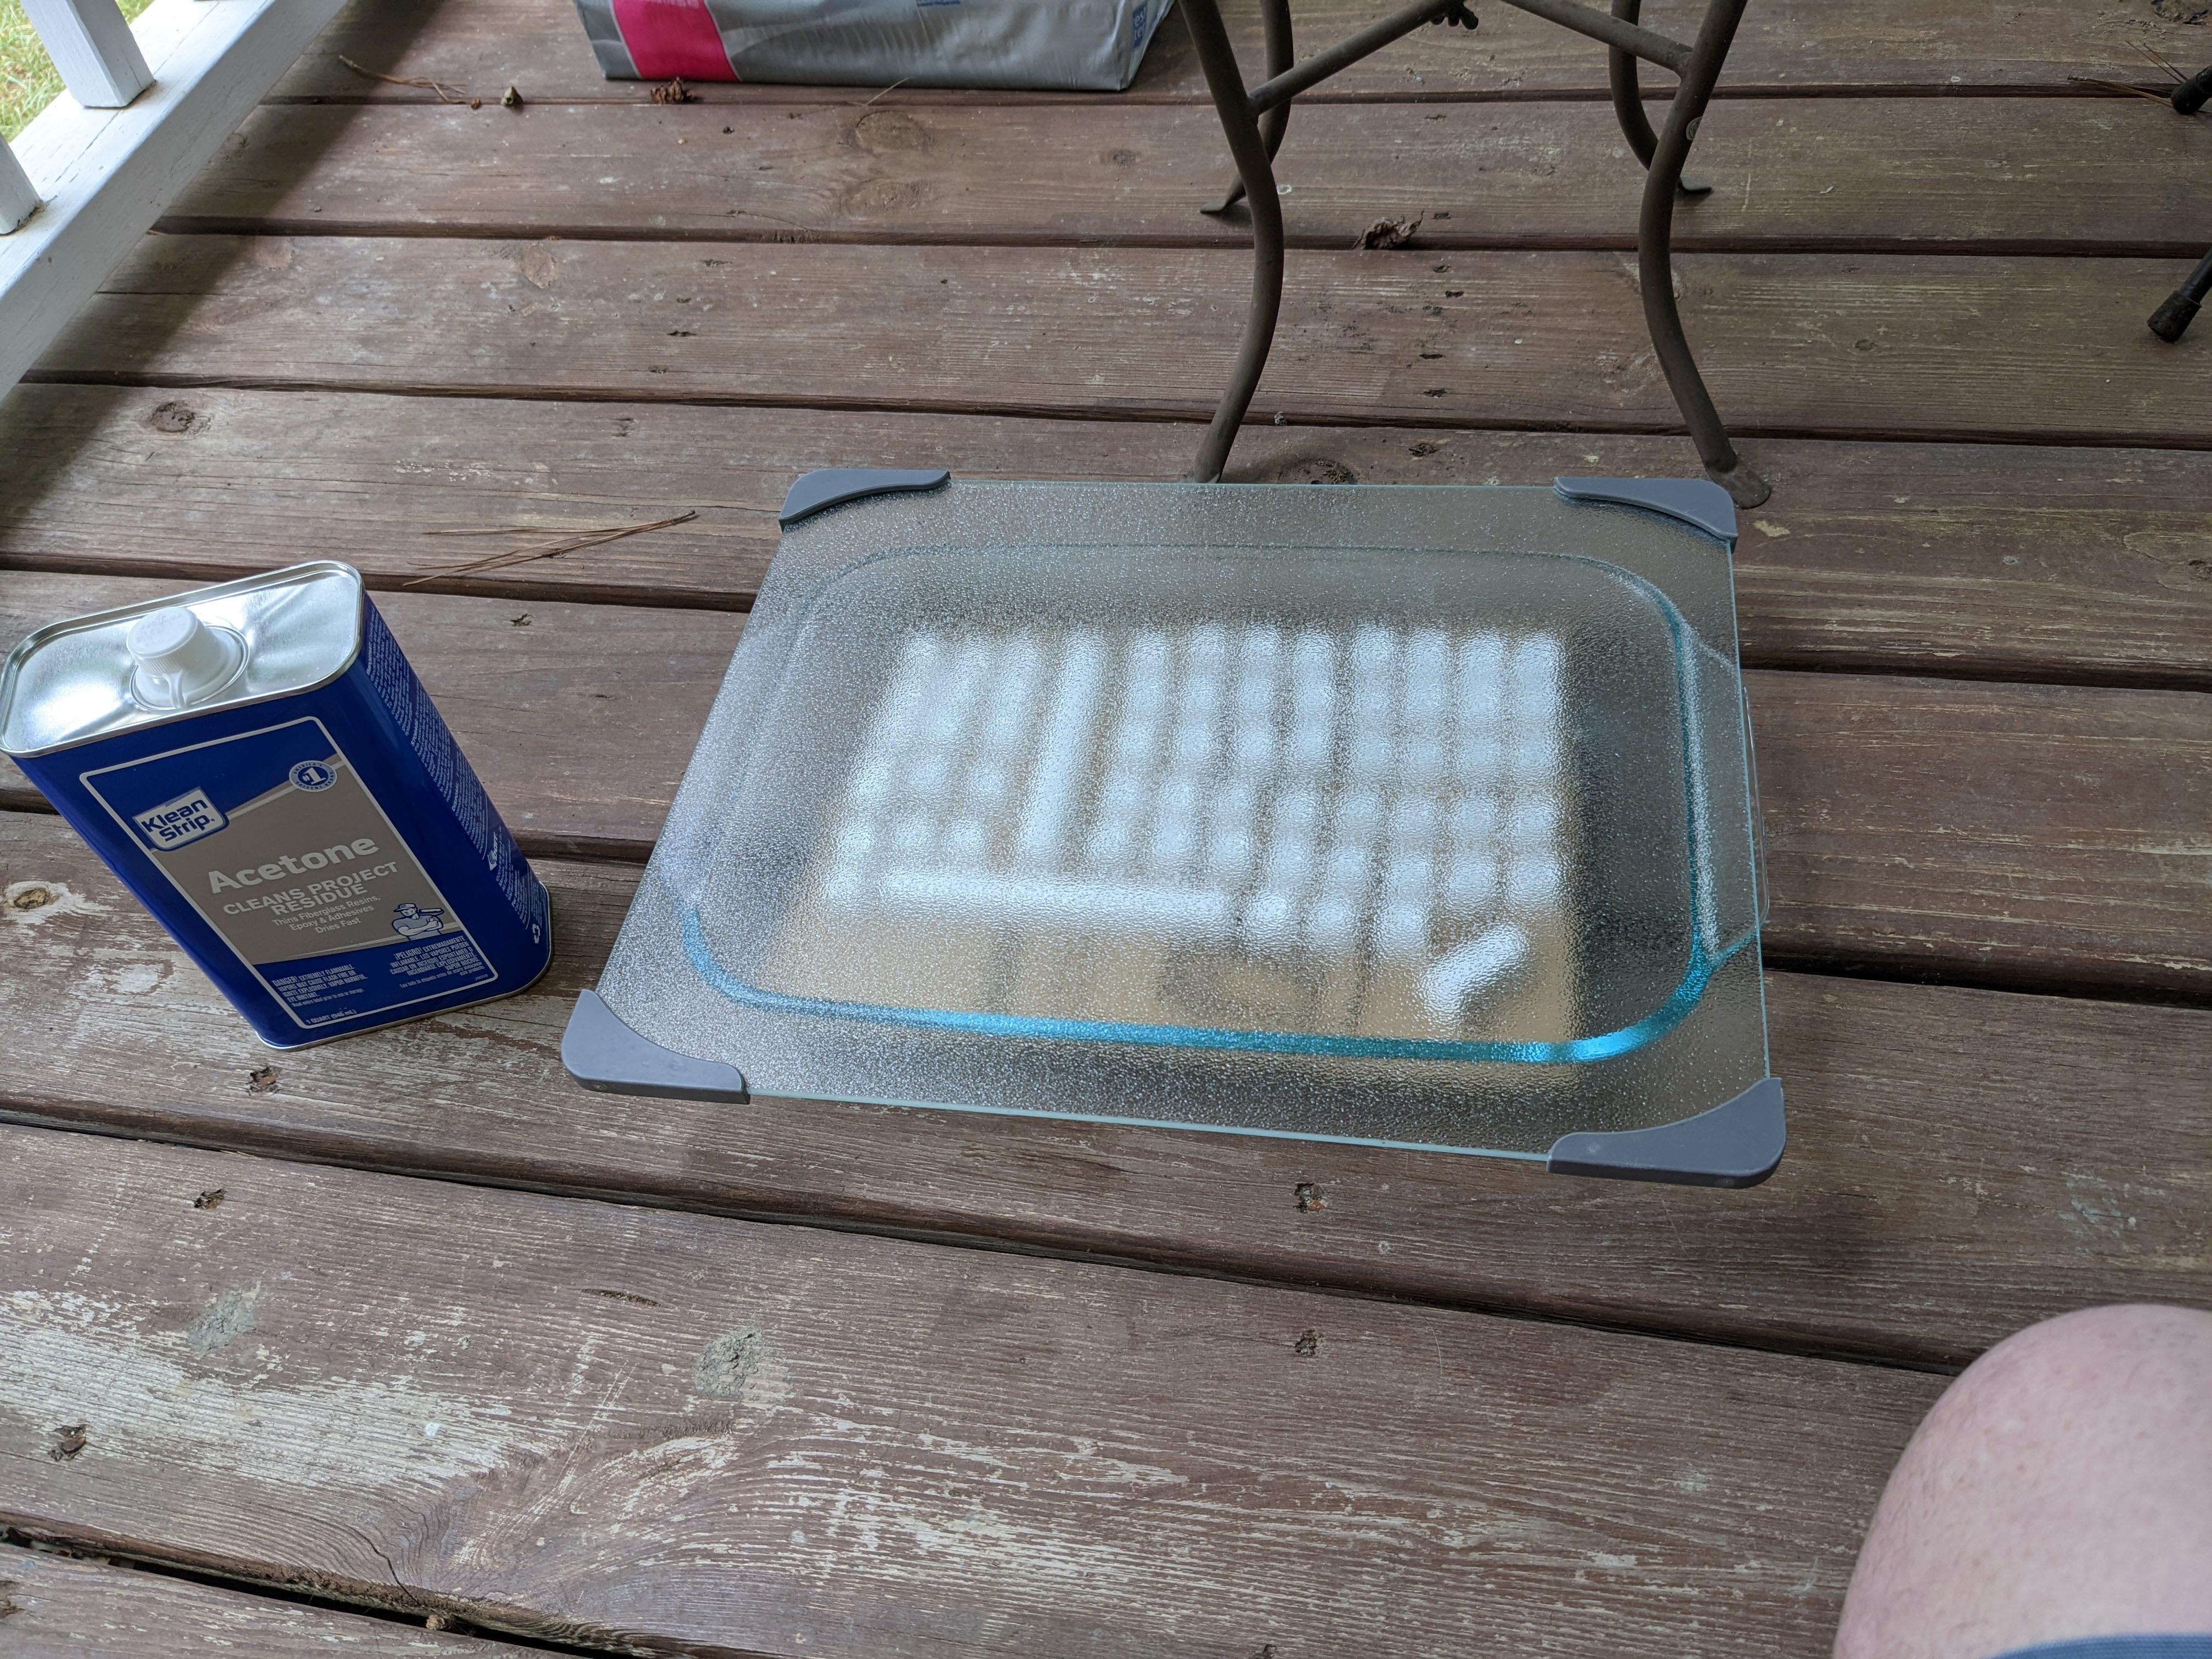
If you don’t want to order exotic chemicals, you might not need them. We used to make “goop” by dissolving ABS in acetone, but hairspray usually did the trick.

Continue reading “Homebrew 3D Printer Goop Promises Better Bed Adhesion”

Stop Silicone Cure Inhibition, No Fancy Or Expensive Products Required

Casting parts in silicone is great, and 3D printing in resin is fantastic for making clean shapes, so it’s natural for an enterprising hacker to want to put the two together: 3D print the mold, pour in the silicone, receive parts! But silicone’s curing process can be inhibited by impurities. What’s cure inhibition? It’s a gross mess as shown in the image above, that’s what it is. Sadly, SLA-printed resin molds are notorious for causing exactly that. What’s a hacker to do?

Firstly: there are tin-cure and platinum-cure silicones, and for the most part tin-cure silicone works just fine in resin-printed molds. Platinum-cure silicones have better properties, but are much more susceptible to cure inhibition. Most workarounds rely on adding some kind of barrier coating to molds, but [Jan Mrázek] has a cheap and scalable method of avoiding this issue that we haven’t seen before. Continue reading “Stop Silicone Cure Inhibition, No Fancy Or Expensive Products Required”

With A Little Heat, Printed Parts Handle Vacuum Duty

We don’t have to tell the average Hackaday reader that desktop 3D printing has been transformative for our community, but what might not be as obvious is the impact the technology has had on the scientific community. As explained in Thermal Post-Processing of 3D Printed Polypropylene Parts for
Vacuum Systems
by [Pierce Mayville], [Aliaksei Petsiuk], and [Joshua Pearce]
, the use of printed plastic parts, especially when based on open source designs, can lead to huge cost reductions in the production of scientific hardware.

More specifically, the authors wanted to examine the use of 3D printing components to be used in a vacuum. Parts produced with filament-based printers tend to be porous, and as such, are not suitable for fittings or adapters which need to be pumped down to below one atmosphere. The paper goes on to explain that there are coatings that can be used to seal the printed parts, but that they can outgas at negative pressures.

The solution proposed by the team is exceptionally simple: after printing their desired parts in polypropylene on a Lulzbot Taz 6, they simply hit them with a standard consumer heat gun. With the temperature set at ~400 °C, it took a little under a minute for the surface of take on a glossy appearance — the result reminds us of an ABS print smoothed with acetone vapor.

As the part is heated, the surface texture visibly changes. The smoothed parts performed far better in vacuum testing.

In addition to the heat treatment, the team also experimented with increasing degrees of infill overlap in the slicer settings. The end result is that parts printed with a high overlap and then heat treated were able to reliably handle pressures as low as 0.4 mTorr. While the paper admits that manually cooking your printed parts with a heat gun isn’t exactly the ideal solution for producing vacuum-capable components, it’s certainly a promising start and deserves further study.

Better 3D Printing Via Chemistry?

If you have problems getting a 3D print to stick to the bed, you might consider using glue to — hopefully temporarily — attach the print to the bed. In addition, some plastics glue together well if you use a solvent. [Stefan] asks the question: What if you use solvent to glue each layer of a 3D print to the previous layer? The answer is in the video below.

If you know [Stefan], he is always meticulous, so the first test was with normal ABS parts. Then he used a solvent to glue two broken parts together to show how a single layer does with bonding.  Then he moved toward trying the solvent for each layer.

Continue reading “Better 3D Printing Via Chemistry?”

Drastic Plastic: Enclosure Rebuild Uses Donor Material

Although 3D printers are great, people tend to use them as a universal hammer wherein almost everything becomes a nail that’s just begging to be struck. So as hacker appetites become finicky with the same old fare, it’s refreshing to see an enclosure restoration done in such an old-school fashion. To wit: [Doidão Santos]’ classic repair of the crumbling side fairings on a vintage amplifier.

Yes, instead of designing replacement pieces, printing them, and hiding the layered evidence with paint or an acetone blur, [Doidão] called upon a broken sound system whose chassis bore a relief in the corners similar to that of the amplifier.

After cutting out two matched pieces of donated plastic, [Doidão] taped them together and welded ’em with a soldering iron outfitted with a curved-but-flattened spade tip that looks ideal for this purpose. Although the donor enclosure provided much-needed relief, one corner was lacking in this aesthetic, so [Doidão] cast a little bit of molten plastic using the relief as a mold.

Once the pieces were tacked together, [Doidão] filed them down, sanded them, polished them to a nice shine, and installed them on the amplifier. They look great, and no one will be the wiser. But if we were in [Doidão]’s shoes, we’d tell everyone what we’d done. Be sure to check it out after the break.

Ready for more fantastic plastic resto-hacks? Let us introduce you to [drygol].

Continue reading “Drastic Plastic: Enclosure Rebuild Uses Donor Material”

Keycap Shine? No, Shiny Keycaps

No matter how often you wash your hands, ABS keycaps will eventually exhibit shine wherever you strike them the most. And that’s the problem right there: the shine might be okay if it were somehow uniform across the surface of the keycaps, but instead it just tends to make one feel seen. And since there’s really nothing you can do except to replace your keycaps (or start with PBT), you might as well embrace the shine, right?

Well, that’s how [mmalluck] feels, anyway. He recently experimented with using acetone vapors to refinish a set of keycaps from Drop, making them super-duper shiny in the process. Now, the operative word here is vapors, because straight acetone would acid-wash those ‘caps faster than you can say ‘bad idea jeans’.

So to that end, [mmalluck] poured acetone in a glass cake pan, used a piece of cardboard to separate the keycaps from the acetone, and covered it all with a glass cutting board. It doesn’t take very long to achieve a good result, and [mmalluck] says it’s better to err on the side of too-short instead of risking reaching the point of too-melted.

We wouldn’t have thought we’d react this way, but we think they’re pretty cool looking. That particular set seems just right for this process, which makes them look like new old-stock typewriter keys or something. Looks way better than the ultra-personalized shine of usage. What do you think? Let us know in the comments.

Via KBD #90

Tablet ina 3D printed stand, showing timetables on its screen

Revive Your Old E-Ink Tablet For Timetable Helper Duty

In our drawers, there’s gonna be quite a few old devices that we’ve forgotten about, and perhaps we ought to make them work for us instead. [Jonatron] found a Nook Simple Touch in his drawer – with its E-ink screen, wireless connectivity and a workable Android version, this e-reader from 2011 has the guts for always-on display duty. Sadly, the soft touch covering on the back disintegrated into a sticky mess, as soft touch does, the LiIon battery has gone flat, and the software support’s lackluster. Both of these are likely to happen for a lot of tablets, which is why we’re happy [Jonatron] has shared his story about this e-reader’s revival.

The tablet in question with back cover removed, battery wires connected to a USB cable for power
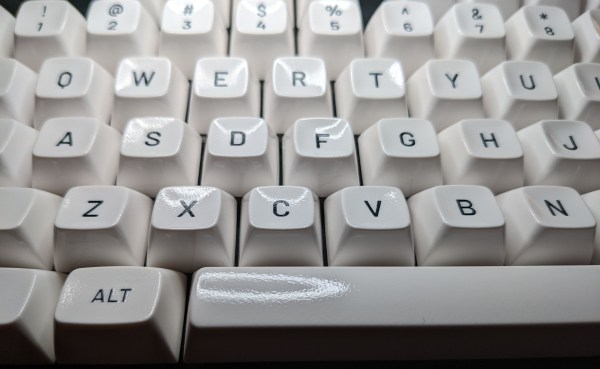
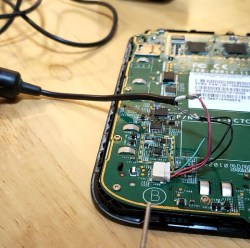
The soft touch layer on the back didn’t go away with help of alcohol, but by sheer luck, an acetone bottle was nearby, and an acetone scrub helped get rid of the unpleasant stickiness. The tablet’s charging circuitry turned out to be unsophisticated – the tablet wouldn’t boot from MicroUSB input, and [Jonathan] wired up 5 volts from a USB cable straight into the battery input. Mind you, this might not be advised, as Lithium-Ion battery range is from 3 volts to 4.2 volts and a regulator would be called for, but [Jonatron] says it’s been working just fine.

Usually, you could just put a webserver on your local network and serve a page with useful information, adding code to refresh the page periodically – but the Nook’s browser didn’t support automatic refreshes. Not to be stopped, [Jonatron] wrote an app for the Nook’s Android install instead; rooting was required but went seamlessly. The Android install is old, and Android Studio for it is no longer downloadable, so he used an older development toolkit somehow still available online. There’s still a small Python-written webserver running on a spare Pi, conditioning the data for the app to fetch. Following best hacker traditions, both the app and the server are open-sourced! With help of a 3D printed stand, this tablet now displays train departure schedules – perfect application for an old e-reader like this.

Got a Nook Simple Touch in a drawer? Now you know you can easily convert it into a hackable E-ink display! We’ve seen numerous tablet restorations before, replacing charger ICs and eMMC drives, turning them into videophones to chat with our relatives and smart home controllers, and there’s even repair databases to help you in your revival efforts. We’ve been getting quite a few projects like these in our last Hackaday Prize installment, Hack It Back, and we hope to see more such rebuilds for our Wildcard round!