NVIDIA Jetson Powers Real-Time Iron Man HUD

If you could recreate any of the capabilities of Tony Stark’s Iron Man suit in real life, it would probably be the ability to fly, the super strength, or maybe even the palm-mounted lasers that can cut through whatever obstacle is in your path. But let’s be real, all that stuff is way too hard to try and pull off. Plus you’ll probably just end up accidentally killing yourself in the backyard.

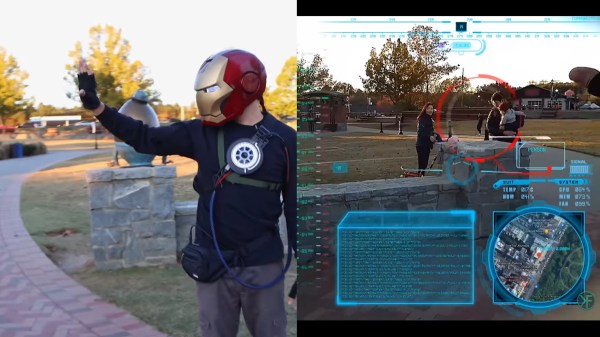
But judging by the videos he’s been posting, [Kris Kersey] is doing one hell of a job creating a functional heads-up display (HUD) similar to the one Tony uses in the films. He’s even building it into a 3D printed Iron Man helmet, with the NVIDIA Jetson board that’s powering the show inside a chest-mounted “Arc Reactor”. He goes into a bit more detail about the project and his goals in an interview recently published on NVIDIA’s own blog. Continue reading “NVIDIA Jetson Powers Real-Time Iron Man HUD”

Very Slow Movie Player Avoids E-Ink Ghosting With Machine Learning

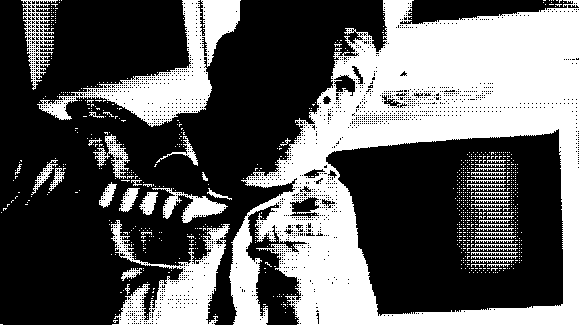
[mat kelcey] was so impressed and inspired by the concept of a very slow movie player (which is the playing of a movie at a slow rate on a kind of DIY photo frame) that he created his own with a high-resolution e-ink display. It shows high definition frames from Alien (1979) at a rate of about one frame every 200 seconds, but a surprising amount of work went into getting a color film intended to look good on a movie screen also look good when displayed on black & white e-ink.

The usual way to display images on a screen that is limited to black or white pixels is dithering, or manipulating relative densities of white and black to give the impression of a much richer image than one might otherwise expect. By itself, a dithering algorithm isn’t a cure-all and [mat] does an excellent job of explaining why, complete with loads of visual examples.

One consideration is the e-ink display itself. With these displays, changing the screen contents is where all the work happens, and it can be a visually imperfect process when it does. A very slow movie player aims to present each frame as cleanly as possible in an artful and stylish way, so rewriting the entire screen for every frame would mean uglier transitions, and that just wouldn’t do.

Delivering good dithering results despite sudden contrast shifts, and with fewest changed pixels.

So the overall challenge [mat] faced was twofold: how to dither a frame in a way that looked great, but also tried to minimize the number of pixels changed from the previous frame? All of a sudden, he had an interesting problem to solve and chose to solve it in an interesting way: training a GAN to generate the dithers, aiming to balance best image quality with minimal pixel change from the previous frame. The results do a great job of delivering quality visuals even when there are sharp changes in scene contrast to deal with. Curious about the code? Here’s the GitHub repository.

Here’s the original Very Slow Movie Player that so inspired [mat], and here’s a color version that helps make every frame a work of art. And as for dithering? It’s been around for ages, but that doesn’t mean there aren’t new problems to solve in that space. For example, making dithering look good in the game Return of the Obra Dinn required a custom algorithm.

A home-made tape robot that stores VHS tapes

VHS Robot Swaps Tapes, As Seen In Hackers

Tape robots are typically used in places that store vast amounts of data – think film studios and government archives. If you’ve seen the 1995 cult movie Hackers, you might remember a scene where the main character hacks into a TV station and reprograms their tape ‘bot to load a series he wanted to watch. It’s this scene that inspired [Nathan] over at [Midwest Cyberpunk] to make his own tape robot that loads VHS tapes.

[Nathan] has thousands of tapes in his collection, but the robot is not built to manage all of them. Instead, it’s meant to help him run his VHS streaming channel, saving him from having to physically go to his VCR every time a tape needs swapping. For that, a ten-tape storage capacity is plenty.
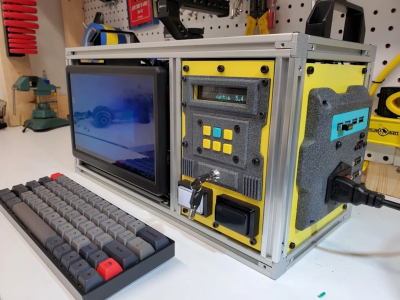
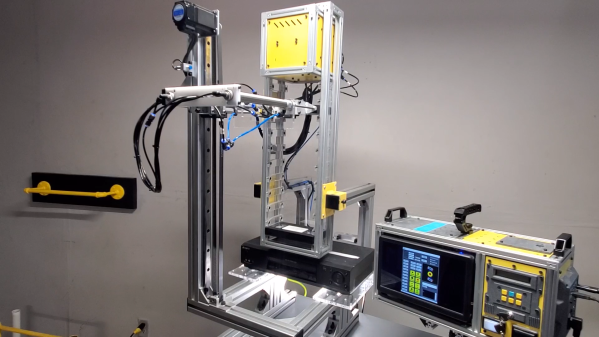
A custom cyberdeck used to drive a tape robotThe main parts of the tape robot are a grabber that holds the tape, an extender that moves it forward and backward, and a linear rail that moves it up and down. The vertical motion is generated by a hybrid stepper motor through a belt drive system, while the grabber and extender are operated pneumatically. Once the grabber reaches the VCR, a pneumatic pusher shoves the tape inside. All of this is nearly identical to the robot seen in the movie, which was most likely not a commercial machine but a custom-made prop.

The whole system is controlled by an ESP32 running FluidNC inside the robot as well as a handmade cyberdeck next to it that manages the overall process of loading and storing tapes. Although [Nathan] is currently using the robot for his streaming channel, he’s planning to also use it for digitizing part of his massive tape collection, which contains a few titles that were never released on newer formats.

Working with old tapes can be tricky: some types of tape degrade over time, while others might come with primitive copy protection systems. But moving information over to newer media is a necessity if you don’t want to risk losing it forever.

Continue reading “VHS Robot Swaps Tapes, As Seen In Hackers

Blender And OpenEMS Teamed Up Make Stunning Simulations

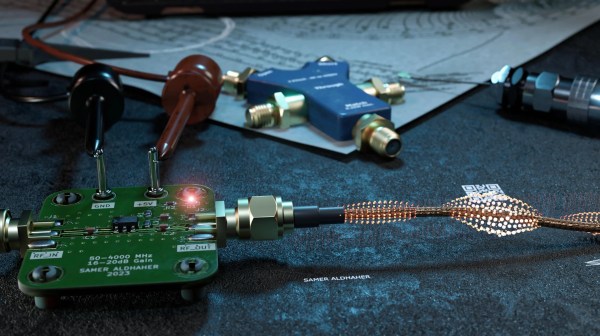
There’s tons of theory out there to explain the behavior of electronic circuits and electromagnetic waves. When it comes to visualization though, most of us have had to make do with our lecturer’s very finest blackboard scribbles, or some diagrams in a textbook. [Sam A] has been working on some glorious animated simulations, however, which show us various phenomena in a far more intuitive way.

The animations were created in Blender, the popular 3D animation software. As for the underlying simulation going on behind the scenes, this was created using the openEMS platform. [Sam] has used openEMS to run electromagnetic simulations of simple circuits via KiCAD. From there, it was a matter of finding a way to export the simulation results in a way that could be imported into Blender. This was achieved with Paraview software acting as a conduit, paired with a custom Python script.

The result is that [Sam] can produce visually pleasing electromagnetic simulations that are easy to understand. One needn’t imagine a RF signal’s behaviour in a theoretical coax cable with no termination, when one can simply see what happens in [Sam]’s animation. 

Simulation is a powerful tool which is often key to engineering workflows, as we’ve seen before.

Continue reading “Blender And OpenEMS Teamed Up Make Stunning Simulations”

Could 1080p Video Output From The RP2040 Be Possible?

Modern microcontrollers often have specs comparable with or exceeding early gaming consoles. However, where they tend to fall short is in the video department, due to their lack of dedicated graphics hardware. With some nifty coding, though, great things can be achieved  — as demonstrated by [TEC_IST]’s project that gets the RP2040 outputting 1080p video over HDMI.

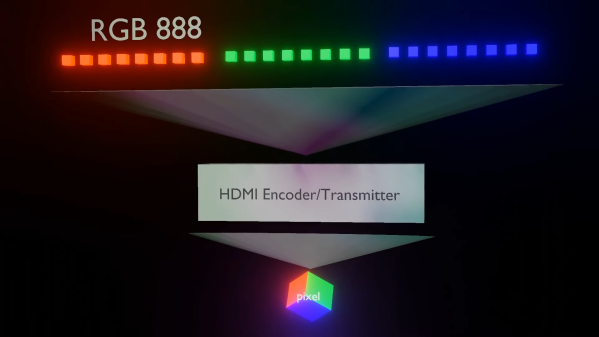
The project builds on earlier work that saw the RP2040 outputting digital video over DVI. [TEC_IST] realized that earlier methods already used up 30% of the chip’s processing power just to reach 320×240 output. To get to 1080p resolution would require a different tack. The idea involved using the 32-bit architecture of the RP2040 to output a greater data rate to suit the higher resolution. The RP2040 can do a 32-bit move instruction in a single clock cycle, which, with 30 GPIO pins, would be capable of a data rate of 3.99 Gbits/second at the normal 133 MHz clock speed. That’s more than enough for 1080p at 60 Hz with a 24-bit color depth.

Due to the limitations of the chip, though, some extra hardware would be required. [TEC_IST] has drawn up a design that uses external RAM as a framebuffer, while using shift registers and other supporting logic to handle dumping out signals over HDMI. This would just leave the RP2040 to handle drawing new content, without having to redraw existing content every frame.

[TEC_IST] has shared the design for a potential 1080p HDMI output board for the RP2040 on GitHub and is inviting comment from the broader community. They’re yet to be built and tested, so it’s all theoretical at this stage. Obviously, a lot of heavy lifting is being done off-board the microcontroller here, but it’s still fun to think of such a humble chip doing such heavy-duty video output. Continue reading “Could 1080p Video Output From The RP2040 Be Possible?”

EPROM Does VGA

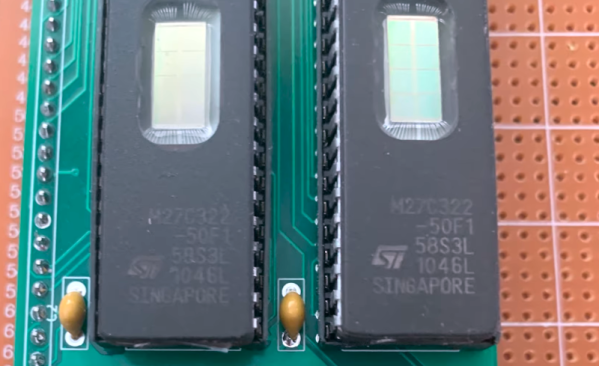
If you wanted to create a VGA card, you might think about using an FPGA. But there are simpler ways to generate patterns, including an old-fashioned EPROM, as [DrMattRegan] points out in a recent video.

Generating video signals is an exercise in periodicity. After all, an old-fashioned CRT just scans at a certain horizontal frequency and refreshes the entire screen each time it starts over. VGA is made to drive this technology. An EPROM chip can easily generate repeating patterns when driven by a counter at a known frequency.

As you might expect, there were a few software glitches to work out, but in the end, the circuit did its job, displaying a fixed image on a VGA monitor.

If you haven’t run into [Matt] before, he has a complete series on how he built a “wire-by-wire” Apple II clone. We will warn you, though. Don’t click on the link unless you have some spare time. The 18 videos take over two hours to work through, but there is some beautiful prototyping and a lot of good information in them.

You can go even lower tech for a VGA card, if you like. Just try not to look like this breadboard.

Continue reading “EPROM Does VGA”

Creating GIFs For The Channels Between Channels

In the United States, analog TV broadcasting officially ended in 2009. While the transition wasn’t without hiccups, we did lose something along the way. For [Emily Velasco], she misses the channels between channels — where an analog TV isn’t quite tuned right and the image is smeared and distorted. A recent bug in one of her projects led to her trying to recreate the experience of the in-between on a CRT.

One of [Emily]’s other projects involved generating composite video signals from an ESP32 microcontroller. While experimenting with adding color to the output signal, the image came out incredibly scrambled. She had made an error in the stride, which smeared the image across the screen. This immediately brought back memories of old analog TV sets. A quick potentiometer allowed her to control the stride error and she wrote some code to break the GIF up into discrete bitmaps for display since the GFX library handles GIFs differently than static images. Next up was vertical hold, which was accomplished by shifting the Y coordinates. With some help from [Roger], there was now a handy GIF library that would draw GIFs line by line with the composite video effects.

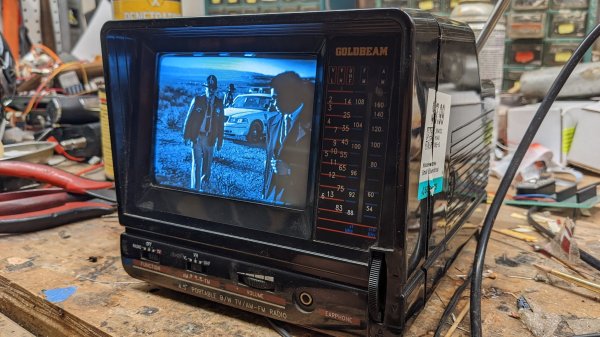
She used a Goldbeam portable CRT, soldered the tuning potentiometer to the ESP32, and set up 10 different GIFs to act as “channels” with space in between. It’s a fun and quirky idea, which is exactly the sort of thing [Emily] has been encouraging people to do.

Continue reading “Creating GIFs For The Channels Between Channels”