Simple Sprite Routines Ease Handheld Gaming DIY

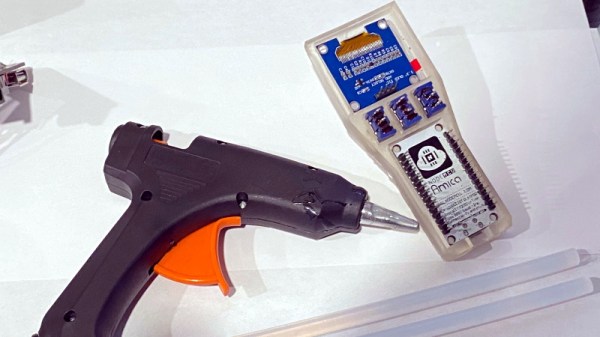
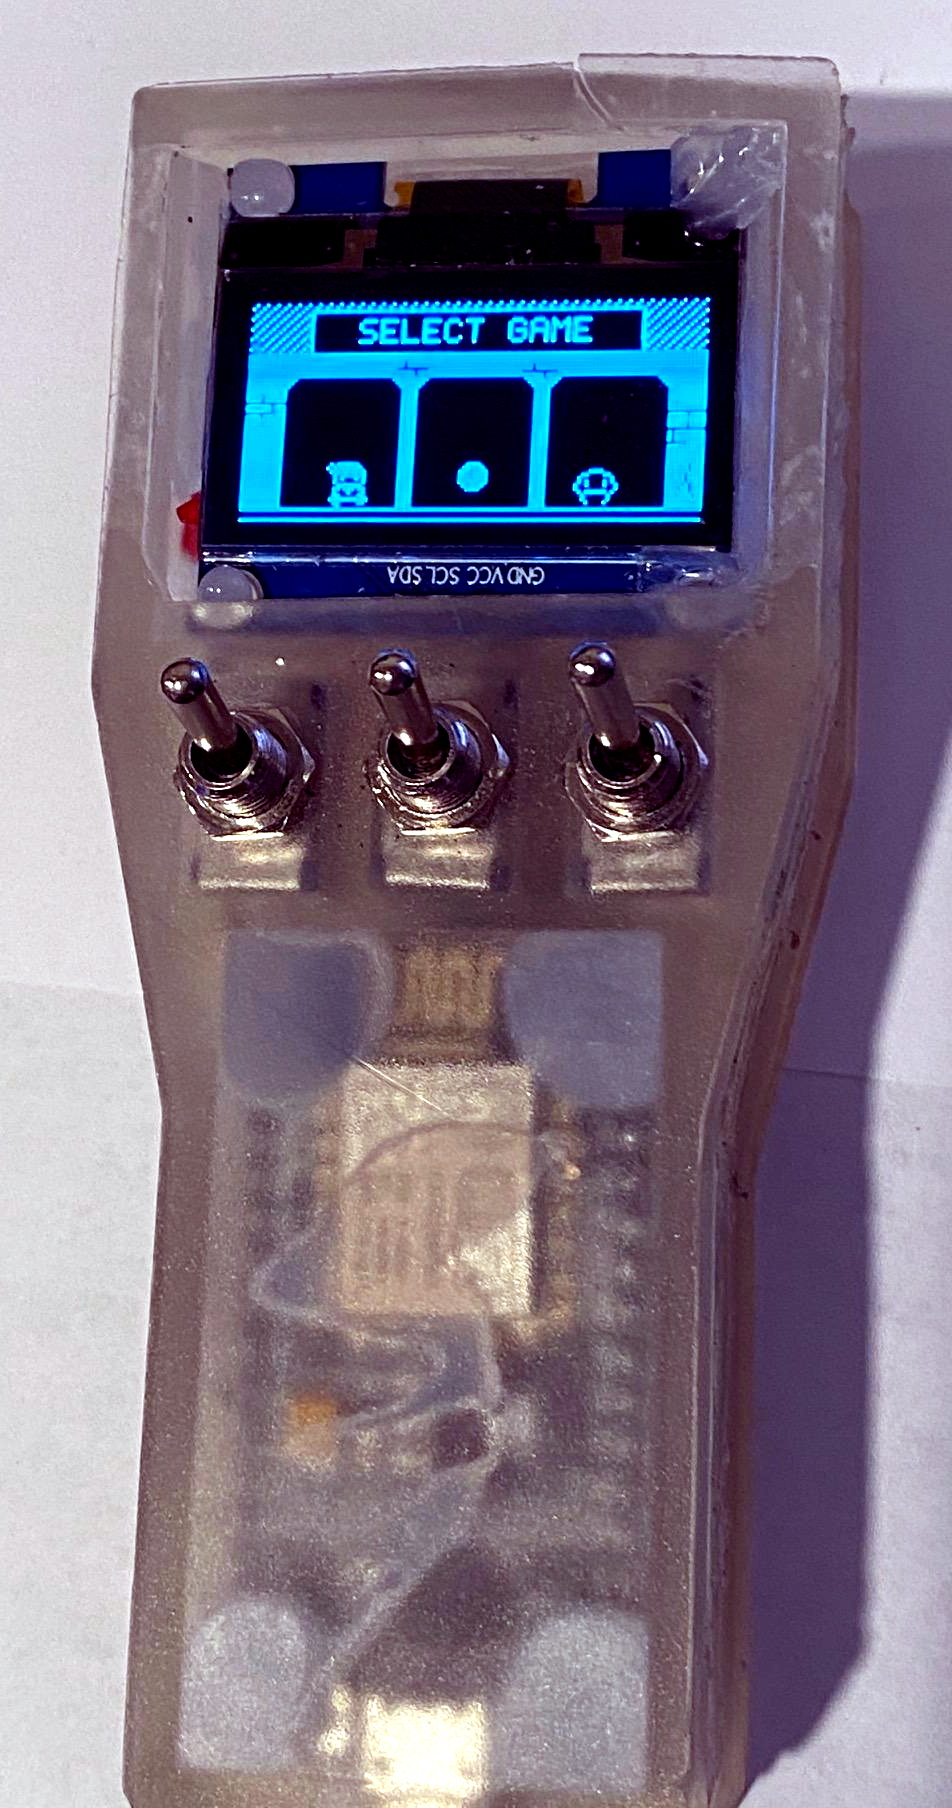
Making your own handheld games is made much easier with [David Johnson-Davies’] simple sprite routines for the Adafruit PyBadge and PyGamer boards. Sprites can be thought of as small, fixed-size graphical objects that are drawn, erased, moved, and checked for collision with other screen elements.

xorSprite() plots an 8×8 sprite, moveSprite() moves a given sprite by one pixel without any flicker, and hitSprite() checks a sprite for collision with any screen elements in a given color. That is all it takes to implement a simple game, and [David] makes them easy to use, even providing a demo program in the form of the rolling ball maze shown here.

These routines work out-of-the-box with the PyBadge and PyGamer, but should be easy to adapt to any TFT display based on the ST7735 controller. The PyGamer is the board shown here, but you can see the PyBadge as it was used to create an MQTT-enabled conference badge.

If you really want to take a trip down the rabbit hole of sprite-based gaming graphics, you simply can’t miss hearing about the system [Sprite_TM] built into the FPGA Game Boy badge.

A Fantastic Raspberry Pi Handheld Just Got Better

Last year, we brought you word of the MutantC by [rahmanshaber]. The Raspberry Pi handheld was more than a little inspired by the classic T-Mobile Sidekick, with a sliding display and physical QWERTY keyboard. The design was a little rough around the edges and missing a few key features, but it was clear the project had a lot of potential.

Today, we’re happy to report that [rahmanshaber] has officially released MutantC_v2. It looks like the new version of this handheld, perhaps more properly categorized as a ultra-mobile PC (UMPC), successfully addresses a number of the shortcomings found in the original; so if you held off on building one last year, you might want to start warming up the 3D printer now.

The major improvement over the original is the inclusion of a battery, which makes the device truly mobile. This was something that we mentioned [rahmanshaber] was working on back when he released the first version, as it was easily the most requested feature from the community. We certainly wouldn’t say a miniature handheld computer is completely useless if it has to stay tethered, but there’s no arguing that being able to take it on the go is ideal.

This upgraded version of the design now officially supports the Raspberry Pi 4 as well, which previously [rahmanshaber] was advising against due to overheating concerns. Slotting in the latest-and-greatest edition of every hacker’s favorite Linux single board computer will definitely kick things up a notch, though we imagine the older and less power hungry iterations of the Pi will be plenty for the sort of tasks you’re likely to be doing on a gadget like this.

If you like the idea of having a diminutive Linux computer within arm’s reach of your bench but aren’t necessarily committed enough to build something like the MutantC, there are certainly simpler designs you can get started with.

Continue reading “A Fantastic Raspberry Pi Handheld Just Got Better”

Handheld 3D Scanning, Using Raspberry Pi 4 And Intel RealSense Camera

Raspberry Pi 4 (with USB 3.0) and Intel RealSense D415 depth sensing camera.

When the Raspberry Pi 4 came out, [Frank Zhao] saw the potential to make a realtime 3D scanner that was completely handheld and self-contained. The device has an Intel RealSense D415 depth-sensing camera as the main sensor, which uses two IR cameras and an RGB camera along with the Raspberry Pi 4. The Pi uses a piece of software called RTAB-Map — intended for robotic applications — to take care of using the data from the camera to map the environment in 3D and localize itself within that 3D space. Everything gets recorded in realtime.

This handheld device can act as a 3D scanner because the data gathered by RTAB-Map consists of a point cloud of an area as well as depth information. When combined with the origin of the sensing unit (i.e. the location of the camera within that area) it can export a point cloud into a mesh and even apply a texture derived from the camera footage. An example is shown below the break.
Continue reading “Handheld 3D Scanning, Using Raspberry Pi 4 And Intel RealSense Camera”

Equipping A Workshop Using Plywood And Handheld Power Tools

Properly equipping a home workshop for the DIY discipline of your choice can often end up costing more than we would like to admit, and is a never ending process. [JSK-Koubou] is doing exactly that, except he is building almost all of his equipment using plywood, hand-held power tools and a LOT of attention to detail.

As far as we can tell the series really got started with a humble hand-held circular saw guide, with every tool being used to build more tools. So far the list boasts more than 50 different videos of tools built around a drill, circular saw, jigsaw, router, planar or grinder. This includes a wood lathe, drill press, jointer and various drills guides and sanders. The level of precision each tool almost eye watering. He even pulls out a dial gauge on some builds to check alignment. We honestly didn’t know plywood equipment could look this good and work so well. Check out the YouTube playlist after the break to see for yourself.

Previously we also covered [JSK-Koubou]’s set of perfectly tuned wooden speaker enclosures, the craftsmanship is really something to behold. For more impressive homebuilt hardware, take a look at this 8-axis camera crane built by another YouTuber for his home shop. Continue reading “Equipping A Workshop Using Plywood And Handheld Power Tools”

You’ll Flip For This Toggle Switch Handheld Game

Teacher says that every time a toggle switch clunks, a hacker gets their wings. Or something like that. All we know is that there are few things the hardware tinkerer likes more than the satisfying action of a nice flip. Which by extension means this handheld game built by [Roman Revzin] and controlled by nothing more than three toggle switches will likely be a big hit at the hackerspace.

The parts list for this game, which [Roman] calls the ToggleBoss, is about as short as it gets. There’s a NodeMCU ESP8266 development board, a common SH1106 OLED display, and a trio of suitably clunky toggle switches. Add a bit of wire, toss it all into a 3D printed enclosure, and you’re halfway to thumb flicking nirvana.

Naturally, you might be wondering about the sort of games that can be played with three latching digital inputs; after all, it’s not exactly the most conventional controller layout. But there is where ToggleBoss really shines. Instead of trying to shoehorn traditional games into an exceptionally unconventional system, [Roman] has come up with several games which really embrace the limited input offered to the user.

In a platforming game not unlike the classic Mario Bros, the positions of the physical switches are mapped to virtual walls that are raised and lowered to control a character’s movement through the level. Another game shows the player three dots which correspond to the intended switch states, which they have to match as quickly and as accurately as possible. [Roman] has released the source code to his current lineup of games, which hopefully will inspire others to try their hand at creating software for this fascinating little system.

With the availability of cheap OLED displays and powerful microcontrollers, we’ve started to see more of these bespoke gaming systems. While some will undoubtedly prefer a pocket full of Nintendo’s classics, we think there’s something special about a game system that you can truly call your own.

Taking Pictures Of The Space Station With A Handheld Camera

It is easy to find out when the space station is passing overhead, and you may have run outside to see the blip of light moving at five miles per second. It turns out that some people make a hobby out of taking its picture, and if you have a pretty beefy telescope you can get some good shots. [Scott], on the other hand, wanted to take a handheld consumer-grade camera and try some pictures. His results show up in the video below.

If you look at the second video from [Thierry], you’ll see [Scott’s] videos are a far cry from state of the art. However, the [Thierry] photos essentially use a special telescope made to track the station very precisely. [Scott] is using a handheld, consumer-grade Nikon P1000.

Continue reading “Taking Pictures Of The Space Station With A Handheld Camera”

Arduino Handheld Game System Gets A Grip

With little more than an Arduino, an OLED display, and some buttons, it’s easy to build your own faux-retro game system. There’s even a growing library of titles out there that target this specific combination of hardware, thanks in no small part to the Arduboy project. But unless you’re content to play Circuit Dude on a breadboard, at some point you’ll probably want to wrap the build up in a more convenient form.

Like many that came before it, the OLED handheld created by [Alex Zidros] takes inspiration from a Nintendo product; but it’s not the Game Boy. Instead, his design is based on a 3D printed grip for the Switch Joy-Cons that he found on Thingiverse. After tacking on a holder for the PCB, he had the makings of a rather unique system.

We especially like the offset SSD1306 OLED display. Not because we think a game system with an asymmetrical layout is a particularly sound design decision, but because it gives the whole build a rather cyberpunk feel. When combined with the exposed electronics, the whole system looks like it could have been cobbled together from a futuristic dumpster. Which is high praise, as far as we’re concerned.

Opposite the display is a LiPo pouch battery that [Alex] says was liberated from a portable speaker, and down below is an Adafruit Feather 328P. There are two tactile switches mounted to the front of the Feather, and in something of a departure from these sort of builds, there are two more on the shoulders of the 3D printed case. Everything is held together with nothing more exotic than a scrap of perfboard, making it easy for anyone who might want to build their own version.

If you prefer your Arduino and OLED gaming to come in a slightly more familiar form factor, the build that was done inside of a Dreamcast Visual Memory Unit (VMU) has always been a favorite around these parts.