Dreaming Of A Transparent (PCB) Christmas

[Carl] wanted to put his force sensors on a transparent PCB and had to ask his board vendor for a special sample. Flexible PCBs are available on transparent substrates made of PET, but they are not as common as polyimide boards. As [Carl] found out, these boards are a bit thicker, a bit less flexible, and don’t hold up to very high heat as well as the standard boards. Undeterred, he designed a 3D Christmas tree using the clear boards. The result that you can see in the video below looks pretty good and would have been hard to duplicate with conventional means.

When you build the board it is as a flat spiral, but lifting it in the center allows it to expand into a conical tree shape. The circuit itself is just an LED blinker, but the flexible board is the interesting part.

Continue reading “Dreaming Of A Transparent (PCB) Christmas”

Making A Kid-Friendly Computer As A Present: Or How To Be The Cool Aunt At Christmas

This article was meant to be finished up before Christmas, so it’ll be a little late whenever you’re reading it to go and prepare this for the holiday. Regardless, if, like me, should you ever be on the lookout for something to give a toddler nephew or relative, it could be worth it to look into your neglected old parts shelves. In my case, what caught my eye was a 9-year-old AMD laptop catching dust that could be better repurposed in the tiny hands of a kid eager to play video games.

The main issues here are finding a decent selection of appropriate games and streamling the whole experience so that it’s easy to use for a not-yet-hacker, all the while keeping the system secure and child-friendly. And doing it all on a budget.

This is a tall order, and requirements will be as individual as children are, of course, but I hope that my experience and considerations will help guide you if you’re in a similar boat.

Continue reading “Making A Kid-Friendly Computer As A Present: Or How To Be The Cool Aunt At Christmas”

Building A Website-Controlled Christmas Tree

Back in the day, Christmas lights were simple strings of filament bulbs, and if you really splashed out, you could get some that flashed. These days, we expect a lot more capability out of our blinking decorations. [JT] has put together a rather nifty website-controlled setup for his own tree.

The setup is a little different than builds you may be used to. The website runs on a cloud-hosted virtual machine on Digital Ocean, rather than running locally. This allows anyone on the web to visit the site, and use the interface to control the lights on the Christmas tree. An image of the tree is used as the interface, and allows users to set the color of each individual LED on the tree. The LEDs themselves are driven from an NodeMCU ESP8266, which uses its WiFi connection to query the website itself and grab the color data as needed. [JT] has also included a secondary interface, where the chat of the Youtube livestream can be used to control the LEDs, too.

It’s a build that’s a touch more complicated than most typical online LED blinkers, but one that teaches useful skills in interfacing on the web and using virtual machines. We’ve seen other builds in this genre too; even some that are reactive to “Christmas fever” itself. Video after the break.

Continue reading “Building A Website-Controlled Christmas Tree”

Simple Christmas Tree Christmas Tree Ornament

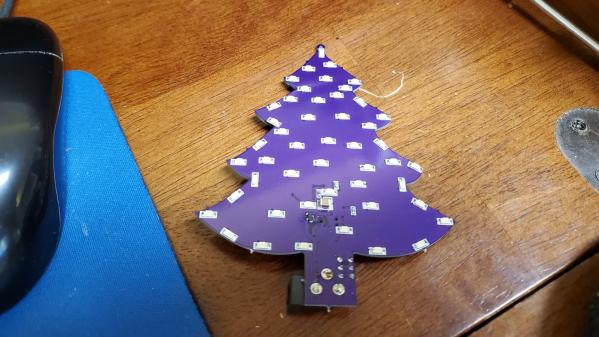
When the only tool you have is a hammer, every problem looks like a nail. An LED ornament for the Christmas tree can be built in any manner of simple, easy implementations. You certainly don’t need an ARM Cortex M4 CPU running at 120MHz having a mouthful of three letter features like FPU, ETM, ETB, ECC, RWW, TCM, EIC, AES, CAN bus and much, much more. But [Martin Held] built a super simple LED Christmas tree ornament using the ATSAME51 series micro-controller, which he regularly works with and had on hand, and lots of bi-color LEDs. He already had schematic symbols and programmers for the device from other projects where he uses it more extensively, so putting it all together in time for the festive season was that much faster for him, despite the fact that the micro-controller was most likely the cheapest part of the BOM, besides the passives.

At this point it might be tempting to argue that it would have been so much simpler to use addressable LED’s, such as the WS2812B or the APA102C. You can drive them using a more basic micro-controller, and not require so many GPIO pins. But using such “smart pixel” LED’s for hand assembled prototypes can sometimes lead to unexpected results. If they are not stored in sealed tape/reel form, then storage conditions can have an adverse effect leading to dead pixels. And, they need a specific baking procedure before being soldered. Doing that for a few LEDs at home can be tricky.

So for the LED’s, he again went a bit off the beaten path, selecting to use three different color styles of bi-color LED’s with easy to hand-solder, 1206 footprints. This allows him to get a fairly random mix of colors in the completed ornament.

The LED array is pseudo-charlieplexed. One terminal of each LED goes to a GPIO pin on the micro-controller and the other terminal of all the LED’s are connected to a single complimentary pair of N-channel/P-channel MOSFETs — connected in totem-pole fashion. Depending on which MOSFET is switched on via a GPIO pin driving the gate pin high or low, the second terminal of each LED gets connected to either supply or ground. In combination with the GPIO pins being driven high/low, this allows the bi-color LED to be biased in either direction. Getting each LED to emit one color is simple enough — setting all LED GPIOs low, and MOSFET gate GPIO high will bias the LEDs in one direction. Reverse the GPIO logic, and the LEDs will be biased in the other direction. If this is done slow enough, the two colors can be differentiated easily. If the driving logic is made fast, changing states every 10us, the two separate colors merge to form a third hue. With some clever bit of code, he also adds some randomness in the GPIO output states, resulting in a more appealing twinkling effect. [Martin] does a detailed walk through in the video embedded below.

If you have the same bunch of parts lying around and wish to replicate the project, be warned that the KiCad source files will need some work to clean up errors — [Martin] was in a hurry and knew what he was doing so there are some intentional mistakes in the schematic such as using the same symbol for the N-channel and P-channel MOSFETs, and uni-directional LED symbol in place of the bi-directional one. And for programming, you will need one of these pricey pogo-pin style cables, unless you decide to edit the PCB before sending off the Gerbers.

[Martin] built just three of these bespoke ornaments, retaining one and giving away the other two to a neighbour and a co-worker. But if you would really like to build a tree ornament with addressable LEDs, then check out the Sierpinski Christmas Tree which can be cascaded to form an array of tree ornaments.

Continue reading “Simple Christmas Tree Christmas Tree Ornament”

The Internet Of Christmas Tree Watering

There’s nothing quite like a real Christmas tree, but as anyone who’s had one will know there’s also nothing like the quantity of needles that a real tree can shed when it runs short of water. It’s a problem [RK] has tackled, with a Christmas tree water level monitor that has integration with Adafruit’s cloud service to give a handy phone notification when more watering is required.

The real interest in this project lies in the sensor development path. There are multiple ways of water level sensing from floats and switches through resistive and light scattering techniques, but he’s taken the brave step of using a capacitive approach. Water can be used as a dielectric between two parallel metal plates, and the level of the water varies the capacitance. Sadly the water from your tap is also a pretty good conductor, so the first attempt at a capacitive sensor was not effective. This was remedied with a polythene “sock” for each electrode constructed with the help of a heat sealer. The measurement circuit was simply a capacitive divider fed with a square wave, from which an Adafruit Huzzah board could easily derive an amplitude reading that was proportional to the water level. The board then sends its readings to Adafruit.io, from which a message can be sent to a Slack channel with the notification enabled. All in all a very handy solution.

Plant care is a long-running theme in Hackaday projects, but not all of them need a microcontroller.

How The Gates (Almost) Stole Christmas

‘Twas the night before Christmas and all through the house
Blue screens were everywhere; no response from the mouse
Windows, it seems, had decided to die
Because it had updated; we didn’t know why
But Santa had a plan while we were all in bed
He reformatted our server and installed Linux instead
In the morning we rushed in and what did we see?
Programs were running, and most of them free!
There was Chrome and Open Office and emacs for me
Not a penny was going to Mr. Gates’ fee
Now we have no more blue screens, ever, of course
Because Santa turned us on to that sweet open source

Sierpinski PCB Christmas Tree

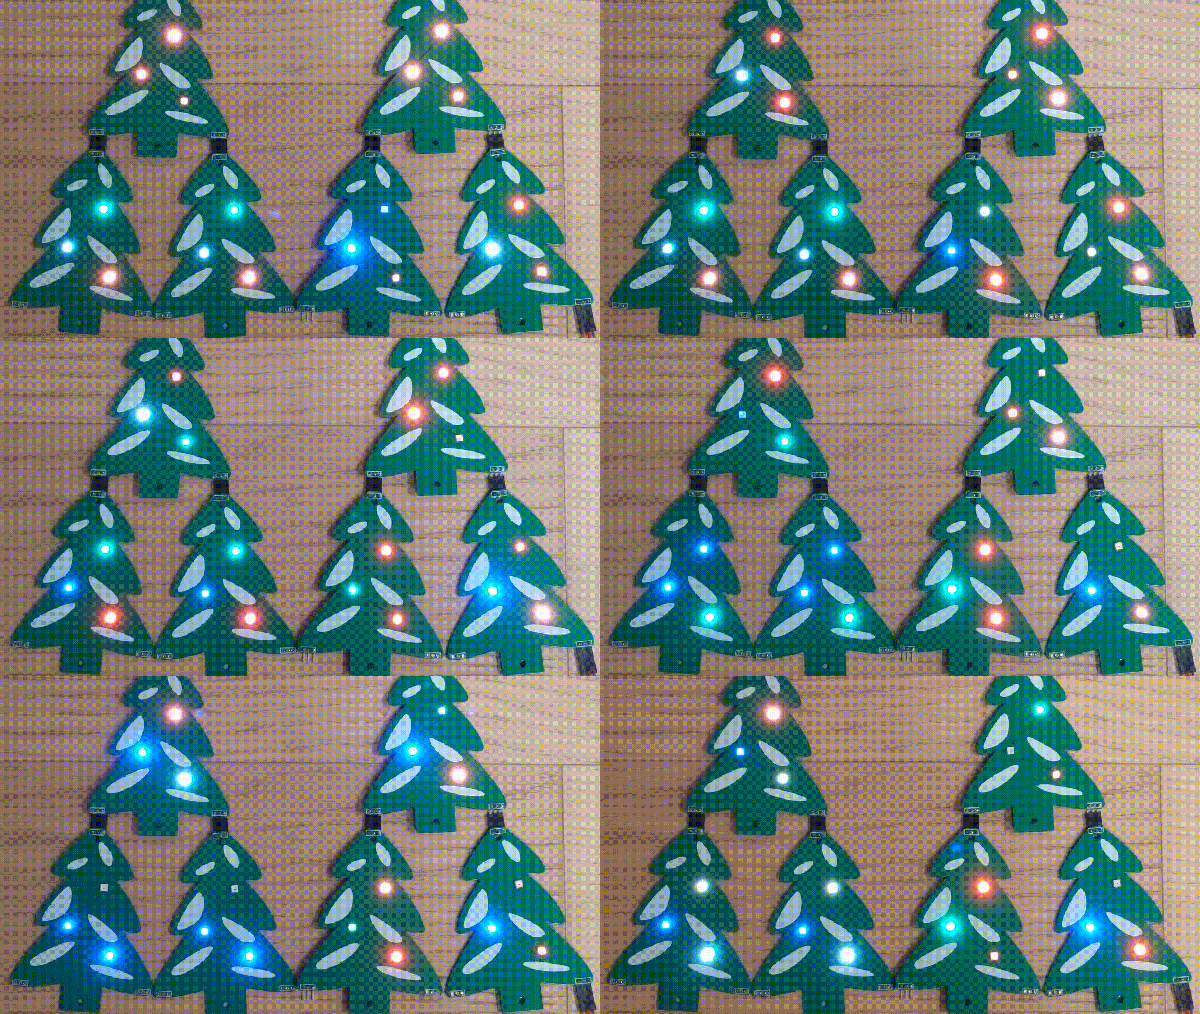
It’s holiday time again! And that means it’s time to break out the soldering iron and the RGB LEDs! If you’re going to make a custom PCB to put those LEDs on, you’ll notice that you get few copies of your PCB in your order, so, might as well design it such that you can combine them all together into a single Sierpinski Christmas Tree, just like [Landon Carter] did.

Each PCB “tree” has three connections which can be used as either inputs or outputs by soldering one of two bridge connections on the PCB. The power and signal goes up and down through the tree, rather than across, so the connections go one on the top of the tree and two on the bottom. This way, each tree in the triangle can easily be connected, and each triangle can be easily connected to another. Each individual tree has three WS2812b-mini addressable RGB LEDs and the tree is controlled by an external Arduino.

The first order of 10 PCBs came in, which makes a 9 member tree – next up is a 27 member tree. After that, you’re going to need some pretty high vaulted ceilings in order to put these on the wall. On the upside, though, once the holidays are over, everything can be easily disconnected and packed away with the rest of the decorations. If you, too, are interested in RGB LED decorations, there are a few on the site for your perusal.