3D Printing Silicone Parts

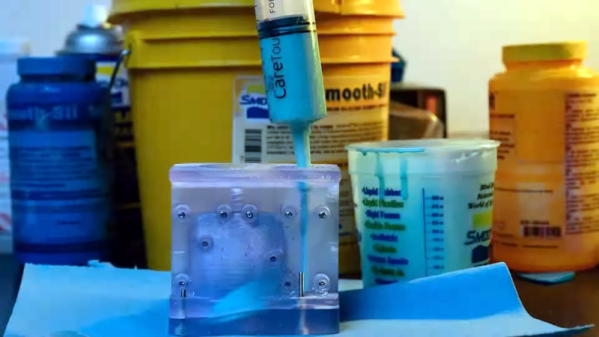
Silicone is a useful material for many purposes. Traditionally, creating something out of silicone required injection molding. That’s not difficult, but it does require a good bit of setup. As [Formlabs] points out in a recent video, there are at least three other routes to create silicone parts that utilize 3D printing technology that might fit your application better, especially if you only need a few of a particular item. You can see the video below.

The three methods are either printing silicone directly, printing a mold, casting silicone, or using high-performance elastomers, which are very silicone-like. Of course, as you might expect, some of this is aimed at prompting some of [Formlab’s] products, like a new silicone resin, and you can’t blame them for that.

Continue reading “3D Printing Silicone Parts”

3D Printed Screw Compressor Revisited

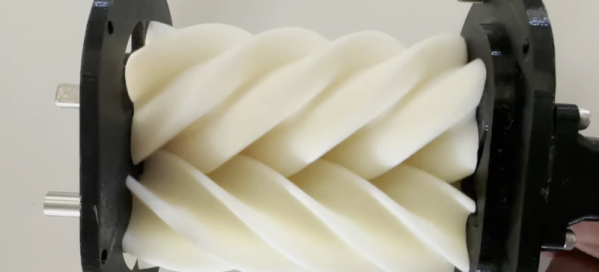
[Indeterminate Design] tried to 3D print a screw compressor some time ago but wasn’t satisfied with the result. He’s trying it again, and you can check it out in the video below. You can also download the 3D printable files.

This isn’t a 3D-printed keychain. The screw threads have to mesh with a small space between them, and the design is not trivial. Even if you don’t want to build your own, the look inside the engineering behind these devices is interesting, and there is quite a bit of background about how the rotor’s shapes are optimized.

Continue reading “3D Printed Screw Compressor Revisited”

There Are Stradi-various Ways To Make A Violin, And This Is One

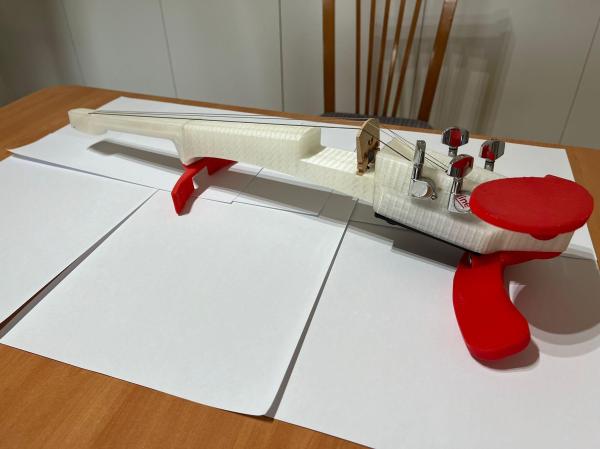
We’ve always said that if we had enough money, we’d have a large room that housed every musical instrument we’ve ever been even mildly interested in. While that dream may never come to pass, it would be far more likely to happen if many of the instruments could be 3D-printed, like this electric violin.

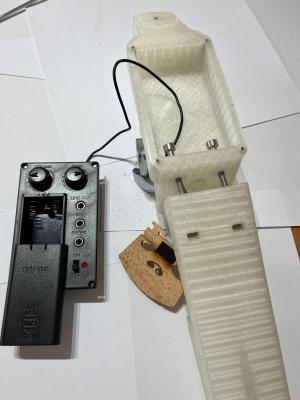
We really like this compact design, which mimics a headless guitar with the tuning pegs down by the bridge. [Carmensr] started with a model on Thingiverse, which uses violin strings wound around electric guitar tuners instead of wooden friction pegs. To further the guitar comparison, the three-piece neck contains a truss rod of sorts.

So how does it work, though? The magic is in the special bridge, which contains a piezo element. The bridge picks up the strings’ vibrations and sends them to a little pre-amplifier, which creates a signal that can then be used by a program like Audacity or connected directly to a speaker. Be sure to give it a listen in the video after the break.

Of course, there’s no reason not to design and print acoustic violins. It would be fun to experiment with different filaments for different sounds.

Continue reading “There Are Stradi-various Ways To Make A Violin, And This Is One”

[Thomas Sanladerer] Gets New Threads

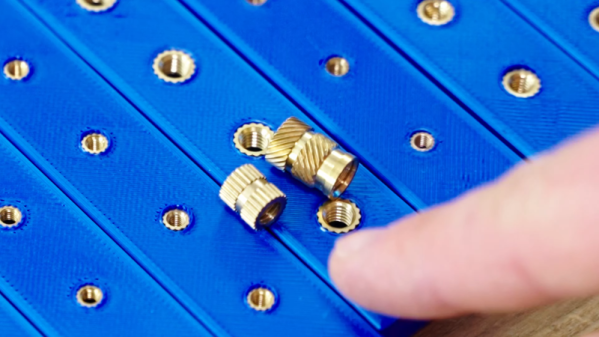
If you do much practical 3D printing, you eventually need some sort of fastener. You can use a screw to bite into plastic. You can create a clearance hole to accommodate a bolt and a nut or even build in a nut trap. You can also heat-set threaded inserts. Which is the best? [Thomas] does his usual complete examination and testing of the options in a recent video you can watch below.

[Thomas] uses inserts from [CNCKitchen] and some cheap inserts for 3D printing and some for injection molding. There are differences in the configuration of the teeth that bite into the plastic. [Thomas] also experimented with thread adapters that grab a 3D-printed thread.

Continue reading “[Thomas Sanladerer] Gets New Threads”

3D Printing Stacks

There is a big difference between building one of something and building, say, 100 of the same item. It isn’t surprising, then, that 3D printing in bulk differs from printing one object at a time. Of course, filling up your build plate is not a new idea. But [Keep Making] wants to encourage you to think in three dimensions and fill up your build volume in the Z axis, as well.

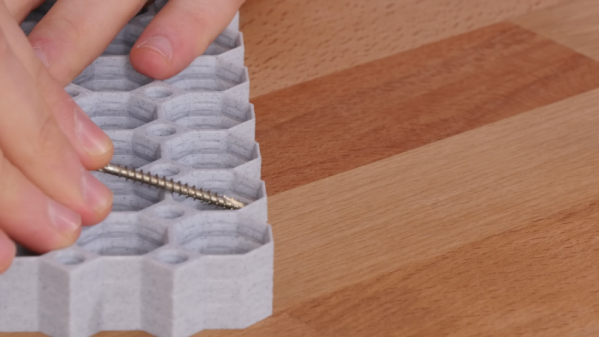
When you fill your X and Y axes, it is easy to see how the parts separate. But with stack printing, you must separate the parts from different layers. Each part has a single-layer gap, and the top surfaces are ironed for a better finish. Sometimes the prints may stick, and the video shows how to use a screw to pop off recalcitrant prints. The technique produces one side that isn’t as nice a finish as the other side, but it isn’t bad, and for many applications, you don’t care, anyway.

Before you get too excited about your own designs, you might try a simple test file and get your print settings dialed in. Obviously, if you need just two or three copies of something small, it is easier to step and repeat them across the build surface. But if you need to maximize your throughput or make multiple copies of large objects, this might be the technique for you.

Looks like an interesting technique that doesn’t require you to do anything strange like, say, waterproof your printer. No strings attached.

Continue reading “3D Printing Stacks”

Printing With Glass Fiber Filament

[ModBot] has been trying different engineering plastics for 3D printing. He recently looked at carbon fiber mixed with PET, but this time, he shows us his results with PET with glass fiber, or PET-GF. You can see how it all turned out in the video below.

The first part of the video compares the specifications, and, as you might expect, some factors are better for carbon fiber, and others are better for glass fibers. Once he gets to the printing, he covers the high temperatures needed (280-320C). He also talks about how either fiber will chew up nozzles and extruders.

Continue reading “Printing With Glass Fiber Filament”

Better 3D Printing Overhangs? Dive! Dive!

If you want better 3D-printed overhangs, you need better cooling, right? What would be better for cooling than printing submerged in water? It turns out [CPSdrone] tried it, and, at least for overhangs, it seems to work pretty well. Check it out in the video below.

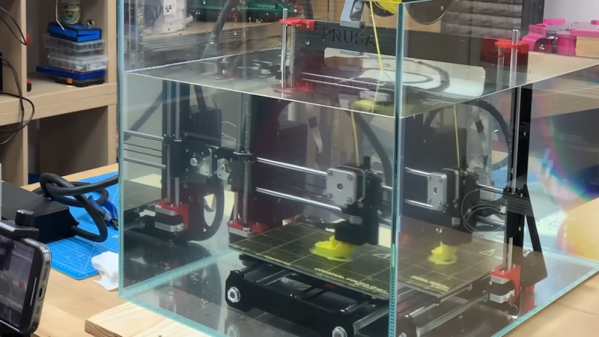
Of course, there are some downsides. First, the parts of the 3D printer don’t want to work in water. The guys used deionized water to minimize water conductivity and also sealed open connections. Some components were replaced with equivalents that were less likely to corrode. However, the bearings in the stepper are still going to corrode at some point.

There’s no free lunch, though. Cooling is good for some parts of 3D printing. But for the hot parts, it could cool down too much. They encased the hot end in a large silicon block to help prevent this. They also potted the controller board, which works but makes future maintenance and upgrades painful. Initial tests looked promising.

Continue reading “Better 3D Printing Overhangs? Dive! Dive!”