Powder Your Prints For Baby-Smoothness

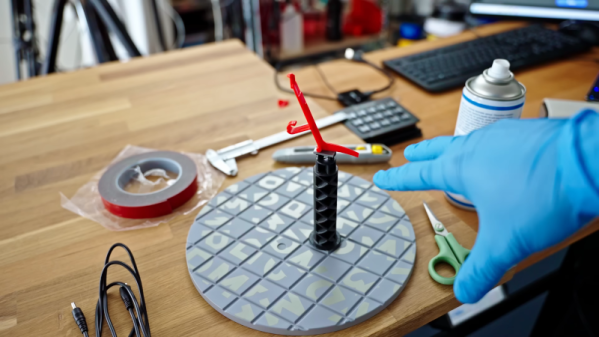
Layer lines are a dead giveaway to non-normies that a thing was 3D printed. There are things you can do to smooth them — sanding, chemical smoothing, and fillers come to mind. Although this technique technically uses all three, it starts with something very simple.

In the video after the break, [DaveRig] gets right to the point: baby powder and resin mixed together make a fine smoothing agent when cured. Having read about it online, he decided to give it a try.

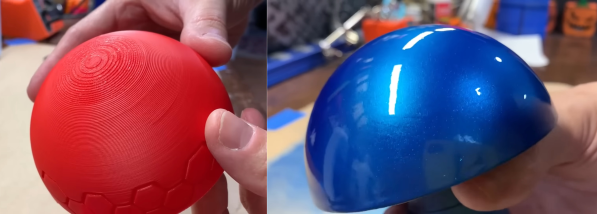
Starting with a half sphere that had admittedly pretty big layer lines, [DaveRig] mixed up enough resin and baby powder to make the consistency of milk or cream. Then he put five coats on, curing and sanding with 120 in between each one.

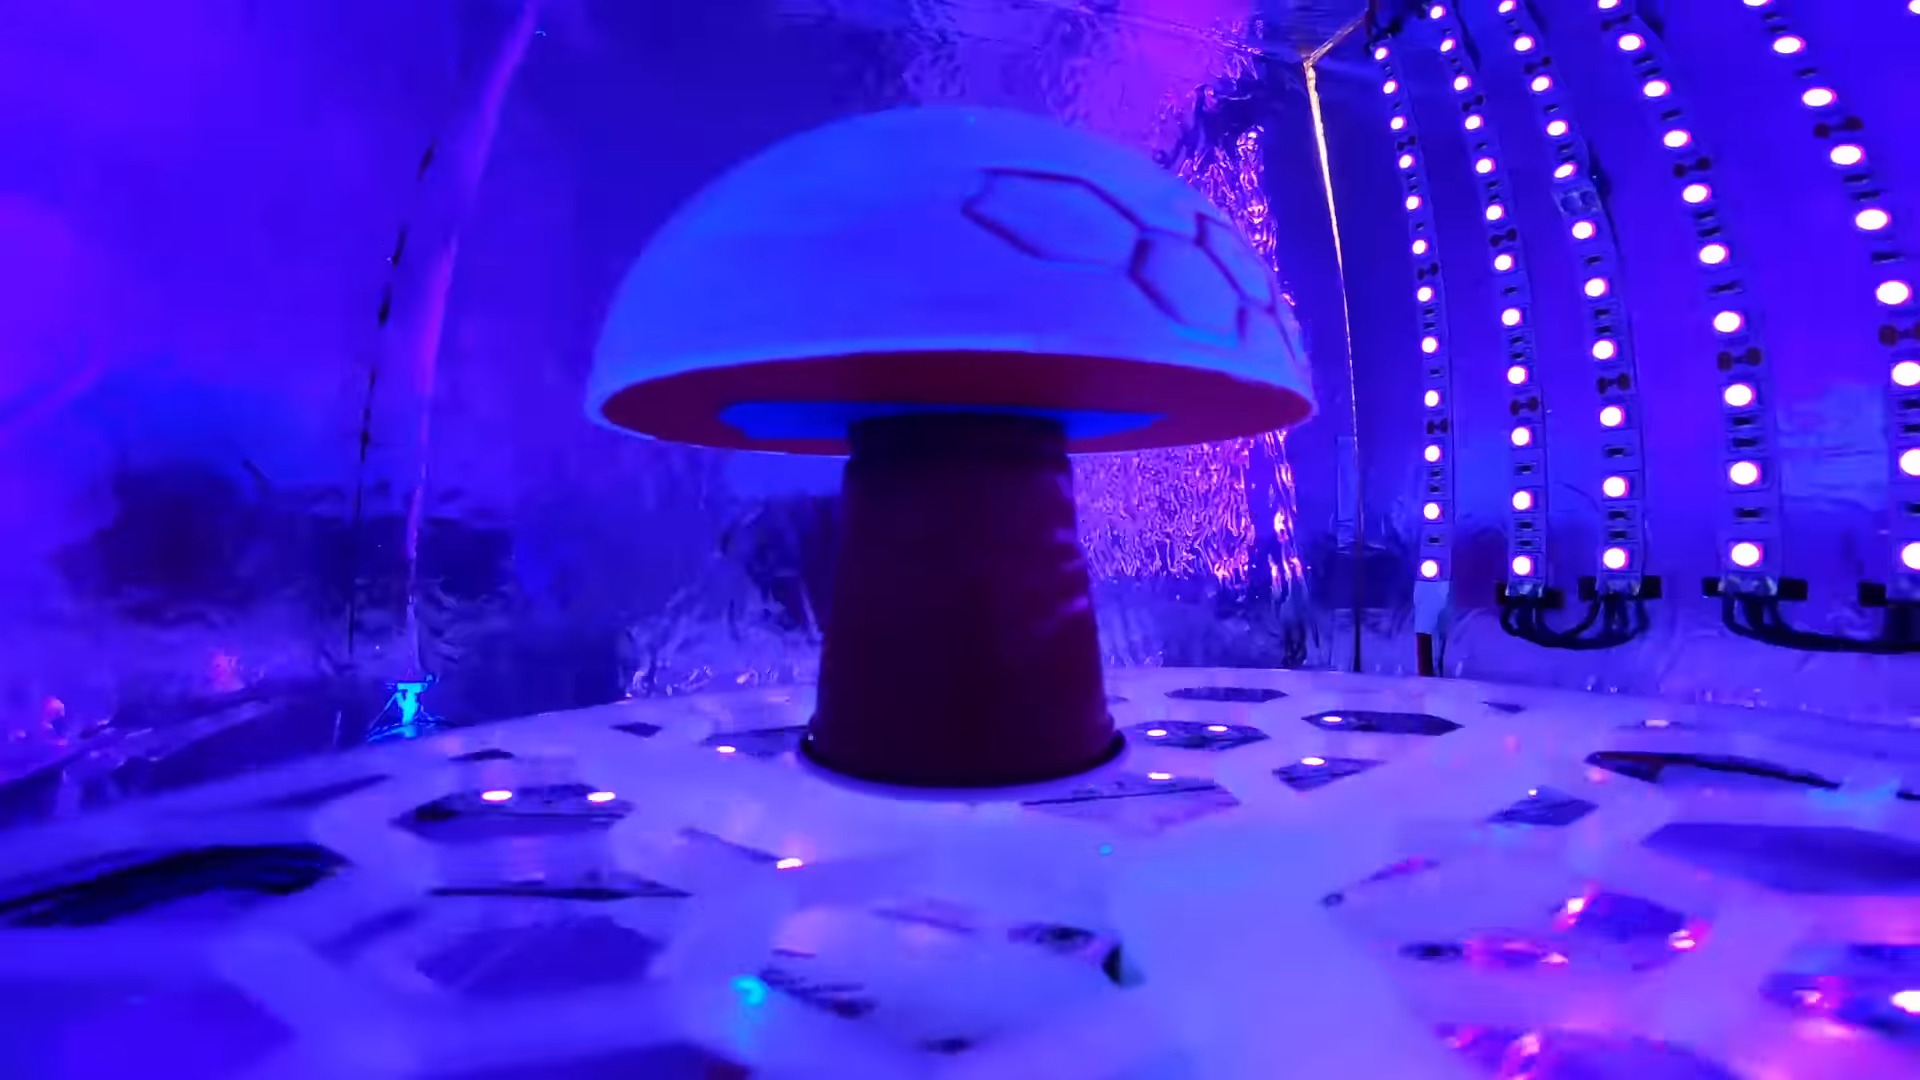
Then it’s on to standard post-processing stuff. You know, wipe it down with alcohol, sand it a little more, wet sand, and then it’s on to the airbrush and clear-coat. The end result looks to be as smooth as your average bowling ball, as you can see in the main photo.

What’s your favorite post-processing method? Have you tried annealing them in salt?

Continue reading “Powder Your Prints For Baby-Smoothness”

High Temp Resin Means Faster Hot Foil Stamping

[This Designed That] does a lot of hot foil stamping. That’s the shiny embellishment you’ll see on wedding invitations and your fancier letterheads. They wanted a way to quickly see if the process is right for a given design, and how it might come together if so. Many of the designs involve letter forms, which they have tried milling out of brass in the past, but the process is fiddly and takes a while. Seeking a faster way to test designs, [This Designed That] turned to 3D printing.

They achieved good results with an Elegoo Mars Pro, but the the most important thing here is the resin needs to withstand at least 130 C, which is the max that [This Deigned That] usually runs it at. The answer was in Phrozen TR300 resin, which can handle temps up to 160 C.

In trials, the stamp heat measured roughly 30 C lower on average than the press, so [This Designed That] kept turning up the heat, but it just wasn’t conductive enough. So they started experimenting with ways to increase heat transfer. First they tried molding metal powder, but it didn’t work. After briefly flirting with electroplating them, [This Designed That] finally tried some aluminum tape, wrapped tight and burnished to the design.

Now the hot foil machine stamps perfectly at only 120 C — the lower end of the standard temperature that [This Designed That] typically runs the thing. They are chuffed at the results, and frankly, so are we. Be sure to check out the process video after the break.

Curious about hot foil stamping machines? Check out this retrofit job.

Continue reading “High Temp Resin Means Faster Hot Foil Stamping”

3D Printing At 100C

Normally, 3D printing with filament takes temperatures of around 200 °C. However, there are some crafting plastics that melt in hot water at 60 °C. You can get spools of similar plastic that prints at very low temperatures, and some 3D printing pens use it. [Lost in Tech] picked up a spool of the stuff meant for medical printing and found that printing with it was a challenge. You can watch a video of the results below.

The first problem is that most printers don’t want to extrude at low temperatures. You can override this or, if you want to print with this plastic — PCL — you can rebuild the printer firmware. He never got bridges to work very well, but some prints came out reasonably well.

Of course, you might wonder why you would care about this kind of plastic. For one thing, it’s apparently safe to work with. If you were printing with students, too, you might be interested in a lower printer temperature. However, it didn’t look like the results were that good. However, it makes you wonder what kinds of filament you could use with a little work that might have some benefit.

The last time we heard about this stuff, someone was printing bones with it. We are always on the lookout for oddball filament to play with.

Continue reading “3D Printing At 100C”

3D Printed RC Car Is Geared For Speed

You can always go out and buy an RC car off the shelf. However, it’s readily achievable to print your own design that has many of the features of off-the-shelf models, as demonstrated by [Jinan].

[Jinan] set about creating a rear-wheel-drive design with a low center of gravity for good handling. Two large 5.2 Ah batteries slung low in the chassis help keep the car planted when cornering. [Jinan] also developed a double-wishbone suspension setup up front to handle bumps with ease.

With his eyes on top speed, [Jinan] needed a drivetrain that could handle sustained high RPM operation without failure. During the development process, [Jinan] spent plenty of time learning about the mathematics behind gear shapes before relying on a built-in CAD generator to do the job for him. Armed with proper gearing, he focused on making sure the driveshafts and other links wouldn’t fail at speed.

[Jinan] doesn’t shy away from diving into the engineering of his design, analyzing failures and improving on his designs along the way. It’s no surprise his design was able to reach 66 km/h (41 MPH) after his rigorous development process.  It’s compelling watching, and a great way to learn something.

Continue reading “3D Printed RC Car Is Geared For Speed”

Fitting 3D Prints In A Snap

The good news is that 3D printing lets you iterate on your design until it is just right. The bad news is that you often have to iterate your design over and over to get things to fit together. It is a little easier if you are designing both parts, but matching sizes and positions on a printed part that fits something that already exists can be a pain. Sure, you can grab the calipers and make fidgety measurements — but [Maker Tales] has a different approach. As you can see in the video below, he takes a photo, imports it into CAD, scales it, and then uses it as a reference.

If you have one, you could, of course, scan the existing part. However, if you’ve ever tried that, results vary wildly, especially with cheap hardware. [Maker Tales] just takes a picture with his phone, trying to get as straight as possible and from a distance. Once in CAD, he makes one measurement and scales the image to the correct size.

This is one of those things that should be obvious, but you don’t always think it through. Of course, it is possible to measure everything precisely or — even better — if you have the original CAD or drawing for the part that has exact measurements. But compared to making numerous precise measurements, this method is a lot less work and gives good results.

If you are creating mating parts, think about shadow lines. Many commercial parts now have CAD models as STEP files if you want to skip the scanning.

Continue reading “Fitting 3D Prints In A Snap”

[Thomas Sanladerer]’s YouTube Channel Goes In The Toilet

We like [Thomas Sanladerer], so when we say his channel has gone in the toilet, we mean that quite literally. He had a broken toilet and wanted to compare options for effecting a 3D printed repair. The mechanism is a wall-mounted flush mechanism with a small broken plastic part. Luckily, he had another identical unit that provided a part that wasn’t broken.

The first attempt was to 3D scan the good part. The first scanner’s software turned out to be finicky, and [Thomas] finally gave up on it. He finally used a handheld scanner which took about a half hour. It wasn’t, of course, perfect, so he also had to do some more post-processing.

The next step was to make measurements and draw the part in CAD. It took the same amount as the scan, and it is worth noting that the part had curves and angles — it wasn’t just a faceplate. The printed results were good, although a measurement error made the CAD model bind a bit instead of pivoting the way it should. The scan, of course, got it right.

A quick revision of the design solved that problem but, of course, it added some time to the process. At the end, he noticed that the scanned “good” part was also broken but in a different way. He added the additional part, which didn’t seem to bother the function. The scanned object required a little trimming but nothing tremendous.

In the end, the scanning was a bit quicker, partly because it didn’t suffer from the measurement error. However, [Thomas] noted that it was more fun to work in CAD. We thought the results looked better, anyway. [Thomas] thinks the scanners, at least the budget ones, are probably better for just getting reference objects into CAD to guide you when you create the actual objects to print.

It isn’t hard to make a cheap scanner. Some of the open designs are quite sophisticated.

Continue reading “[Thomas Sanladerer]’s YouTube Channel Goes In The Toilet”

3D Printed — Um — Hook And Loop Fasteners

[Teaching Tech’s] latest video discusses “3D printed Velcro.” But as even he admits, Velcro is a trademark, so we think it is more appropriate to talk about hook and loop fasteners. In fact, you can see the good-natured official video about the trademark below [Teaching Tech’s] video. Regardless, his experiments with several 3D-printed Vel… fastener designs are worth watching.

Some of the designs were rather large, like we would have expected. However, some of the designs were fairly small and looked almost like real Velcro. However, since the pattern is not as random as the fabric portions of the real deal, it seems like alignment between parts is more critical when you are joining the two halves.

Continue reading “3D Printed — Um — Hook And Loop Fasteners”