A Number Maze For Younger Hackers

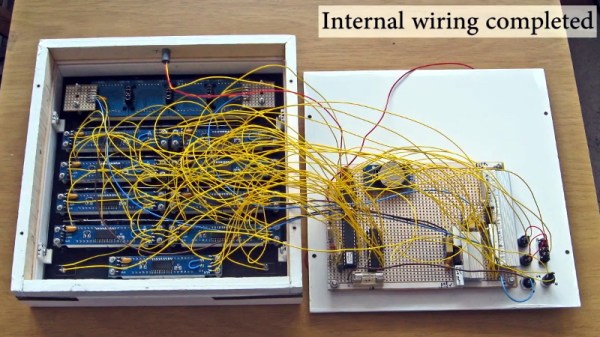
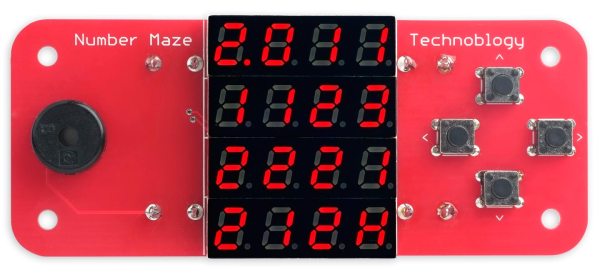
[David Johnson-Davies] has a lofty goal of building a small device to give to younger hackers on a semi-yearly basis. So this last year, he designed and created The Number Maze Game, a small handheld logic puzzle maze.

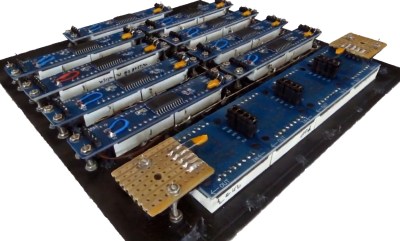
It’s based on several 4-digit seven-segment displays controlled by an AVR128DA32. Navigation is just a few push buttons and a buzzer to let you know when you’ve won. The game is simple: you jump the amount listed on the space you’re currently on, trying to get to the space labeled “H.” [David] lays out how he built it in great detail, discussing the process of designing and assembly. He also expounds on many decisions, such as using a TQFP microcontroller instead of the through-hole ATmega328P due to the I/O pin count.

The instructions and design process are so detailed we’re confident most people could easily reproduce it, especially with the code and board files. But the value of this project is not in blindly copying it. Instead, we love how something so simple can be wonderfully entertaining and valuable to younger hackers. Programming headers are included so they can add new mazes. We suspect there are many out there who would love to get something so tactile, simple, and modifiable.

Of course, we’ve seen other minimal maze games, so there’s no lack of inspiration for making some different.

tiny surface mount seven segment display

Nano-Sized 7-Segment LED Display On A Surface Mount Module

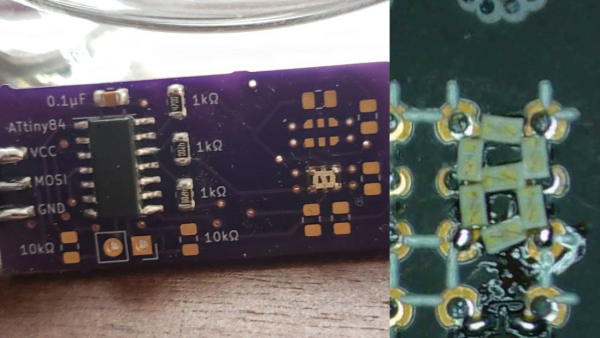
Inspired by a prank tweet, [Sam Ettinger] endeavored to create an SMD seven-segment display.  The NanoRaptor NanoSegment implements a panel of seven-segment display modules sized at “0806” each or just a bit wider than a standard 0805 SMD footprint.  Each of the seven segments is a single 0201 LED.  Six I/O lines and three resistors are required to operate each module.

To demonstrate the operation of his tiny display modules, Sam also created the “6Pin 7Seg” development board featuring an ATtiny84 microcontroller coupled to PCB footprints sized to receive the NanoRaptor NanoSegment display modules.  A demonstration of the board counts through digits displayed on one of the tiny seven-segment modules.

Hoping to reduce the module’s interface to two pins, Sam is now experimenting with a seven-segment display on a flex PCB that folds up into a 1208 footprint.  He is attempting to fold the resistors and a ATtiny20 microcontroller into an “origami PCB” configuration.

If these hacks are getting a little too small for your tastes, we’ve got you covered with this giant seven-segment display.


Quick Tip Improves Seven-Segment LED Visibility

We’re suckers for a nice seven-segment LED display around these parts, and judging by how often they seem to pop up in the projects that come our way, it seems the community is rather fond of them as well. But though they’re cheap, easy to work with, and give off that all important retro vibe, they certainly aren’t perfect. For one thing, their visibility can be pretty poor in some lighting conditions, especially if you’re trying to photograph them for documentation purposes.

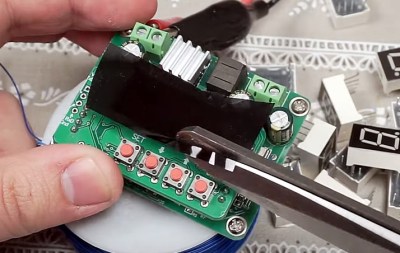
The tint film can be cut to size once applied.

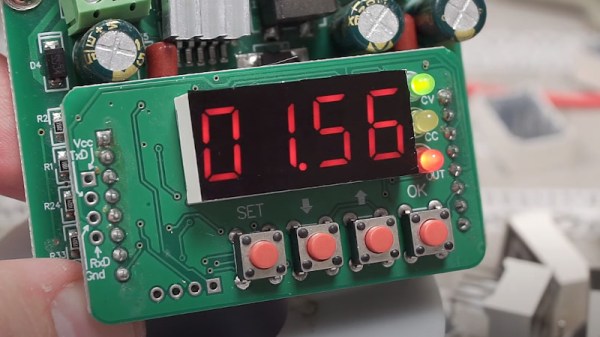
If this is a problem you’ve run into recently, [Hugatry] has a simple tip that might save you some aggravation. With a scrap piece of automotive window tint material, it’s easy to cut a custom filter that you can apply directly to the face of the display. As seen in the video, the improvement is quite dramatic. The digits were barely visible before, but with the added contrast provided by the tint, they stand bright and beautiful against the newly darkened background.

[Hugatry] used 5% tint film for this demonstration since it was what he already had on hand, but you might want to experiment with different values depending on the ambient light levels where you’re most likely to be reading the display. The stuff is certainly cheap enough to play around with — a quick check seems to show that for $10 USD you can get enough film to cover a few hundred displays. Which, depending on the project, isn’t nearly as overkill as you might think.

Continue reading “Quick Tip Improves Seven-Segment LED Visibility”

Seven-Segment Single-Steps Through The Time

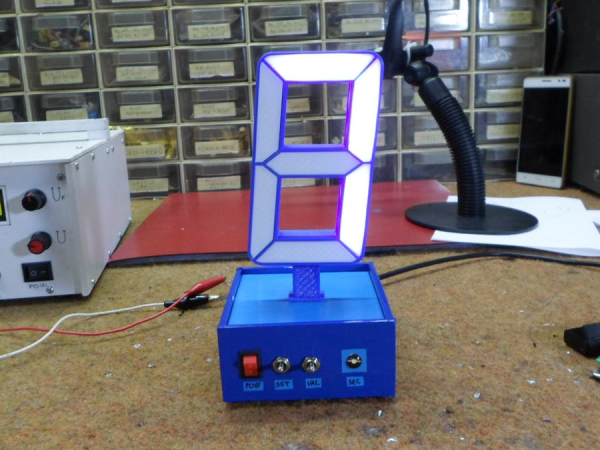
Have you ever looked at the time, and then had to look again because it just didn’t register? This phenomenon seems more prevalent with phone timepieces, but it’s been known to happen with standard wall clocks, too. This latest offering in a stream of unusual clocks fashioned by [mircemk] solves that problem by forcing the viewer to pay attention as the time flashes by in a series of single digits, separated by a hyphen.

Inside the boxy blue base is an Arduino Nano, a DS3231 real-time clock module, and a perfboard full of transistors for switching the LED strips inside the segments. There’s an LED on the front that blinks the seconds, and honestly, we’re kind of on the fence about this part. It would be nice if it faded in and out, or was otherwise a little less distracting, but it did grow on us as we watched the demo.

We love the way this clock celebrates the seven-segment display, and only wish it were much bigger. The STLs and code are available if you want to make one, though they only cover the 7-segment part — the base is made of foam board. Check out the demo and build video after the break.

Would you rather hear the time go by in gentle chimes? Here’s chime clock that uses old hard drive actuators.

Continue reading “Seven-Segment Single-Steps Through The Time”

24 Hours Of Temperature Data At A Glance

In an era where we can see the current temperature with just a glance at our smartphones, the classic “Time and Temp” gadget sitting on the desk doesn’t have quite the same appeal. The modern weather fanatic demands more data, which is where this gorgeous full-day temperature display from [Richard] comes in.

The display, built inside of a picture frame, shows the temperature recorded for every hour of the day. If the LED next to the corresponding hour is lit that means the value displayed is from the current day, otherwise it’s a holdover from the previous day’s recordings. This not only makes sure all 24 LED displays have something to show, but gives you an idea of where the temperature might be trending for the rest of the day. Naturally there’s also a display of the instantaneous temperature (indoor and outdoor), plus [Richard] even threw in the current wind speed for good measure.

In the video after the break, [Richard] briefly walks us through the construction of his “Thermo Logger”, which reveals among other things that the beautiful panel art is nothing more exotic than a printed piece of A4 paper. The video also features a 3D model of the inside of the device which appears to have been created through photogrammetry; perhaps one of the coolest pieces of project documentation we’ve ever seen. We’ll just throw this out there: if you want to ensure that your latest build makes the front page of Hackaday, pop off that back panel and make some decent quality 3D scans.

Given the final result, it should come as no surprise to find that this isn’t the first incredible weather display that [Richard] has built. We previously covered another weather monitoring creation of his that needed two seperate display devices to adequately display all the data it was collecting.

Continue reading “24 Hours Of Temperature Data At A Glance”

Addressable 7-Segment Displays May Make Multiplexing A Thing Of The Past

[Sean Hodgins] has a knack for coming up with simple solutions that can make a big difference, but this is one of those “Why didn’t I think of that?” things: addressable seven-segment LED displays.

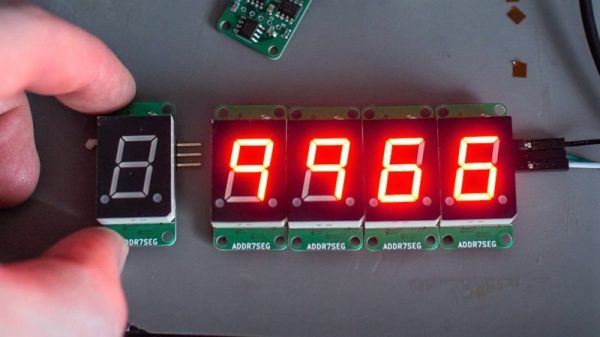
[Sean]’s design is basically a merging of everyone’s favorite Neopixel RGB LED driver with the ubiquitous seven-segment display. The WS2811 addressable RGB driver chip doesn’t necessarily have to drive three different color LEDs – it can drive three segments of the same display. With three of the chips on a single board, all seven segments plus the decimal point of a display can be controlled over a single data line. No more shift registers, no more multiplexing. And as a nice touch, individual displays can be ganged together with connectors on the back of each module. [Sean] has some code to support the display but is looking for someone to build a standalone library for it, so you might want to pitch in. Yes, he plans to sell the boards in his shop, but as with all his projects, this one is open source and everything you need to build your own is up on GitHub. The brief video below shows a few daisy-chained displays in action.

Like many of [Sean]’s designs, including this Arduino rapid design board, this is a simple way to get a tedious job done, and it wrings a lot of functionality from a single IO pin.

Continue reading “Addressable 7-Segment Displays May Make Multiplexing A Thing Of The Past”

A Display Made From Shoelaces

In our time here at Hackaday, we have seen many display builds, but this one from [Brian Lough] has to be a first. He’s created a 7-segment display made from shoelaces, and it works rather well.

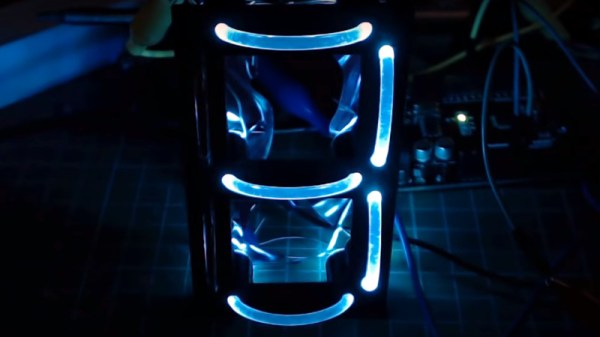
Before you imagine the fabric cords you’re used to with your trainers, it’s worth explaining that these aren’t shoelaces in the traditional sense, but transparent light pipe taken from commercially available light-up shoelaces. He’s created a 3D-printed frame with receptacles for each end of the light pipe sections he’s used as segments, and spaces for addressable LEDs on the rear. He makes no bones about his soldering job being less than perfect, but the result when hooked up to an Arduino is very impressive. A large 7-segment LED display that’s visible in the glare of his bench lighting and not just in subdued illumination. Future plans include replacing the messy wiring with stripboard sections for a better result.

This isn’t the first 7-segment display using a light pipe that we’ve seen here at Hackaday, a previous effort used a more novel substance. But perhaps this Nixie-inspired take on the same idea also deserves a mention.

Continue reading “A Display Made From Shoelaces”