
Theoretically, ambisonic microphones allow you to perfectly encode the soundscape around you and recreate it from the focal point of any direction. To do this, you need at least four microphone capsules and some math. Ambisonic microphones have been around for 50 years, but [DJJules] wanted to bring ease of use to these tools and push them into the open source fold.
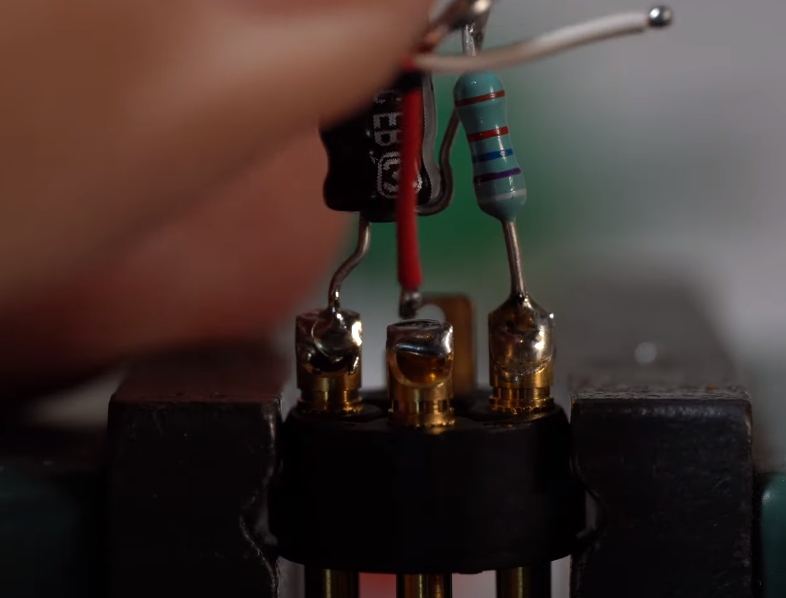 As you’ll see in the video below, there were a few iterations before this one. Everything changed for the better when [DJJules] found out about TSB25905 capsules. These are electret condenser mics with 1″ diaphragms and built-in EMI/RFI-suppressing capacitors. Another big help was deciding to color code everything from the XLR cable boots to the cable sleeves to the electrical tape that’s protecting each of the P48 resistor-capacitor pairs inside the XLR plugs.
[DJJules]’ buddy [Tom] designed and printed a single piece that holds the four capsules in a perfect tetrahedral array, and an elegant two-piece basket that protects the mics and provides a base for a one of those furry windscreens. The mics and the basket are separated with four silicone plugs designed for quadcopters that provide both isolation and vibration dampening.
If you want to make one of these yourself, [DJJules] has STLs for both a normal microphone stand and another for GoPro mounts. Check out the build video after the break and the sound demos on Instructables.
No need for a rich soundscape? Build a USB microphone instead, or if that’s too cold and modern, whittle up a wooden a ribbon mic.
Continue reading “Ambi-Alice Goes Down The Rabbit Hole Of Ambisonic Microphones”


