3 Ways To DIY Custom CNC Dust Covers

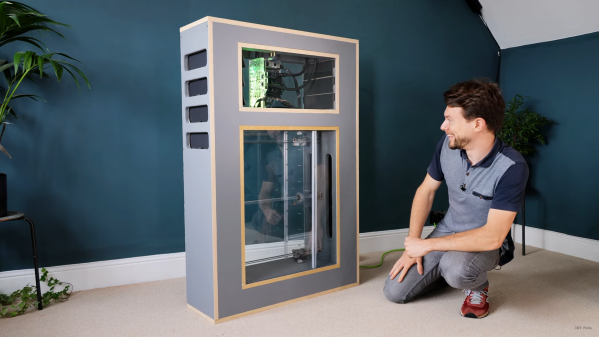
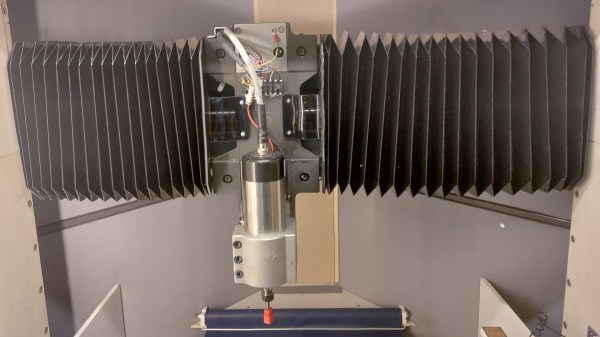
Home shop machinists know dust shields are important for keeping swarf out of expensive linear rails and ball screws. [Petteri Aimonen] demonstrates three inexpensive ways to DIY some bellows-style dust covers. Such things can of course be purchased, but they’re priced at a premium and not always available in the size one needs.

A bellows-style dust cover ideally maximizes extension length while minimizing side wall distortion. It should hold its shape without external support.

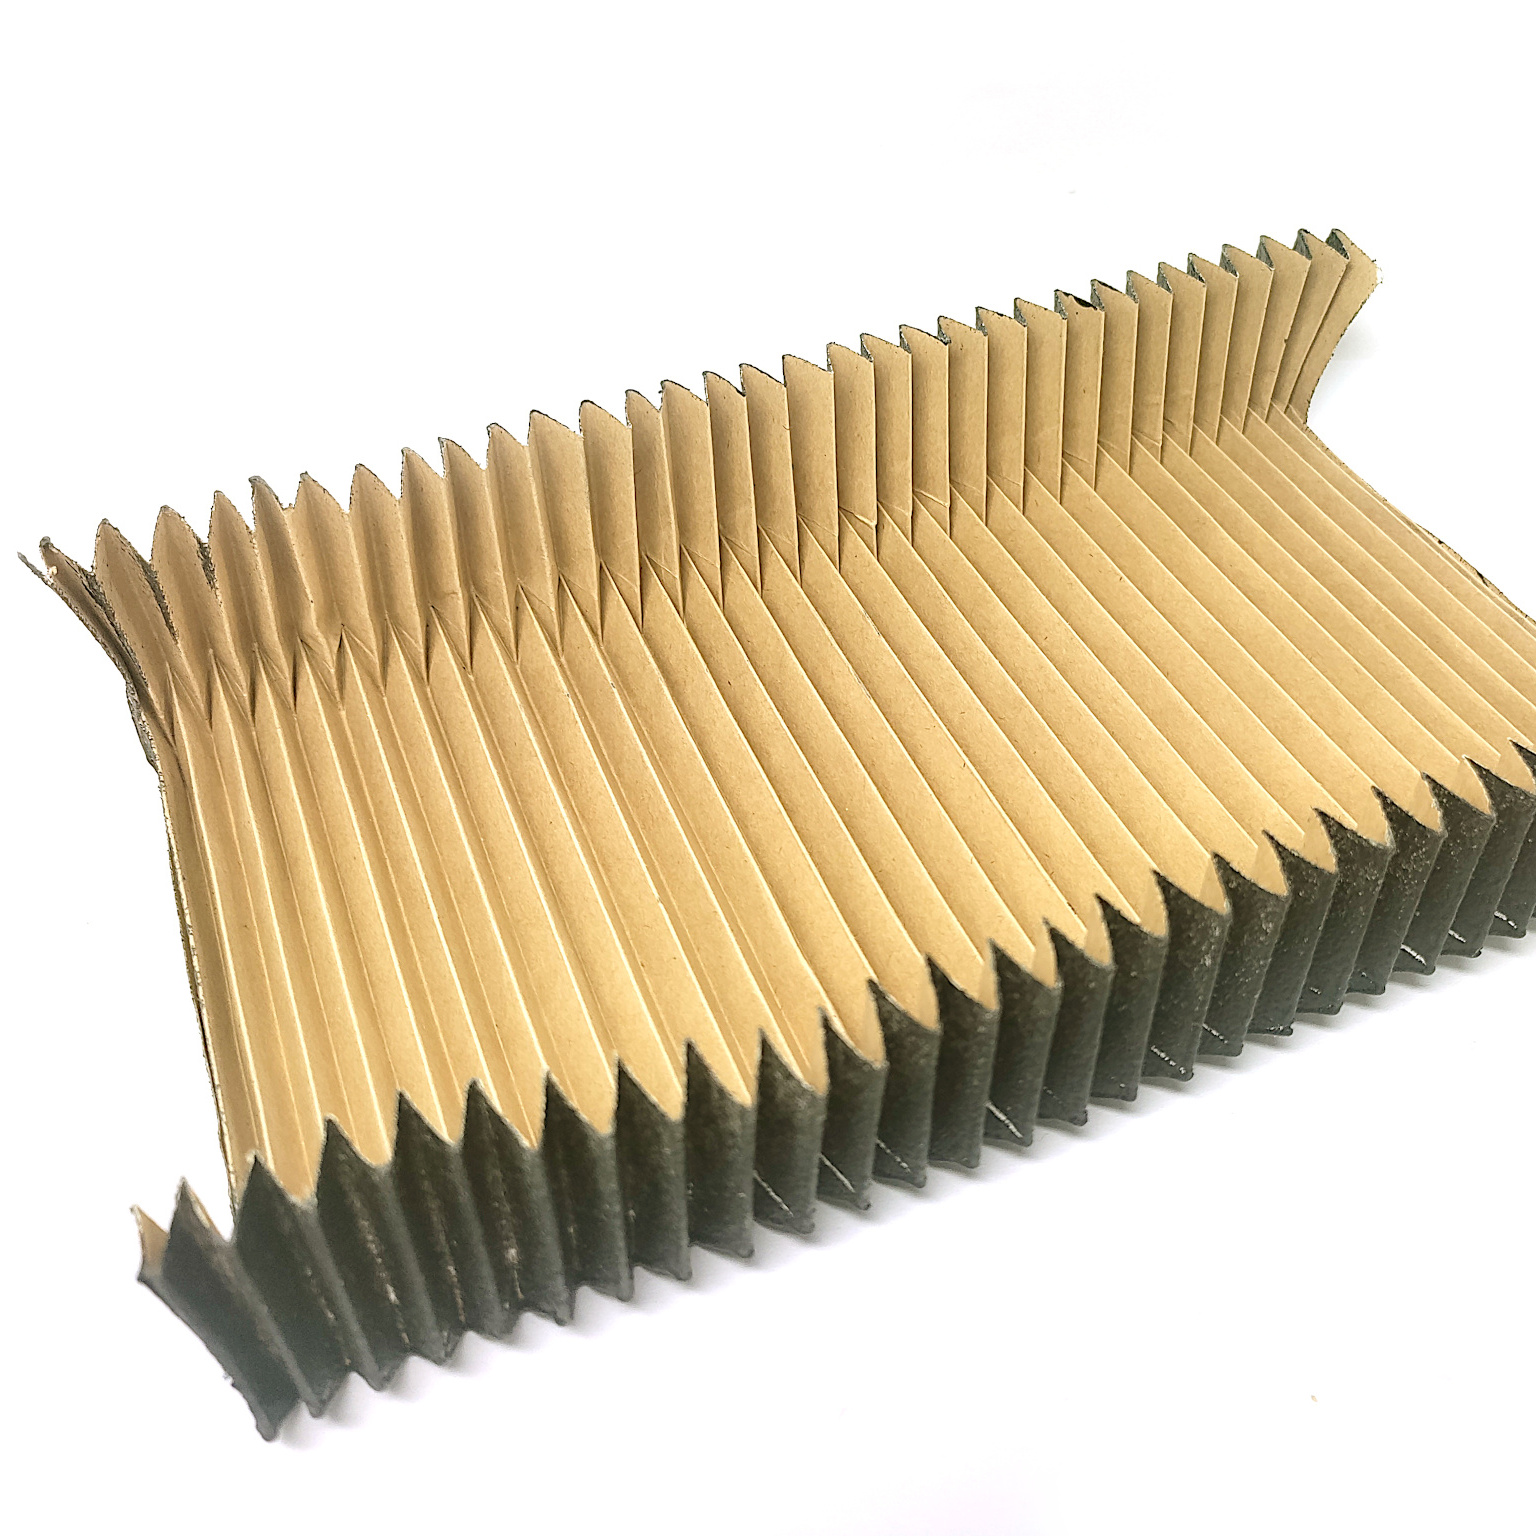
The first method is to fold a suitable flat plastic or paper sheet into a bellows pattern. This method is all about the fold pattern, and thankfully, there’s no need to reinvent the wheel. [Petteri] used a fellow enthusiast’s bellows folding pattern generator which is, believe it or not, itself inspired by a remarkably comprehensive US Patent Number 6,054,194.

The downside to this method is the thickness of the bellows when it is fully collapsed. The corners always contain the most material, because it is there that the material is folded upon itself, and this limits how close to the end of travel the CNC carriage can move with the bellows attached.

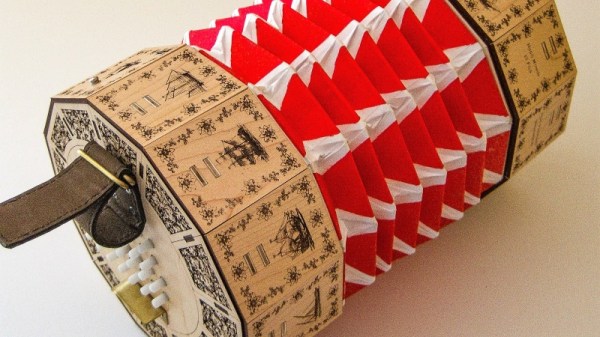
The second method is to cut a large number of C-shaped sections from fabric and sew them together to make bellows. This method collapses down well and holds its shape well, but the cutting and sewing it requires can be a barrier.

The final method — and the one [Petteri] found most useful — was to hack some IKEA window blinds. IKEA Schottis pleated blinds are inexpensive, with a slick finish on one side and polyester fabric.  The polyester is perfect for gluing. By cutting the material at a 45-degree angle into three sections and gluing them into a U-shape, one can create a serviceable bellows-style cover for a minimum of work.

Any of the explored methods can do the job, but [Petteri] has formulas to determine the maximum extensions and folded thicknesses of each method just in case one would like to see for themselves before choosing. And if a bellows-style cover isn’t your cup of tea, check out this method for turning a plastic strip into a spring-like tube that does the same job.

Laser Brings Autofocus To Tricked-Out Large Format Film Camera

You can’t argue with the results of large-format film cameras — picture the boxy bellows held by a cigar-chomping big-city press photographer of the 1940s — but they don’t really hold a candle to the usability and portability of even the earliest generations of 35mm cameras. And add in the ease-of-use features of later film and digital cameras, and something like a 4×5 Graflex seems like a real dinosaur.

Or maybe not. [Aleksi Koski] has built a large-format camera with autofocus, the “Conflict 45.” The problem with a lot of the large-format film cameras, which tend to be of a non-reflex optical design, is that it’s difficult or even impossible to see what you’re shooting through the lens. This makes focusing a bit of a guessing game, a problem that [Aleksi] addresses with his design. Sadly, the linked Petapixel article is basically devoid of technical details, but from what we can glean from it and the video below, the Conflict 45 is a 4″x5″ sheet-film camera that has a motorized lens board and a laser rangefinder. A short video has a through-viewfinder view showing an LCD overlay, which means there’s some kind of microcontroller on board as well, which is probably used for the calculations needed to compensate for parallax errors during close focusing, as well as other uses.

The camera is built from 3D printed parts; [Aleksi] says that this is just a prototype and that the finished camera will have a carbon-fiber body. We’d love to see more build details, but for now, we just love the idea of an easy-to-use large-format camera. Just maybe not that big.

Continue reading “Laser Brings Autofocus To Tricked-Out Large Format Film Camera”

Bellow-Cooled PC Is A Well Engineered Display Piece

The cooling systems on high-performance PCs are often a large part of their visual appeal, but we’ve never seen anything like [DIY Perks]’ latest build: A massive bellow-cooled PC.

The system is derived from a silent bellow system built by [DIY Perks] in 2020. It uses a clever combination of hydraulics and neodymium magnets to smoothly reciprocate a large plate within a chamber. Instead of blowing the air straight into the room, it pushes it through a pair of wood ducts into a second chamber with PC components, and out through a water-cooling radiator. To prevent the hot air from being sucked back in as the bellow reciprocates, a row of check valves was added on each side of the PC chamber and at the external intakes. The sides of the bellow chamber and PC chamber are made of glass to allow a full view of the internal components.

The build was not without complications. While disassembling the old bellow, the acrylic tube in which the magnet reciprocates shattered. When a replacement rube arrived, [DIY Perks] discovered the magnet’s fit was very loose. He solved this by increasing the thickness of the magnet’s nickel coating with another run of electroplating. To achieve a uniform coating, he agitated the plating solution by suspending the magnet from a small speaker playing a sine-wave tone. The cooling performance is excellent, keeping the CPU and GPU at 60C or below, even while running them at full tilt.

Continue reading “Bellow-Cooled PC Is A Well Engineered Display Piece”

Near-Silent Bellows Uses Water Flow And Magnetic Coupling

Fan noise is a contentious issue among the computer community. Some don’t notice it, others rage against it as an annoyance and distraction. Some turn to liquid cooling, while others look to passive solutions to eliminate the scourge. [Matt] of [DIY Perks] may have found a far more oddball solution, however.

The build is essentially a giant bellows, but the manner in which it operates is unlike anything we’ve seen previously. To shift the large pusher plate inside back and forth, [Matt] initially experimented with building his own linear motor out of coils and magnets. After that failed, he began to tinker with a system of moving a magnet back and forth through a tube with water pressure from a pump, which would then drive the pusher plate through magnetic coupling. This looked promising, but reversing the flow proved difficult. After building his own set of water valves to change the flow direction, the bellows began to work slowly, but with limited performance. Realizing the valves weren’t up to scratch, [Matt] rebuilt the system with 10 pumps, set up in two banks of 5. With the pumps hooked up in series, they supplied plenty of pressure to force the bellows back and forth. Reed switches were used to reverse the flow at either end to make the bellows run continuously.

In testing, the bellows compared well with a bank of four large case fans, though at 20 times the size. Suffice to say this is not exactly a compact solution. We look forward to seeing [Matt] do more with the bellows, with his intention being to use it as the primary cooling system for a computer. Of course, if this looks too complex, you could always consider a mineral oil setup instead. Video after the break.

Continue reading “Near-Silent Bellows Uses Water Flow And Magnetic Coupling”

MIDI Controller In A Concertina Looks Sea Shanty-Ready

Did you know that the English concertina, that hand-pumped bellows instrument favored by sailors both legitimate and piratical in the Age of Sail, was invented by none other than [Sir Charles Wheatstone]? We didn’t, but [Dave Ehnebuske] knew that the venerable English gentleman was tickling the keys of his instrument nearly two decades before experimenting with the bridge circuit that would bear his name.

This, however, is not the reason [Dave] built a MIDI controller in the form of an English concertina. That has more to do with the fact that he already knows how to play one, they’re relatively easy to build, and it’s a great form factor for a MIDI controller. A real concertina has a series of reeds that vibrate as air from the hand bellows is directed over them by valves controlled by a forest of keys. [Dave]’s controller apes that form, with two wind boxes made from laser-cut plywood connected by a bellows made from cardboard, Tyvek, and nylon fabric. The keys are non-clicky Cherry MX-types that are scanned by a Bluefeather microcontroller. To provide some control over expression, [Dave] included a pressure sensor, which alters the volume of the notes played depending on how hard he pushes the bellows. The controller talks MIDI over Bluetooth, and you can hear it in action below.

We’ve seen MIDI controllers in just about everything, from a pair of skate shoes to a fidget spinner. But this is the first time we’ve seen one done up like this. Great job, [Dave]!

Continue reading “MIDI Controller In A Concertina Looks Sea Shanty-Ready”

Latex Bellows From Scratch

You would be forgiven for thinking that the semi-spherical bulb [Len], from the Bellowphone channel, is holding is a toilet bowl float. It is a bellows of his design that is similar to the squeezable part of a bike horn but is more substantial and less irritating at six in the morning. These rubber squeeze balls are old-school in the best way, and craftsmanship rolls out from every second of his videos. The backdrops to [Len’s] videos are alive with tools, materials, examples, and instruments the same way our offices and maker spaces erupt with soldering irons, LEDs, and passives.

His video walks through all the steps to make latex bellows starting with a rigid stemmed bulb and painting it with latex. This takes a bunch of coats with the associated drying time, so if you need a lot of bellows, you will want multiple bulbs. After coating of latex, we move to the contraption known as the Snout Master 5000. The SM5K looks like a wooden jig held in a table vise, but it is a purpose-built over-engineered chuck with four ball bearings held in a vise. When the latex is thick enough, the form is removed, and the bulb is repaired, then, more coats. Each ball has roughly twenty layers, and with three hours between coats, this is a weekend job at a minimum. Good things come to those who coat. The final steps are boiling the bulbs and adding a silicone preservative. They can last up to a decade with proper maintenance.

We see lots of electronic and automated instruments here, and spherical balls are definitely on the human interface spectrum, but the techniques we see from [Len] would allow anyone to design their own bellows more conducive to mechanization. [Len] says one of his inspiration is [Harry Partch] and his Blo-Boy, an organ powered by fireplace bellows. We think these squeeze balls are even better.

Continue reading “Latex Bellows From Scratch”

New Cameras Learning Old Lens Tricks

[Michael H] tipped us off about this guide to using view camera lens parts with DSLR cameras and lenses. We weren’t familiar with the term ‘view camera’ but we certainly recognize the accordion-like bellows that define that type of camera. The idea is that modern cameras with their fixed lenses miss out on some types of shots. Why not work out a way to get the best from both old and new?

The concept behind the view camera is that there are two plates connected by the bellows. One plate holds the film and shutter, the other holds the lens. The two can be adjusted for focal length but can also be set at an angle to each other. This modern adaptation uses an adjustable frame to hold the two plates in position. Custom connectors were made by attaching lens rings to the plates. It’s pretty much the same connection technique as we’ve seen when trying to mate cameras with lenses from a different maker.