Modern CO2 Laser Reviewed

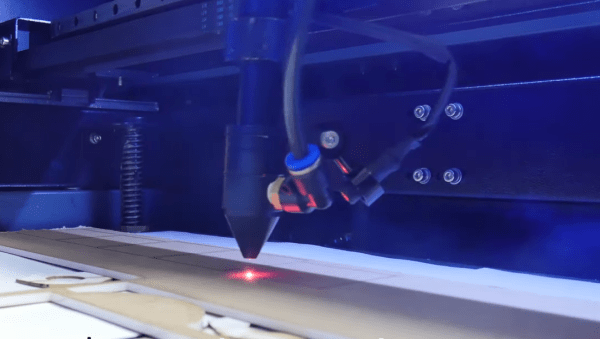
If you’ve got a laser cutter, it is highly probable that it uses a laser diode. But more expensive machines use a carbon dioxide laser tube along with mirrors. There was a time when these lasers came in two flavors: very expensive and amazing or moderately expensive and cheaply made. However, we are seeing that even the moderately expensive machines are now becoming quite advanced. [Chad] reviews a 55-watt xTool P2. At around $5,000, it is still a little spendy for a home shop, but it does have pretty amazing features. We can only hope some less expensive diode lasers will adopt some of these features.

[Chad’s] video that you can see below attempts to recreate some of the amazing things xTool did on their product introduction live stream. He was able to recreate most, but not all of the results. In some cases, he was also able to do better.

Continue reading “Modern CO2 Laser Reviewed”

Illuminating Origami Is Just Around The Corner

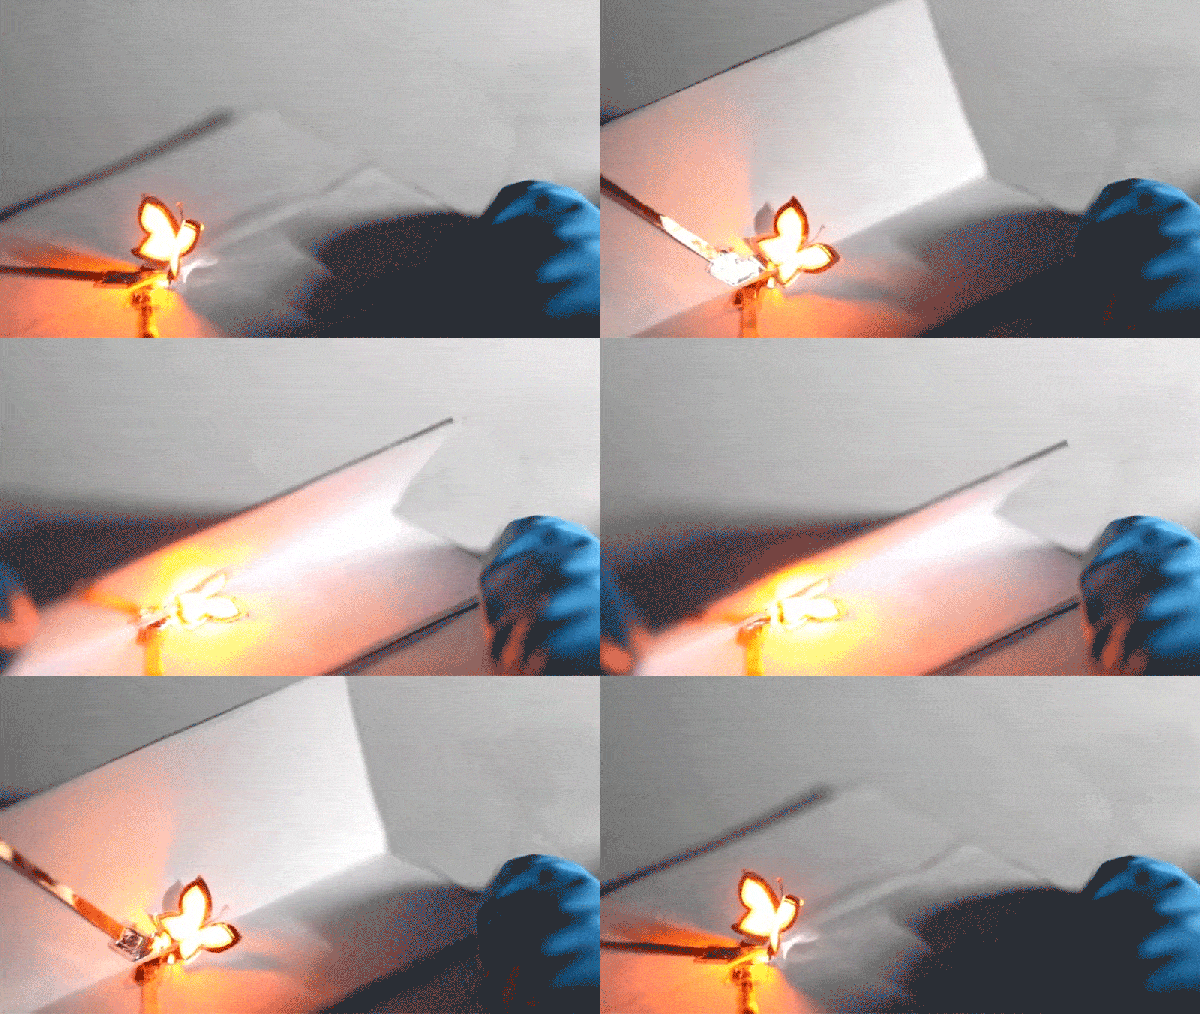
Pop-up greeting cards are about to get a whole lot more interesting. Researchers at Seoul National University in Korea have created glowing 3D objects with a series of prototypes that fold thin QLED (Quantum Dot LED) sheets like origami. They used a CO2 laser to etch “fold lines” in the QLED so the sheets could be formed into 3D shapes. The bends are actually rounded, but at 5μm they appear to be sharp corners and the panels continue to illuminate across the fold lines for at least 500 folds. Some glow in solid colors, while others use smaller addressable areas to create animated matrix displays of patterns and letterforms. See the short video after the break, read the Physics World article or to see all the prototypes and dig into details of the full research paper in Nature (freed from the paywall by SharedIt).

We’re not sure how soon this technique can be duplicated in our home labs, but we can’t wait to fold up our own 3D lights and matrices. Until then, check out some glowing origami you can make right now from [Charlyn Gonda] at Remoticon 2020 and earlier that year and this amazing origami lamp.

Continue reading “Illuminating Origami Is Just Around The Corner”

CO2 laser cutting ceramic sheet under water film

Water Is The Secret Ingredient When Laser Cutting Ceramics To Make Circuits

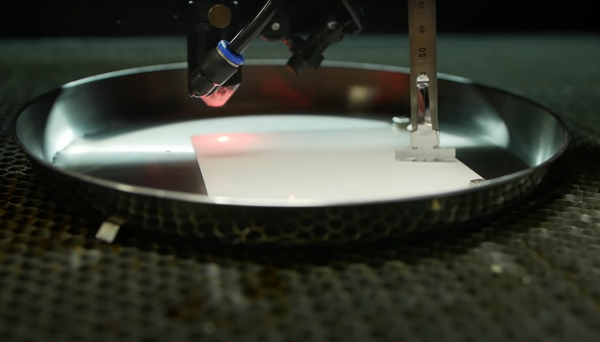
[Ben Krasnow] over at Applied Science was experimenting with cutting inexpensive ceramic sheets with his cheap CO2 laser cutter when he found that (just as expected) the thermal shock of the CO2 beam would cause cracking and breaking of the workpiece. After much experimentation, he stumbled upon a simple solution: submersion under a thin layer of water was sufficient to remove excess heat, keeping thermal shock at bay, and eventually cutting the material. Some prior art was uncovered, which we believe is this PHD thesis (PDF) from Manchester University in the UK. This is a great read for anyone wanting to dig into this technique a little deeper.

The CO2 laser cutter is a very versatile tool, capable of cutting and etching a wide range of materials, many of natural origin, such as cardboard, leather and wood, as well as certain plastics and other synthetic materials. But, there are also materials that are generally a no-go, such as metals, ceramics and anything that does not absorb the laser wavelength adequately or is too reflective, so having another string in one’s bow is a good thing. After all, not everyone has access to a fibre laser.

After dispensing with the problem of how to cut ceramic, it got even more interesting. He proceeded to deposit conductive traces sufficiently robust to solder to. A mask was made from vinyl sheet and a squeegee used to deposit a thick layer of silver and glass particles 1 um or less in size. This was then sintered in a small kiln, which was controlled with a Raspberry Pi running PicoReFlow, and after a little bit of scrubbing, the surface resistance was a very usable 2 mΩ/square. Holes cut with the laser, together with some silver material being pushed through with the squeegee formed through holes with no additional effort. That’s pretty neat!

Some solder paste and parts were added to the demo board, and with an added flare for no real reason other than he could, reflowed by simply applying power direct to the board. A heater trace had been applied to the bottom surface, rendering the board capable of self-reflowing. Now that is cool!

Continue reading “Water Is The Secret Ingredient When Laser Cutting Ceramics To Make Circuits”

Making Models With Lasers

Good design starts with a good idea, and being able to flesh that idea out with a model. In the electronics world, we would build a model on a breadboard before soldering everything together. In much the same way that the industrial designer [Eric Strebel] makes models of his creations before creating the final version. In his latest video, he demonstrates the use of a CO2 laser for model making.

While this video could be considered a primer for using a laser cutter, watching some of the fine detail work that [Eric] employs is interesting in the way that watching any master craftsman is. He builds several cubes out of various materials, demonstrating the operation of the laser cutter and showing how best to assemble the “models”. [Eric] starts with acrylic before moving to wood, cardboard, and finally his preferred material: foam core. The final model has beveled edges and an interior cylinder, demonstrating many “tricks of the trade” of model building.

Of course, you may wish to build models of more complex objects than cubes. If you have never had the opportunity to use a laser cutter, you will quickly realize how much simpler the design process is with high-quality tools like this one. It doesn’t hurt to have [Eric]’s experience and mastery of industrial design to help out, either.

Continue reading “Making Models With Lasers”

Fail Of The Week: Did My Laser Cutter Tube Really Burn Out?

All the cool kids are doing it these days, or more like for many years now: you can get a laser cutter for a song if you don’t mind doing your own repairs and upgrades — you know, being a hacker. The downside is that some failures can really ruin your day. This is what [Erich Styger] encountered with his cutter that is just a bit more than a year old. This Fail of the Week looks at the mysterious death of a CO2 laser tube.

This is the infamous K40 laser cutter. Our own [Adam Fabio] just took one on a couple of months back and [Erich] even references Hackaday coverage of the K40 Whisperer project as what pushed him over the edge to make the purchase. We’ve followed his blog as he acquired the cutter and made upgrades along the way, but after an estimated 500 hours of use, a horrible teeth-gnashing screech sprung forth from the machine. [Erich’s] reaction was to hit the e-stop; that’s certainly why it’s there.

Chasing down the problem is a story well-told, but as is often the case with these FotW articles, in the end what caused the failure is not entirely known. We’d love to hear what you think about it in the comments below.

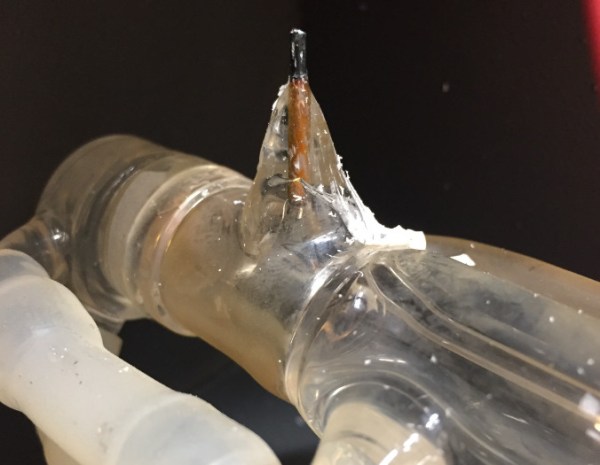
The investigation began at the power supply for the laser, but that didn’t yield any answers. Next he moved to the tube itself, noticing that the wire connection to the tube’s anode wasn’t soldered. The anode is an unknown material he suspects to be graphite and he found a video showing the “soldering” process for connecting a wire. (We added quotes to that as the video he linked doesn’t actually solder anything but the wrapped wire strands themselves.) The solution he found is a great tip to take away from the story. It’s a socket by TE Connectivity to which he soldered the wire. Assuming it’s power rated for the task, and won’t fall off during normal operation, this is a great way to do it.

But we digress. Even with the connection made, the old tube had to be replaced with a new one. It’s also notable that the portion of that anode inside the bad tube is orange in color when a new tube would be black like the part on the outside. Does this hint at why that tube died, and could this have been avoided? If you have insight, help us learn from this failure by leaving a comment below.

Scratch-Building A Supersized Laser Cutter

Now that 3D printers have more or less hit the mass market, hackers need a new “elite” tool to spend their time designing and fiddling with. Judging by the last couple of years, it looks like laser cutters will be taking over as the hacker tool du jour; as we’re starting to see more and more custom builds and modifications of entry-level commercial models. Usually these are limited to relatively small and low powered diode lasers, but as the following project shows, that’s not always the case.
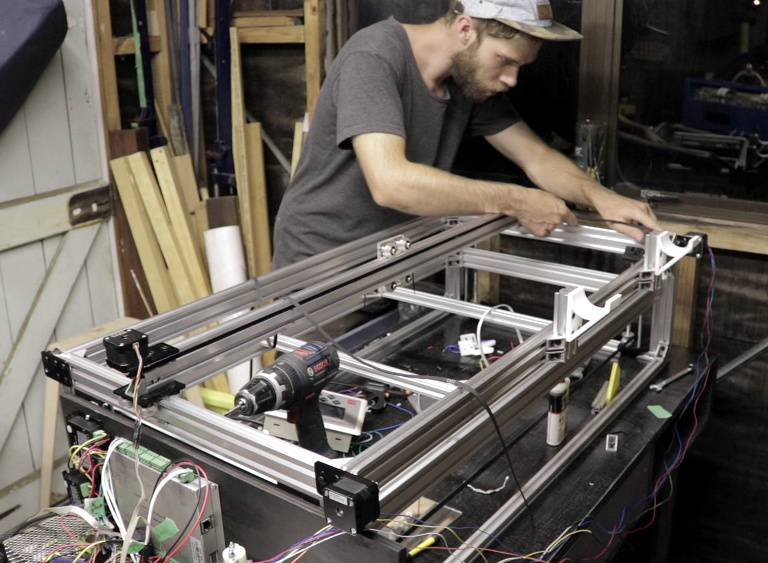
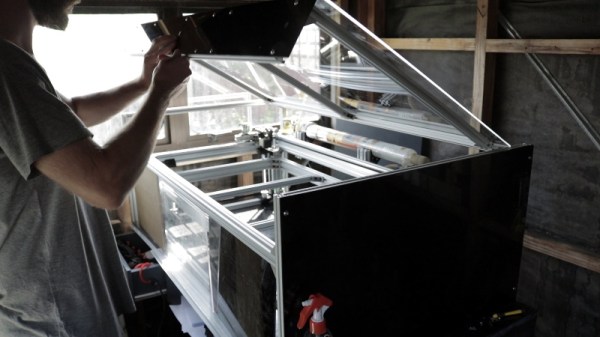
This large format laser cutter designed and built by [Rob Chesney] is meticulously detailed on his blog, as well as in the in the video after the break. It’s made up of aluminium profile and a splattering of ABS 3D printed parts, and lives in an acrylic enclosure that’s uniquely isolated from the laser’s internal gantry. All told it cost about $2,000 USD to build, but considering the volume and features of this cutter that’s still a very fair price.

[Rob] carefully planned every aspect of this build, modeling the entire machine in CAD before actually purchasing any hardware. Interestingly enough his primary design constraint was the door to his shed: he wanted to build the largest possible laser cutter that could still be carried through it. That led to the final machine’s long and relatively shallow final dimensions. The design was also guided by a desire to minimize material waste, so when possible parts were designed to maximize how many could be cut from a one meter length of aluminum extrusion.

The laser features a movable Z axis that’s similar in design to what you might see in a Prusa-style 3D printer, with each corner of the gantry getting an 8 mm lead screw and smooth rod which are used in conjunction to lift and guide. All of the lead screws are connected to each other via pulleys and standard GT2 belt, but as of this version, [Rob] notes the Z axis must be manually operated. In the future he’ll be able to add in a stepper motor and automate it easily, but it wasn’t critical to get the machine running.

He used 3D printed parts for objects which had a relatively complex geometry, such as the laser tube holders and Z axis components, but more simplistic brackets were made out of cut acrylic. In some components, [Rob] used welding cement to bond two pieces of acrylic and thereby double the thickness. Large acrylic panels were also used for the laser’s outer enclosure, which was intentionally designed as a separate entity from the laser itself. He reasoned that this would make assembly easier and faster, as the enclosure would not have to be held to the same dimensional tolerances as it would have been if it was integrated into the machine.

[Rob] gives plenty of detail about all the finer points of water cooling, laser control electronics, aligning the mirrors, and really anything else you could possibly want to know about building your own serious laser cutter. If you’ve been considering building your own laser and have anything you’re curious or unsure about, there’s a good chance he addresses it in this build.

Short of having the fantastically good luck to find a laser cutter in the trash that you can refurbish, building your own machine may still be the best upgrade path if you outgrow your eBay K40.

Continue reading “Scratch-Building A Supersized Laser Cutter”

Video Shows Power Isn’t Everything In Laser Engraving

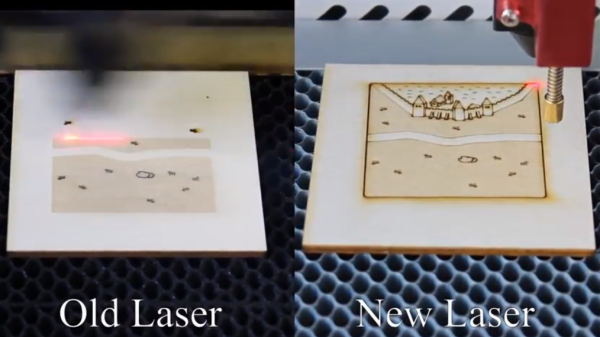
When it comes to power tools, generally speaking more watts is better. But as laser maestro [Martin Raynsford] shows, watts aren’t everything. He shares a brief video showing his older 100 W laser being handily outperformed by a newer 30 W machine. Shouldn’t the higher power laser be able to do the same job in less time? One might think so, but wattage isn’t everything. The 30 W laser engraves and cuts a wooden tile in just under half the time it takes the 100 W machine to do the same job, and with a nicer end result, to boot.

Why such a difference? Part of the answer to that question lies in that the newer machine has better motion control and can handle higher speeds, but the rest is due to the tubes themselves. The older 100 W machine uses a DC-excited (big glass water-cooled tube) CO2 laser, and the newer 30 W machine uses an RF-excited laser that looks a bit like a big metal heat sink instead of oversized lab glassware. Both tubes output what is essentially the same beam, but the RF tube is overall capable of a more refined, more stable, and more finely focused point than that of the glass tube. Since engraving uses only a small fraction of even the 30 W laser’s power, the finer control that the RF laser has over the low end of the power scale results in a much higher quality engraving.

Embedded below is a short video showing both machines engraving and cutting the same tile, side by side. You may wish to consider watching this one full screen, to better see the fine details.

Continue reading “Video Shows Power Isn’t Everything In Laser Engraving”