It’s like the old quip from [Henry Ford]: You can have your 3D prints in any color you want, as long as it’s one. Some strides have been made to bringing more color to your extruded goodies, but for anything beyond a few colors, you’re going to need to look at post-print processing of some sort. For photorealistic 3D prints, you might want to look into a simple hydrographic printing method that can be performed right on a printer.
If some of the prints in the video below look familiar, it’s because we covered the original method when it was presented at SIGGRAPH 2015. [Amos Dudley] was intrigued enough by the method, which uses computational modeling of complex surfaces to compose a distorted image that will be stretched back into shape when the object is dipped, to contact the original authors for permission to use the software. He got a resounding, “Nope!” – it appears that the authors’ institution isn’t big into sharing information. So, [Amos] hacked the method.
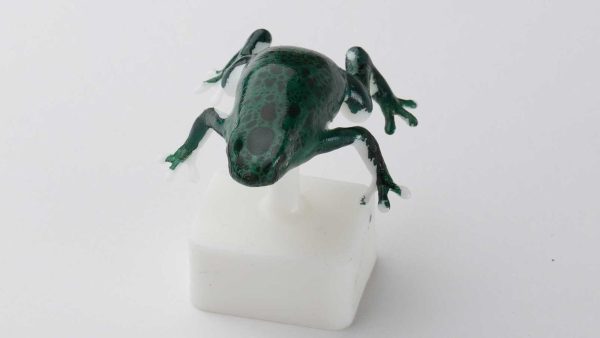
In place of the original software, [Amos] used Blender to simulate the hydrographic film as a piece of cloth interacting with the 3D-printed surface. This allowed him to print an image on PVA film that will “un-distort” as the object is dipped. He built a simple tank with overflow for the printer bed, used the Z-axis to dip the print, and viola! Photo-realistic frogs and globes.
[Amos]’ method has its limitations, but the results are pretty satisfying already. With a little more tweaking, we’re sure he’ll get to the point that the original authors did, and without their help, thank you very much.
Continue reading “Decorate Your 3D Prints With Detailed Hydrographic Printing”


