NYC MakerFaire: A Really, Really Big Printer

https://www.youtube.com/watch?v=FtQG733dC1s

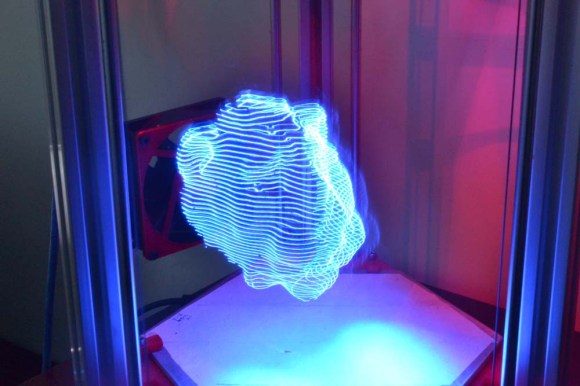
Walk in to the science center at Maker Faire this year, and the first thing you’ll see is a gargantuan assemblage of aluminum extrusion spitting out molten plastic for one of the biggest 3D prints you’ve ever seen. It’s SeeMeCNC’s PartDaddy, a 16-foot tall 3D printer with a four foot diameter build plate.

The printer doesn’t extrude filament. Instead, this printer sucks up PLA pellets and extrudes them with a modified injection mold press mounted to a delta printer frame. That’s a 4mm nozzle squirting plastic. The heater for the extruder is 110 V, and the NEMA32 motors are controlled with 72V drivers. Everything about this is huge, and it’s surprisingly fast; a single-wall vase grew by about two feet in as many hours. We have no idea how fast a solid print can be completed, although the SeeMeCNC guys will probably find out later this weekend.

SeeMeCNC also had a neat little resin printer with an impossibly clever name on display. We’ll get a post up on that later this weekend.

DSLR Gives Exposure To 3D Light Traces

light lion

We’ve all twirled sparklers around in the darkness to write fleeting circles and figure eights with the light they give. Some of us have done it with the glowing end of a cigarette, too. Hackaday Projects user [ekaggrat] went a step further, painting with an LED mounted on the print head of his newly built 3DR Delta and capturing the LED’s path with a DSLR camera set for long exposure.

He started by creating a mesh model. From there, he converted it slices and G-code in Grasshopper. The LED is connected to pin D11/servo pin 1 on the RAMPS board. [ekaggrat] used the M42 G-code extension toggle the pin and write the slice lines with light. He has future plans to use an RGB LED, and we hope he shares that on the Projects site as well.

While this isn’t the most advanced light painting setup we’ve seen, it’s still pretty awesome and far more accessible. There is more information on his site, and you can grab the G-code from his repo. Stick around to see a video of the process.

Continue reading “DSLR Gives Exposure To 3D Light Traces”

Ask Hackaday: Auto Bed Leveling And High Temperature Force Sensitive Resistors

FSR

[Johann] over on the RepRap wiki has an ingenious solution for making sure a borosilicate glass bed is completely level before printing anything on his Kossel printer: take three force sensitive resistors, put them under the build platform, and wire them in parallel, and connect them to a thermistor input on an electronics board. The calibration is simply a bit of code in the Marlin firmware that touches the nozzle to the bed until the thermistor input maxes out. When it does, the firmware knows the print head has zeroed out and can calculate the precise position and tilt of the bed.

Great, huh? A solution to bed leveling that doesn’t require a Z-probe, uses minimal (and cheap) hardware, and can be retrofitted into just about any existing printer. There’s a problem, though: these force sensitive resistors are only good to 70° C, making the whole setup unusable for anything with a heated bed. Your challenge: figure out a way to use this trick with a heated bed.

The force sensitive resistors used – here’s a link provided by [Johann] – have a maximum operating temperature of 70° C, while the bed temperature when printing with ABS is around 130° C. The FSRs are sensitive to temperature, as well, making this a very interesting problem.

Anyone with any ideas is welcome to comment here, on the RepRap forums, the IRC, or anywhere else. One idea includes putting an FSR in the x carriage, but we’re thinking some sort of specialized heat sink underneath the bed and on top of the FSRs would be a better solution.

Video of the auto bed leveling trick in action below.

Continue reading “Ask Hackaday: Auto Bed Leveling And High Temperature Force Sensitive Resistors”

Automatic Tool Changing On A 3D Printer

tool

[Luis] has a pretty interesting project on his hands. He’s using a delta 3D printer to plate a few edibles – yogurt, chocolate, and other thick liquids. Because he intends to use actual plates as the build surface, calibration is key. One solution to this problem would be to use identical, pre-measured plates for everything this printer makes. [Luis]’ solution is much more ingenious than that, however. He’s programmed his printer to automatically swap out two tools – one for probing the build surface, and another to extrude liquids.

The two tools are suspended from the body of the printer, and with a little bit of software it’s possible for them to be picked up by the head of the printer and held in place with a few magnets. After auto leveling the build surface in software, a G Code command switches the tools over to a paste extruder for all those delicious edibles.

If an automated tool changer isn’t enough, [Luis] has also completed a very nice 3D printed peristaltic pump to squirt out foodstuffs. You can check out a video of this printer in action below.

Continue reading “Automatic Tool Changing On A 3D Printer”