Repurposing Large Electronic Price Tags

If you’ve recently braved the pandemic long enough to make a trip to a big box retailer, you may have spotted a few massive e-paper price tags affixed to large items like appliances. These seven inch displays were likely designed to be used in e-readers such as the Kindle, but through some surplus deal, are now shouting out clearance savings on last year’s washing machine. After checking out a particularly good price for a Samsung refrigerator at the local Home Depot, [YodaLogic] got to wondering if they could be bent to the hacker’s will.

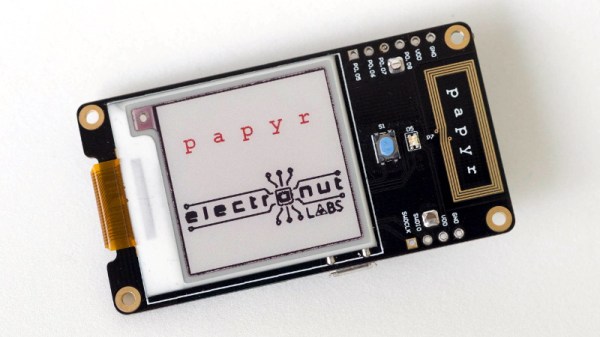
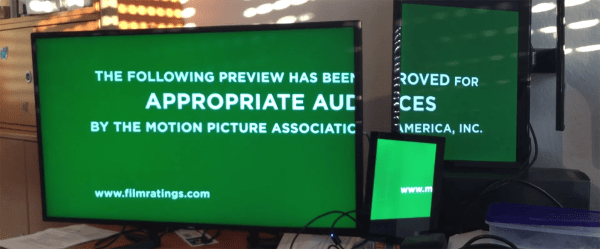
Now to be clear, [YodaLogic] didn’t steal any of these tags. It turns out you can pick them up on eBay for less than $15 a pop, or at least that’s what they cost before this article went out. It’s an exceptionally good price when you realize that these displays are actually capable of color…albeit only two. Apparently when the retailer orders the so-called “Chroma 74” tags, they can pick between either yellow or red as the secondary color. While not quite as exciting as a full-color display, it certainly sets them apart from most of the e-paper panels we’ve seen used in DIY projects thus far.

The panel gets mighty close to the HaD color scheme

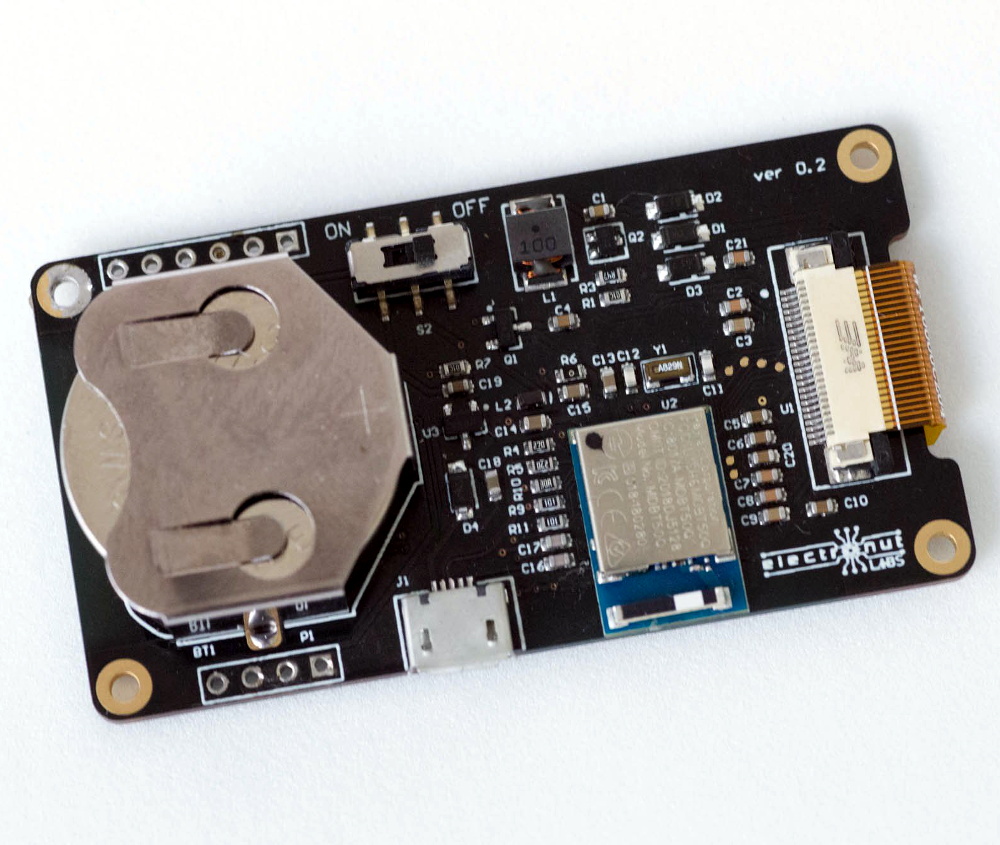
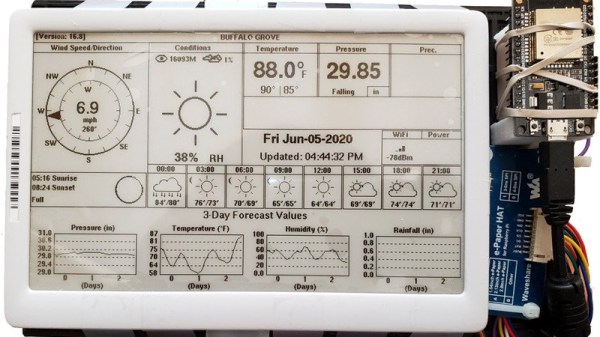
We’d like to tell you that [YodaLogic] cracked one of these things open and was able to wire it right up to a Pi or microcontroller, but the truth is a bit more complicated. Connecting the Chroma 74’s panel to the control board intended for a similar Waveshare 7.5 inch display didn’t seem to do anything. After some poking and prodding, it became clear that the WFD0750BF19 e-paper panel used in the Chroma needed a custom software profile to bring it to life. Unfortunately, there doesn’t seem to be a datasheet available for this particular panel.

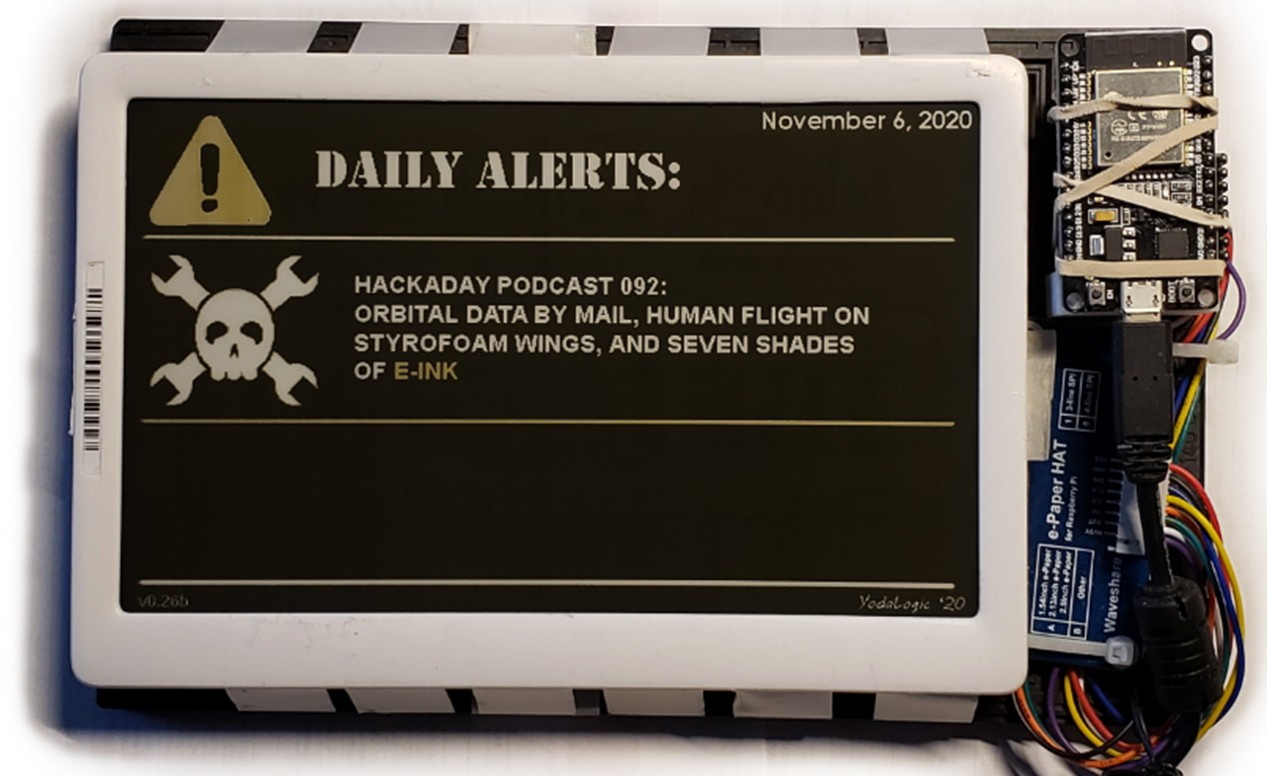
By combining what could be gleaned from the datasheets of similar displays with a bit of experimentation, [YodaLogic] came up with a configuration profile that mostly works. It doesn’t seem like the yellow is as vibrant as it should be, and a refresh can take as long as 20 seconds, but it’s certainly a start. Perhaps the code can be tightened up with some input from the community, or even better, maybe somebody out there knows where we can get our hands on the datasheet for this panel.

While we’ve started to see more projects use e-paper displays, their high price still keeps many hackers away. Being able to repurpose cheap hardware like this could really spur some interesting development, so we’re excited to see [YodaLogic] put the finishing touches on this project and opened it up to a wider audience.

Portable Video Looper Is Easy As Pi

We all have handfuls of thumb drives lying around with only a vague idea of what’s on most of them, right? So why not dust one off, back it up somewhere, and give it a new purpose? That’s exactly what [Cher_Guevara] did to make this portable Raspberry Pi video looper. The hardest part of recreating this one might be coming up with such a good candidate mini CRT TV.

Once powered on, the Pi Zero W stuffed inside this baby Magnavox waits for a thumb drive to be inserted and says as much in nice green text on the screen. Then it displays the number of video files found on the drive and gives a little countdown before looping them all endlessly.

We love how flawlessly [Cher] was able to integrate the USB port and a flush-mounted shutdown button for the Pi into the TV’s control panel on the top. It’s like a portable from another timeline.

[Cher] got lucky because this TV happens to have a video-in jack for connecting up the Pi. If yours doesn’t have one, you might be able to use an RCA to RF converter if the antenna is removable. We’ve got the demo video waiting for you after these messages.

Okay, that’s one thumb drive repurposed. Now find another and experiment with adding USB OtG to it.

Continue reading “Portable Video Looper Is Easy As Pi”

Open Hardware E-Ink Display Just Needs An Idea

Its taken awhile, but thanks to devices like the Amazon Kindle, the cost of e-ink displays are finally at the point where mere mortals such as us can actually start using them in our projects. Now we’ve just got to figure out how to utilize them properly. Sure you can just hook up an e-ink display to a Raspberry Pi to get started, but to truly realize the potential of the technology, you need hardware designed with it in mind.

To that end, [Mahesh Venkitachalam] has created Papyr, an open hardware wireless display built with the energy efficiency of e-ink in mind. This means not only offering support for low-energy communication protocols like BLE and Zigbee, but keeping the firmware as concise as possible. According to the documentation, the end result is that Papyr only draws 22 uA in its idle state.

So what do you do with this energy-sipping Bluetooth e-ink gadget? Well, that part is up to you. The obvious application is signage, but unless you’re operating a particularly well organized hackerspace, you probably don’t need wireless dynamic labels on your part bins (though please let us know if you actually do). More likely, you’d use Papyr as a general purpose display, showing sensor data or the status of your 3D printer.

The 1.54 inch 200×200 resolution e-ink panel is capable of showing red in addition to the standard grayscale, and the whole thing is powered by a Nordic nRF52840 SoC. Everything’s provided for you to build your own, but if you’d rather jump right in and get experimenting, you can buy the assembled version for $39 USD on Tindie.

Multiple Monitors With Multiple Pis

One of the most popular uses for the Raspberry Pi in a commercial setting is video walls, digital signage, and media players. Chances are, you’ve probably seen a display or other glowing rectangle displaying an advertisement or tweets, powered by a Raspberry Pi. [Florian] has been working on a project called info-beamer for just this use case, and now he has something spectacular. He can display a video on multiple monitors using multiple Pis, and the configuration is as simple as taking a picture with your phone.

[Florian] created the info-beamer package for the Pi for video playback (including multiple videos at the same time), displaying public transit information, a twitter wall, or a conference information system. A while back, [Florian] was showing off his work on reddit when he got a suggestion for auto-configuration of multiple screens. A few days later, everything worked.

Right now, the process of configuring screens involves displaying fiducials on each display, taking a picture from with your phone and the web interface, and letting the server do a little number crunching. Less than a minute after [Florian] took a picture of all the screens, a movie was playing across three weirdly oriented displays.

Below, you can check out the video of [Florian] configuring three Pis and displays to show a single video, followed by a German language presentation going over the highlights of info-beamer.

Continue reading “Multiple Monitors With Multiple Pis”