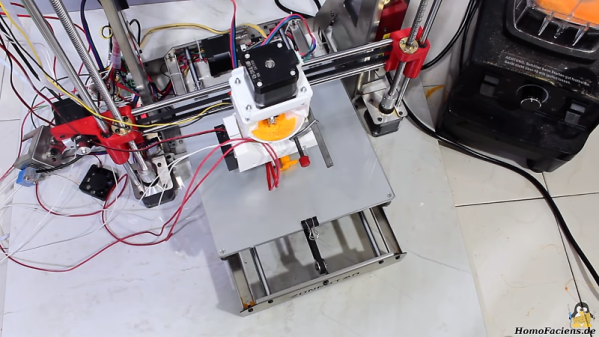
Ground plastic bits go in one end, finished 3D-prints come out the other. That’s the idea behind [HomoFaciens]’ latest build: a direct-extrusion 3D-printer. And like all of his builds, it’s made from scraps and bits most of us would throw out.
Take the extrusion screw. Like the homemade rotary encoders [HomoFaciens] is known for, it appears at first glance that there’s no way it could work. An early version was just copper wire wrapped around a threaded rod inside a Teflon tube; turned by a stepper motor, the screw did a decent job of forcing finely ground PLA from a hopper into the hot end, itself just a simple aluminum block with holes drilled into it. That worked, albeit only with basically powdered PLA. Later versions of the extruder used a plain galvanized woodscrew soldered to the end of a threaded rod, which worked with chunkier plastic bits. Paddles stir up the granules in the hopper for an even flow into the extruder, and the video below shows impressive results. We also picked up a few tips, like using engine gasket paper and exhaust sealant to insulate a hot end. And the slip coupling, intended to retract the extruder screw slightly to reduce stringing, seems brilliant but needs more work to make it practical.
It’s far from perfect, but given the inputs it’s pretty amazing, and there’s something attractive about reusing all those failed prints. It reminds us a bit of the trash printer we featured recently, which is another way to stick it to the filament man. Continue reading “No Filament Needed In This Direct Extrusion 3D-Printer”


