The laptop in question, with the LCD-bearing top half printed in pink, and the bottom half showing off the Thinkpad keyboard.

Pinkpad, A DIY Laptop You Must Print In Pink

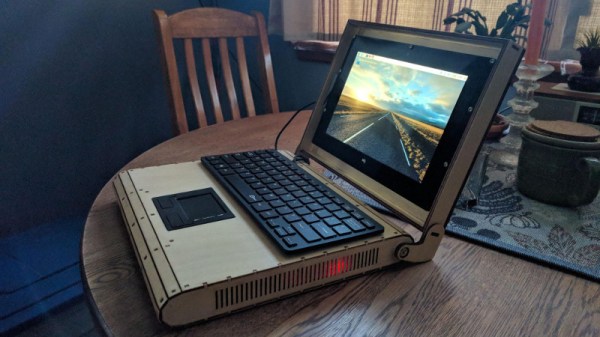
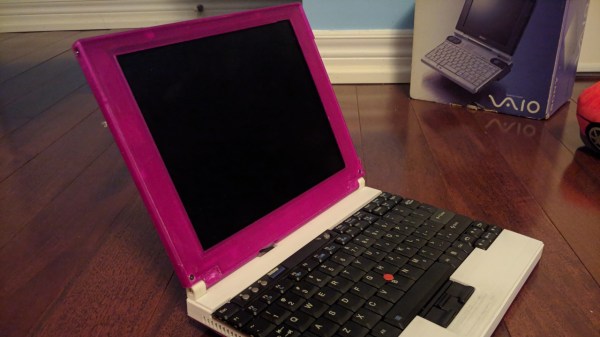
Looking to build a laptop all on your own? Check out the Pinkpad, a DIY laptop project that as if appeared out of nowhere, gives you a based on an off-the-shelf Dell motherboard. This build projects an aura of unabashed competence – the website brings you to a different universe, the documentation is as curt as it is extensive, and the build evidently works.

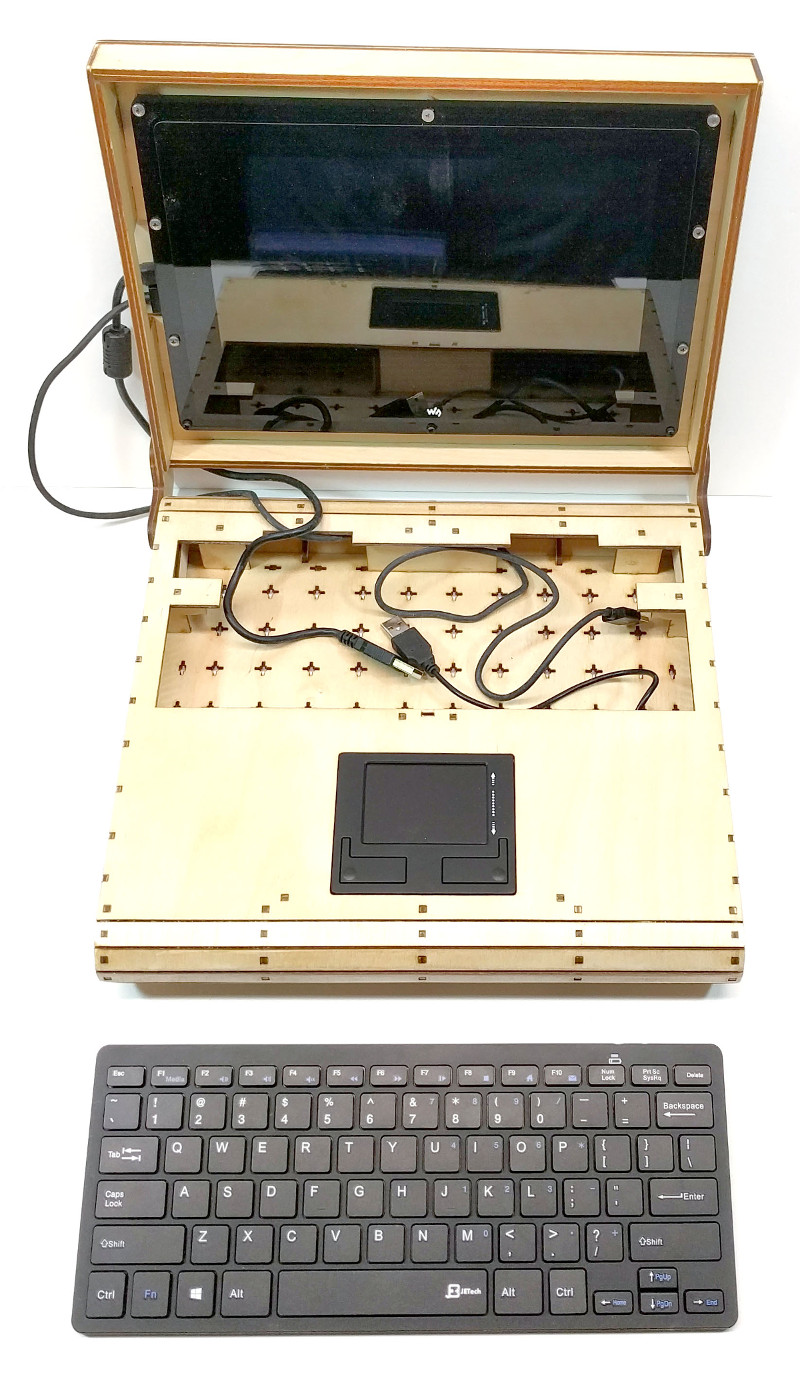
With a Thinkpad x61 keyboard, a reasonably modern (Dell Vostro 5481, Ryzen possible) motherboard embeddable inside, and a 10″ 1024×768 screen, this ~11″ laptop packs a certain kind of punch for what’s a build-it-yourself project. Most of the value of this design is in the 3D files – which were done in Google SketchUp, and the laptop is small enough that you could print its shell reasonably quickly. Not that you should follow the parts list religiously – the screen in particular might just warrant reconsideration in your eyes. On the other hand, we wish you all the luck on your SketchUp journey if you want to modify the shell. It also isn’t lost on us that the parts list doesn’t list a battery in it.

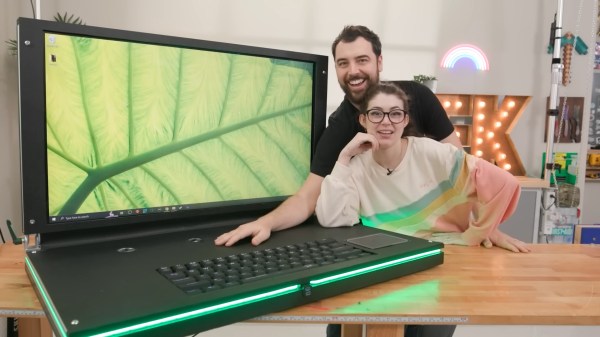
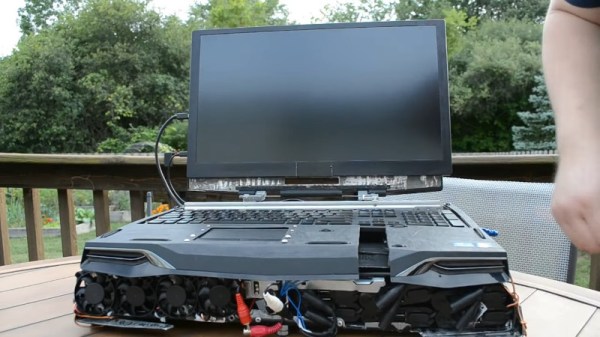
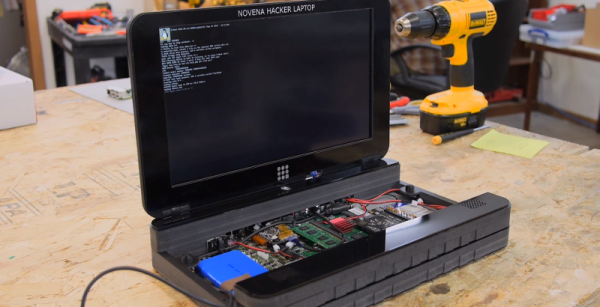
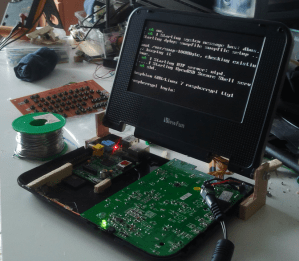
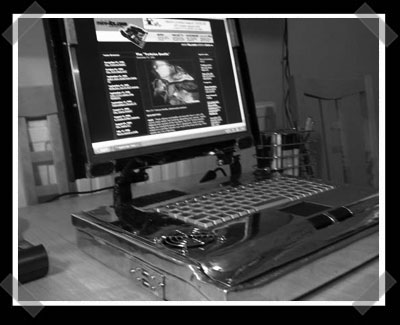
This is an impressive project to see open-sourced, and we hope it can inspire some hackers in the custom laptop building cohort. One prominent flaw of consumer-facing technology is that you can’t always get your devices in pink, and printing your laptop’s chassis yourself is a surefire way to combat this. If this laptop’s form-factor is too commonplace for you, we’ve seen no shortage of custom laptops grace our pages, from miniature ones to CRT luggable beasts, and click on the tags below if you’d like to see more!

We thank [Max_UA] for sharing this with us!

Two people lounge over a wooden tabletop to lean on a large black laptop. It has a green leaf on its 43" LCD desktop and RGB lighting around its edge is glowing a slightly deeper shade of green.

Supersized Laptop Laughs In The Face Of Portability

Sometimes a project needs to go big, and [Evan and Katelyn] threw portability to the wind to build the “world’s biggest” laptop.

Stretching the believability of “bigger is better,” this laptop features a 43″ screen, an enormous un-ergonomic keyboard, and a trackpad that might be bigger than your hand. Not to be outdone by other gaming laptops, it also features RGB lighting and a logo that really pops with neon resin.

The pair started the build with an aluminum extrusion frame joined by hinges. Plywood forms the top lid and bottom of the device, and the interior was covered with a mix of vinyl and ABS to keep everything tidy. A nice detail is the windows cut in the area above the keyboard to keep an eye on the charge of the two battery packs powering the laptop. Weighing more than 100 pounds, we suspect that this won’t be the next revolution in computing.

If you need more supersized gadgets, maybe try out the world’s biggest working keyboard or this giant Xbox Series X?

AMD’s Threadripper Is The Beating, Heating Heart Of “Most Powerful” DIY Laptop

There are plenty of powerful, “desktop-replacement” laptops out on the market if you’ve got the money to spend. Sometimes, though, that just doesn’t scratch that crazy itch in the back of your head for true, unbridled computing power. When you’ve got an insatiable thirst for FLOPS, you’ve got to strike out on your own, as [Jeff] did with this Threadripper laptop.

The aim was to pack an AMD Threadripper processor into a nominally portable laptop format. For this build, the AMD 1950X was chosen for its affordability and huge computing power, as well as a TDP of 180W. This high heat output has stopped the chips ending up in portable builds until now, but [Jeff] didn’t see this as a problem, but a challenge.

What results is a wild, lashed together build of high-power parts into what could charitably be called a laptop – though we’d recommend against putting it on your lap. With a 4K 18″ screen, keyboard, touchpad, and many Dell Powerbanks kludged together into an HP Media Center case, it fits the usual form factor, albeit with more exposed heatpipes and cables than the typical consumer may be used to.

[Jeff] claims this is the current most powerful laptop in the world, as builds that use the 3950X throttle it back in their applications. We don’t have the data to compare, but we certainly wouldn’t be stacking our own portable rig up against it in a fight. DIY laptops have a long history at Hackaday, going all the way back to 2007. If you’ve got your own wild build, be sure to drop us a line. Video after the break.

Continue reading “AMD’s Threadripper Is The Beating, Heating Heart Of “Most Powerful” DIY Laptop”

A Plywood Laptop For Your Raspberry Pi

[Rory Johnson] writes in to tell us about PlyTop Shell, a Creative Commons licensed design for a laser cut wooden laptop that he’s been working on since 2016. It’s designed to accommodate the Raspberry Pi (or other similarly sized SBCs), and aims to provide the builder with a completely customizable mobile computer. He’s got a limited run of the PlyTop up for sale currently, but if you’ve got the necessary equipment, you can start building yours while you wait for that new Pi 3B+ to arrive.

Originally [Rory] was working on a 3D printed design, but quickly ran into problems. The vast majority of 3D printers don’t have nearly the build volume to print out a laptop case in one shot, so the design needed to be broken up into multiple smaller pieces and then grafted together into the final case. Not only did this take a long time and a lot of material, but the final result had the rather unfortunate appearance of a plastic quilt.

Eventually he got hooked up with a maker collective in Minneapolis that had a laser cutter, and the PlyTop was born. There’s still a 3D printed component in the design that goes in the screen hinge, but the rest of the PlyTop is cut out of a three 2′ x 4′ sheets of 1/8″ Baltic birch plywood. As you might expect, plenty of fasteners are required, but [Rory] has a complete Bill of Materials (complete with purchase links) for everything you’ll need to turn the cut pieces into a fully fledged laptop. He’s considering selling kits in the future, but is still working on the logistics.

In keeping with the idea of complete flexibility, there’s no defined layout for the internals of the PlyTop. Rather, there’s an array of star-shaped openings on the bottom plate that allow the builder to connect hardware components up in whatever way works for them. [Rory] actually suggests just holding everything down with zip ties to allow for ease of tinkering.

He’s also come up with a list of suggested hardware for the keyboard, touchpad, and display; but those are really just suggestions. The design is open enough that it shouldn’t take much work to adapt to whatever gear you’ve got laying around.

Of course, this isn’t the first open source laptop we’ve seen here at Hackaday. It isn’t even the first wooden one. But we love the lines of the PlyTop and the focus on complete customization.

Continue reading “A Plywood Laptop For Your Raspberry Pi”

Building The Novena Laptop

The latest hardware project from [Bunnie] is the Novena, a truly open source laptop where nearly every part has non-NDA’d datasheets. This is the ideal laptop for hardware hacking – it has an FPGA right on the motherboard, a ton of pin headers, and a lot of extras that make interfacing with the outside world easy.

While the crowdfunding campaign for the Novena included a completely custom laptop, it was terribly expensive. That’s okay; it’s an heirloom laptop, and this is a DIY laptop anyway. With the Novena now shipping, it’s time for people to build their laptops. [Ben Heck] is the first person to throw his hat into the ring with his own build of the Novena laptop, and it’s fantastic.

The second video of the build was dedicated to what is arguably the most important part of any laptop: the keyboard. For the keyboard, [Ben Heck] went all out. It’s a completely mechanical keyboard, with backlit LEDs built around the Phantom PCB with Cherry MX switches. Because this is a DIY laptop and something that is meant to be opened, the keyboard is completely removable. Think of something like the original Compaq luggable, but turned into a laptop that looks reasonably modern.

The laptop enclosure was constructed out of a sandwich of an aluminum and laser cut plastic. These layers were glued and screwed together, the parts were carefully mounted into the case. The USB keyboard was attached directly to one of the chips on the motherboard with a few flying wires and hot glue.

The finished build is fantastic, even if it is a bit thick. It’s the ultimate hacker’s laptop, with an FPGA, Linux, open source everything, and even a cute little secret compartment for storing tools and cable adapters. A great build from one of the best builders around.

Continue reading “Building The Novena Laptop”

Hacklet #5 – Hackerspaces And DIY Laptops

sector67

Did you know that Hackaday.io has a hackerspace index? That’s right, you can enter your local hackerspace’s info, pictures, videos, and social media links. Members and crew can link their hackaday.io profiles and drop comments about their latest projects.

The map up at the top of the hackerspace index’s page is interactive too – zoom in on your country and local area to see any spaces nearby. It’s like one-stop shopping for awesome. Well, except that this awesome is free.

It really is great to see all the pictures of spaces large and small. Some of the most stunning shots are from c-base, in Berlin, Germany. Founded in 1995, the c-base crew have created an incredible space. Take a look at the workstation in the photo. Is it Steampunk? Matrix-punk? Heck no, that’s 100% c-base.

c-base


Do It Yourself Laptops

You don’t have to be Bunnie Huang to build your own laptop. All it takes is some time, ingenuity,and a good hot glue gun.

opentech-laptop

Our first laptop is actually inspired by Bunnie’s Novena. The OpenTech-Laptop uses two binders as it’s shell, but inside hides some decent computing power. [OpenTech] used a miniITX motherboard with an ATOM N2800 CPU. The screen came from an old laptop (long live matte 4:3 screens!) [OpenTech] even hand wired a Low Voltage Differential Signaling (LVDS) cable so the motherboard can push those pixels. A wireless keyboard, hard drive, and speakers round out the build. [OpenTech] is still looking for a portable power solution.Why not follow Bunnie’s lead and grab some R/C Plane LiPo batteries, [OpenTech]?

minibsd

Next up is a MiniBSD laptop computer created by [Jaromir]. MiniBSD is based on RetroBSD, a PIC32 based BSD single board computer. Rather than use a premade platform like the Fubarino, [Jaromir] laid out his own board with everything he wanted – a microSD socket, SDRAM, real-time clock, and all the trimmings. He then added a graphical LCD, a LiPo battery, and a sweet retro keyboard from an old Czech computer company called Tesla. [Jaromir’s] next task is a 3D printed case. The only problem is the case is 2cm wider than his current printer’s bed!

http://hackaday.io/project/1559-Laptop-pi

You didn’t think we’d leave the Raspberry Pi out, now did you? Laptop-pi is [Bram’s] project to convert an old DVD player (remember those?) into a Pi Laptop. Not only did [Bram] build a QWERTY keyboard from scratch on perfboard, he also hacked together an on-screen keyboard so he can type with just a D-pad. He’s currently fighting with a dodgy audio amp, but we’re sure that’s just a temporary setback. We think Laptop-pi will be a killer portable for retro gaming!


That’s it for this week’s Hacklet, stay tuned for next week when we bring you more of what’s happening at Hackaday.io!

Make Your Own Laptop


[Richard] pointed out this mini-itx laptop. The idea behind this particular design is to enable upgrading every component as needed. The case is aluminum, and the wiring inside is an exercise in patience. It’s not the first DIY laptop we’ve seen, and it doesn’t have batteries, but it’s the first I’ve seen with two internal hard drives.

Update: There is a battery, it just gets very little mention. It’s hiding under the DVD drive and one of the hard drives. Anyone know what kind it is?