Spice Up Your Earrings With Microelectronics

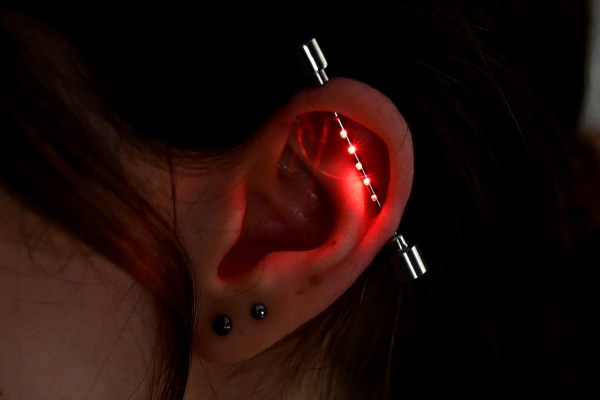
We’ve covered [mitxela] in the past and if you know him, you’ll likely know him for putting the micro in microelectronics. This year, he’s at it again with his LED Industrial Piercing.

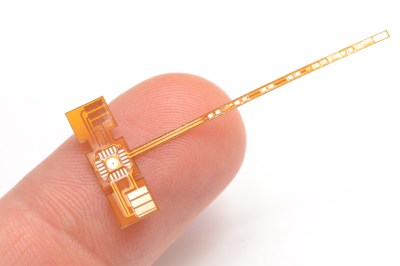
A T-shaped flexible PCB that is smaller than an index finger
This tiny PCB is really pushing the limits of fabrication

Inspired by the absolutely tiny 0402 LEDs and industrial piercings, [mitxela] started thinking of a way to construct the 5cm long device. He found some normal LED earrings to steal the battery compartment from. Then, with a tick needle and some more steel, he created a new industrial earring with some holes.

Of course, no [mitxela] project is complete without comically tiny microsoldering and this project makes the VQFN ATTiny he used look large. He puts his PCB suppliers to the test with a merely 1mm wide flex PCB for the LEDs to be mounted on. Finally, he combines the flex PCB, the earring and some epoxy to create yet another piece of LED jewelry.

Video after the break.
Continue reading “Spice Up Your Earrings With Microelectronics”

A HALO Of LEDs For Every Ear

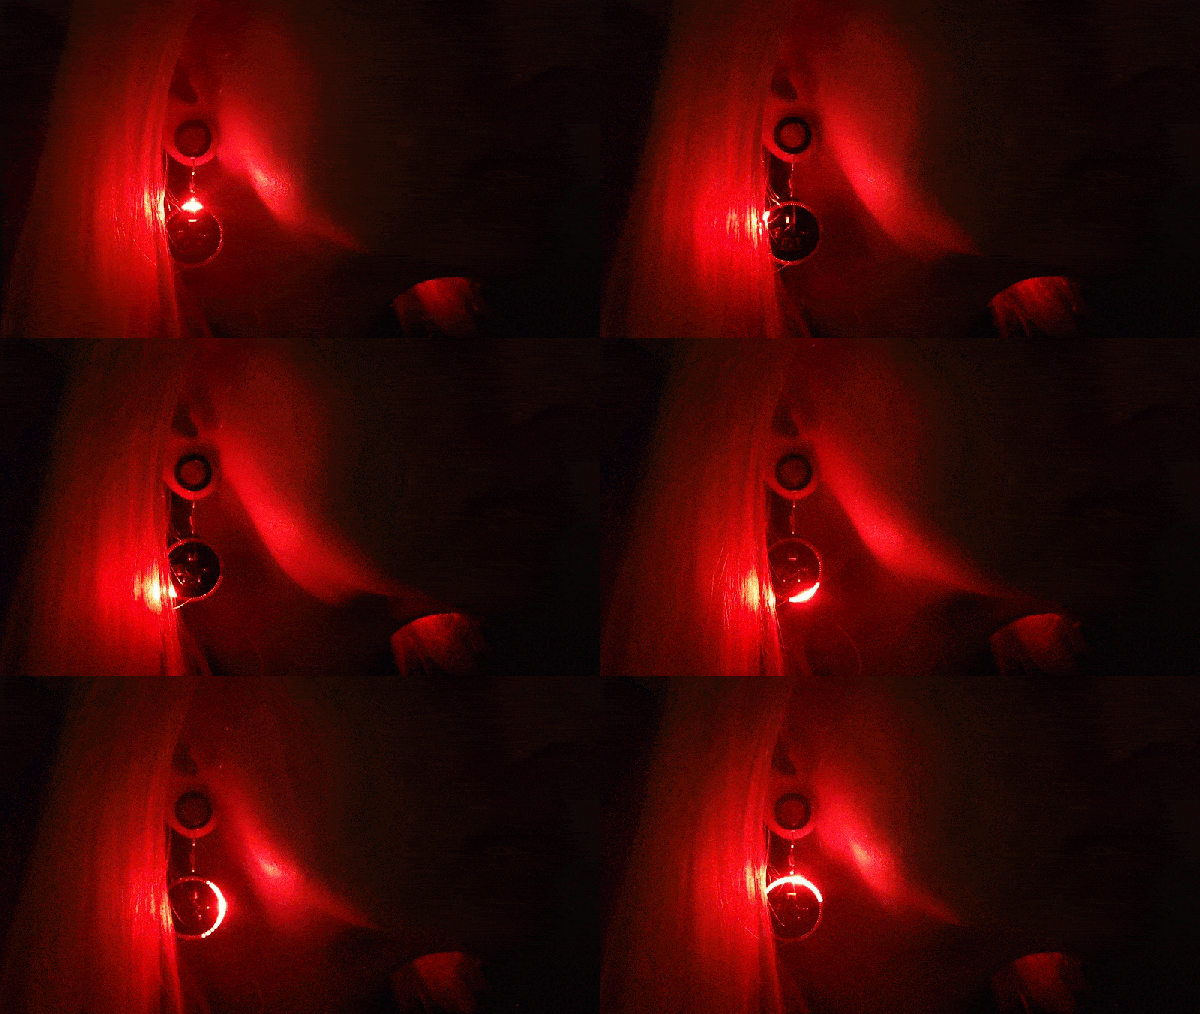
Few things get a Hackaday staffer excited like bunches of tiny LEDs. The smaller and denser the better, any form will do as long as we can get a macro shot or a video of a buttery smooth animation. This time we turn to [Sawaiz Syed] and [Open Kolibri] to deliver the brightly lit goods with the minuscule HALO 90 reactive LED earrings.

The HALO 90’s are designed to work as earrings, though we suspect they’d make equally great brooches, hair accessories, or desk objects. To fit this purpose each one is a minuscule 24 mm in diameter and weighs a featherweight 5.2 grams with the CR2032 battery (2.1 g for the PCBA alone). Functionally their current software includes three animation modes, each selectable via a button on device; audio reactive, halo (fully lit), and sparkle. Check out the documentation for details on expected battery life in each mode, but suffice to say that no matter what these earrings will make it through a few nights out.
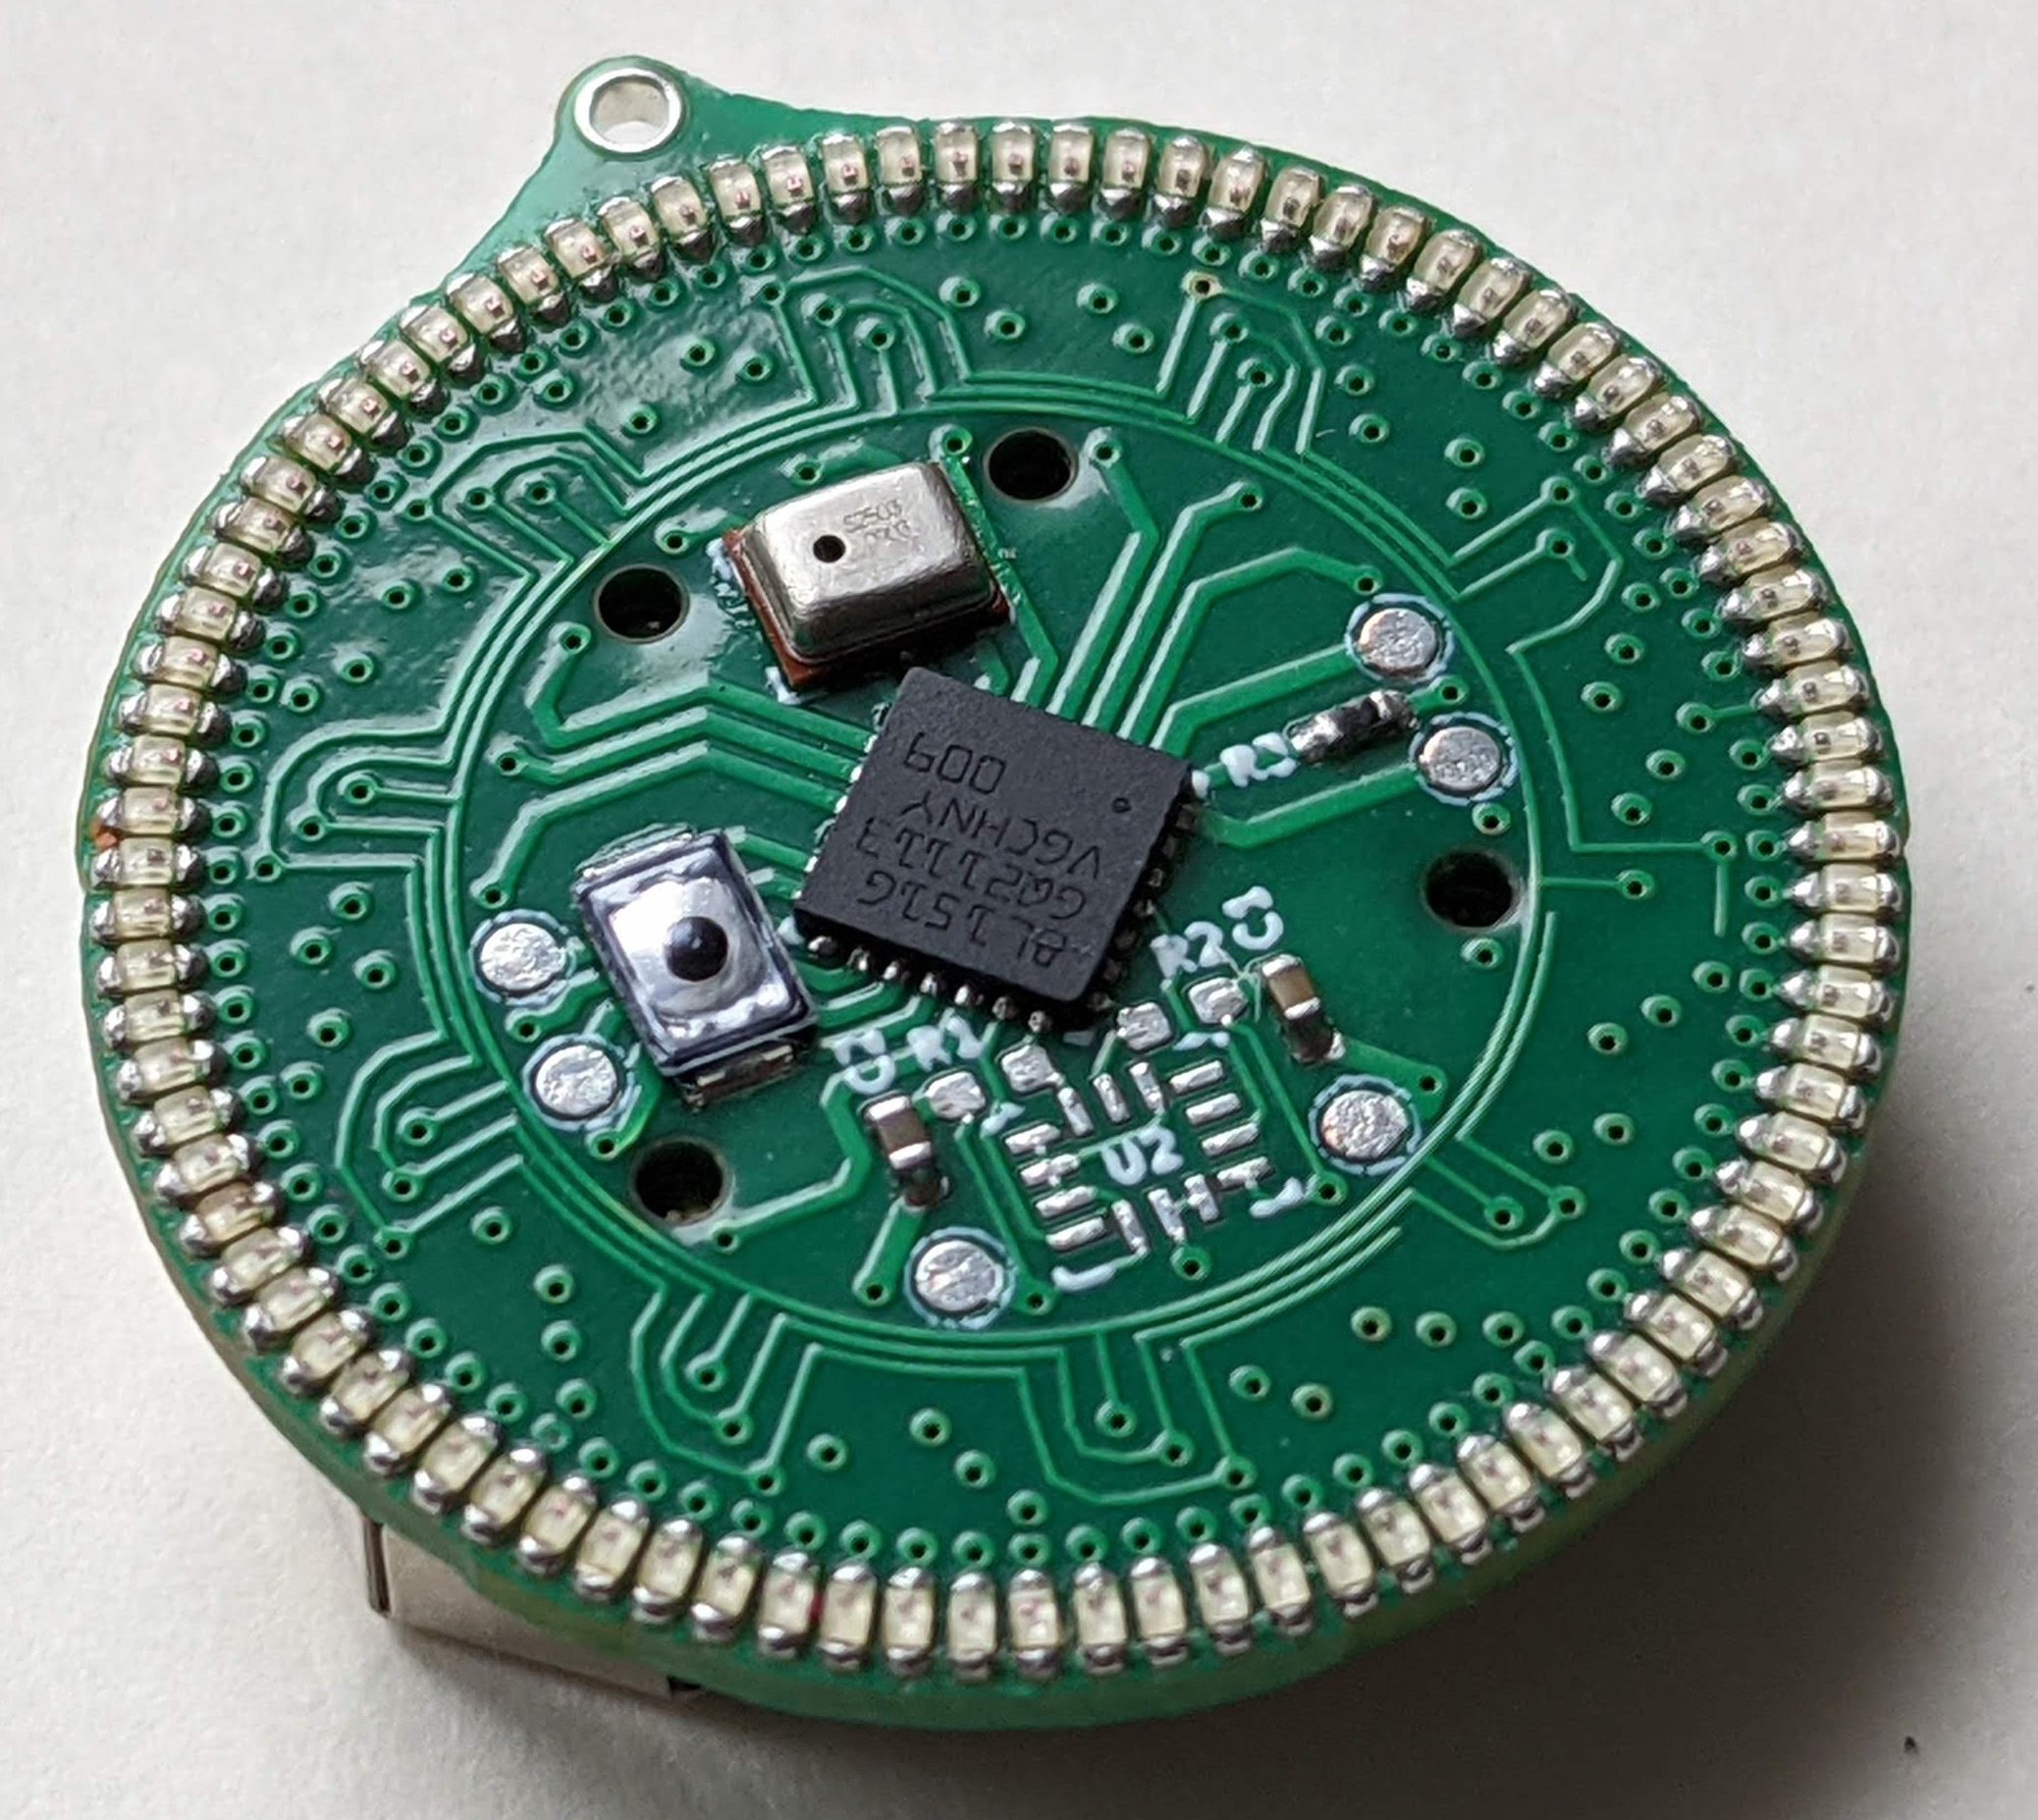
In terms of hardware, the HALO 90’s are as straightforward as you’d expect. Each device is driven by an STM8 at its maximum 16MHz which is more than fast enough to keep the 90 charliplexed 0402 LEDs humming along at a 1kHz update rate, even with realtime audio processing. In fact the BOM here is refreshingly simple with just 8 components; the LEDs, microcontroller and microphone, battery holder and passives, and the button. [Sawaiz] even designed an exceptionally slick case to go with each pair of earrings, which holds two HALO 90’s with two CR2032’s and includes a magnetic closure for the most satisfying lid action possible.

As with some of his other work, [Sawaiz] has produced a wealth of exceptional documentation to go with the HALO 90’s. They’re available straight from him fully assembled, but with documentation this good the path to a home build should be well lit and accessible. He’s even chosen parts with an eye towards long availability, low cost, and ease of sourcing so no matter when you decide to get started it should be a snap.

It was difficult to choose just a few images from [Sawaiz]’s mesmerizing collection, so if you need more feast your eyes on the expanded set after the break.

Continue reading “A HALO Of LEDs For Every Ear”

A Stylish Pair Of FPGA Earrings

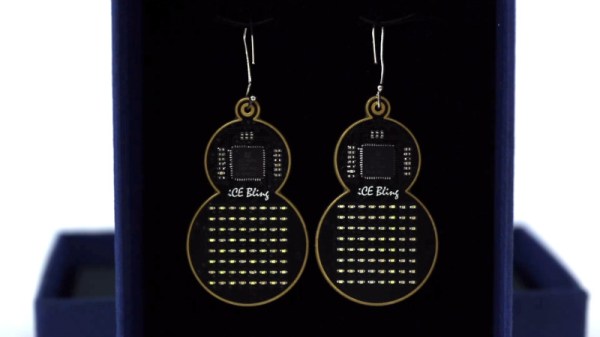
Sometimes, rather than going the commercialistic route, it can be nice to make a gift for that personal touch. [Mahesh Venkitachalam] had been down this very road before, often stumbling over that common hurdle of getting in too deep and missing the deadline of the occasion entirely. Not eager to repeat the mistake, help was enlisted early, and the iCE bling earrings were born.

The earrings were a gift for [Mahesh]’s wife, and were made in collaboration with friends who helped out with the design. The earrings use a Lattice iCE40UP5k FPGA to control an 8×8 grid of SMD LEDs. This is all achieved without the use of shift registers, with the LEDs all being driven directly from GPIO pins. This led to several challenges, such as routing all the connections and delivering enough current to the LEDs. The final PCB is a 4-layer design, which made it much easier to get all the lines routed effectively. A buffer is used to avoid damaging the FPGA by running too many LEDs at once.

It’s a tidy build, which makes smart choices about component placement and PCB design to produce an attractive end result. LEDs naturally lend themselves to jewelry applications, and we’ve seen some great designs over the years. Video after the break.

Continue reading “A Stylish Pair Of FPGA Earrings”

Clever Battery Holder Hack Makes Brilliant Earrings

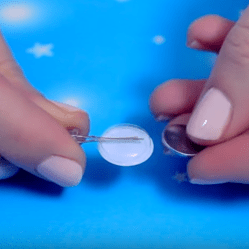
A ‘googly eye’ with hole for LED leads on one side, slot for coin cell on the other. Black disk for pupil removed.

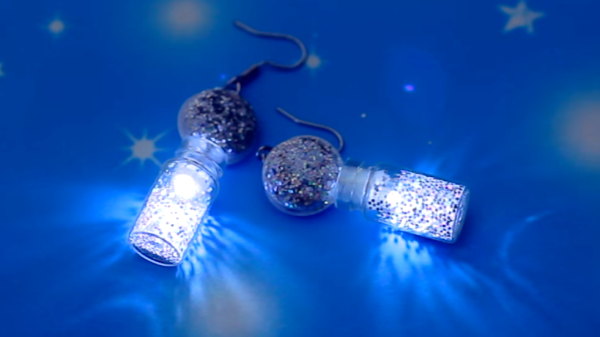
We love seeing a thing get used effectively for other than its intended purpose, and this DIY LED Earrings project is a great example. [IdunnGoddess] liked the idea of making light-up LED earrings powered by a small coin cell, but an enclosure and power connection for the battery were sticking points. The solution? A googly eye after a few minor modifications turned out to be perfect.

A googly eye resembles a thin, flat, hollow plastic bulb. Choose one that’s just a bit bigger than the coin cell, and cut a slot in one end and a small hole in the other. The LED leads go into the hole, and the coin cell slides into the slot. The result? A lightweight battery holder for an attached LED, and as a bonus the hacked googly eye is a clean and super smooth surface that can easily be painted or decorated to make it part of the design. The video embedded below demonstrates the process and showcases a few sample designs.

Continue reading “Clever Battery Holder Hack Makes Brilliant Earrings”

Tiny LED Earrings Are A Miniaturization Tour De Force

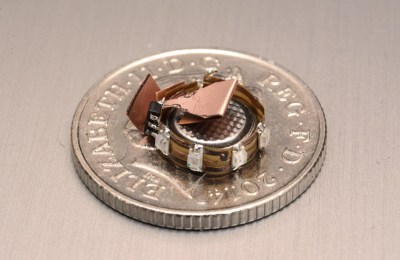
Light up jewelry is nothing new – we see wearables all the time here. But home brew, self-contained, programmable LED earrings that are barely larger than the watch batteries which power them? That’s something worth looking into.

assembly5Settle back and watch [mitxela]’s miniature wizardry in the video below, but be forewarned: it runs 36 minutes. Most of the video is necessarily shot through a microscope where giant fingers come perilously close to soldering iron and razor blade.

The heart of the project is an ATtiny9, a six-legged flea of a chip. The flexible PCB is fabricated from Pyralux, which is essentially copper-clad Kapton tape. [Mitxela] etched the board after removing spray-paint resist with a laser engraver – an interesting process in its own right.

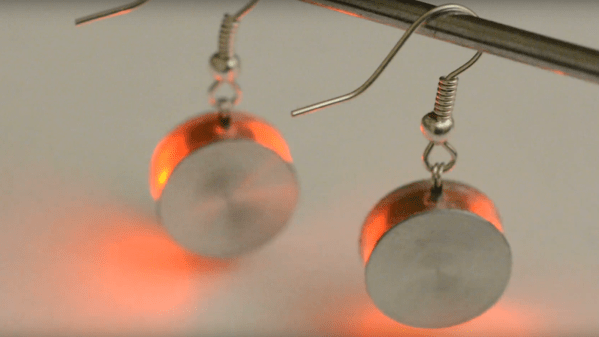
After some ridiculously tedious soldering, the whole circuit wraps around a CR927 battery and goes into a custom aluminum and polypropylene case, which required some delicate turning. Hung from off-the-shelf ear hooks, the 12 multiplexed LEDs flash fetchingly and are sure to attract attention, especially of those who know Morse.

This isn’t exactly [mitxela]’s first tiny rodeo, of course. We’ve featured his work many times, including a Morse code USB keyboardthe world’s smallest MIDI synthesizer, and the world’s smallest MIDI synthesizer again.

Continue reading “Tiny LED Earrings Are A Miniaturization Tour De Force”

HackPhx Winter 2014 Hackathon Winners

HackPhx 2014

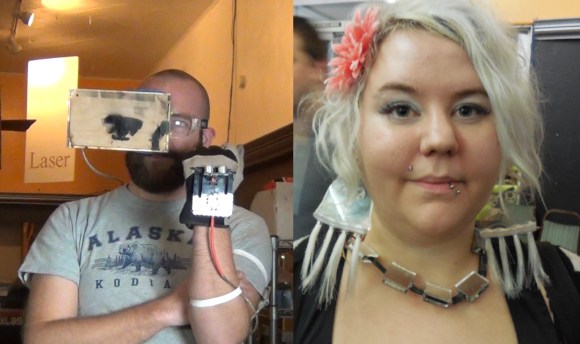
The HackPhx Winter 2014 hackathon was held at Heatsync Labs hackerspace in Mesa, Arizona, USA. The advertised theme was “Arduino Wearables”. Participating attendees were randomly placed on teams evenly distributed by their disclosed skills across all teams. There were 10 teams with 4 to 5 members per team competing for two winning spots.

Each team had to build an amazing wearable project utilizing the secret ingredient which was Seedstudio’s Arduino-compatible Xadow wearable platform and add-ons. The Xadow is similar to the Arduino Leonardo and participants used an Arduino cross compatibility and pin mapping chart to assist in development.

Top prize was the Judges’ prizes for the best completed and documented Xadow wearable team project. The second prize was the Jury’s prize given to the team project that the other teams liked the most regardless of event criteria.

Read more about the winning teams and watch their presentations after the break.

Continue reading “HackPhx Winter 2014 Hackathon Winners”