An Amiga 500 with a blue case and blue accessories

Restored Amiga 500 Is Blue – And Glows In The Dark

Few things are as satisfying to watch as a good retrocomputer restoration project – we’re always happy to see someone bring a rusty old Commodore, Apple or Atari back to life. The goal is typically to get the machine as close to its original state as possible, except for perhaps a few non-intrusive mods like memory upgrades. [Drygol] however, had already done this so many times that he thought it was time to take a different route for once, and apply some creativity to an old Amiga 500 case. Originalists may shudder, but we quite like his funky blue-and-yellow A500 mod.

An Amiga 500 with a poor blue-and-yellow paint job
Missing keys, random stickers and an ugly paint job: the A500 wasn’t looking great at the beginning

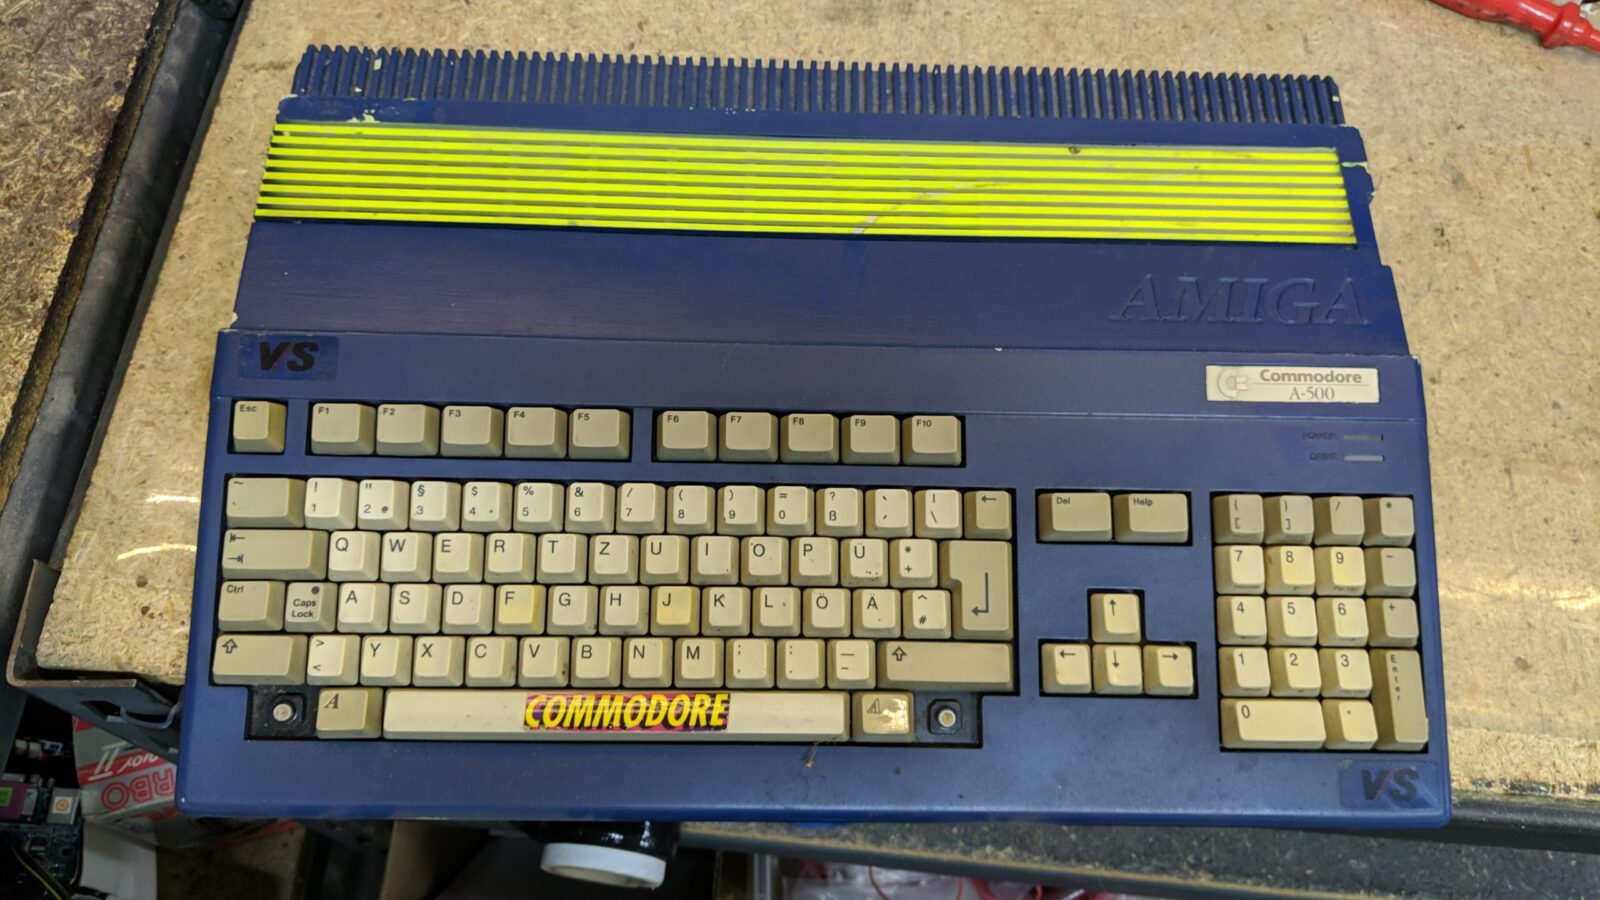
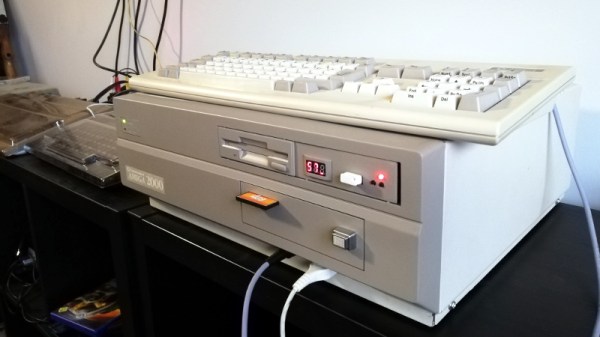
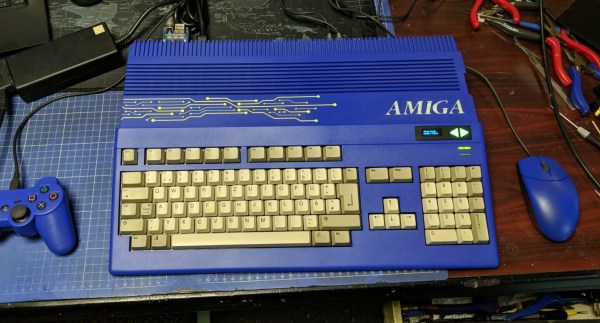
To be fair, [Drygol] wasn’t the first one to modify this specific Amiga’s case: one of its previous owners had already applied a rather shoddy blue paint job and defaced it with some stickers. [Drygol] decided to stick with the basic idea, but do it right this time. First he removed the old paint using concentrated lye, then gave it a fresh coat of blue. He also applied glow-in-the-dark paint to the Amiga logo embossed in the case and added a fluorescent yellow laser-cut circuit board ornament. It took a bit of experimenting to get all these elements just right, but the end result definitely looks the part.

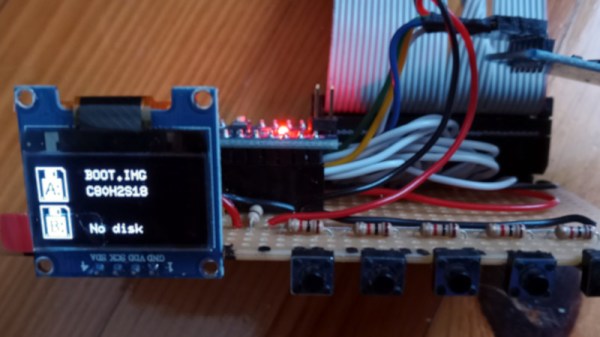
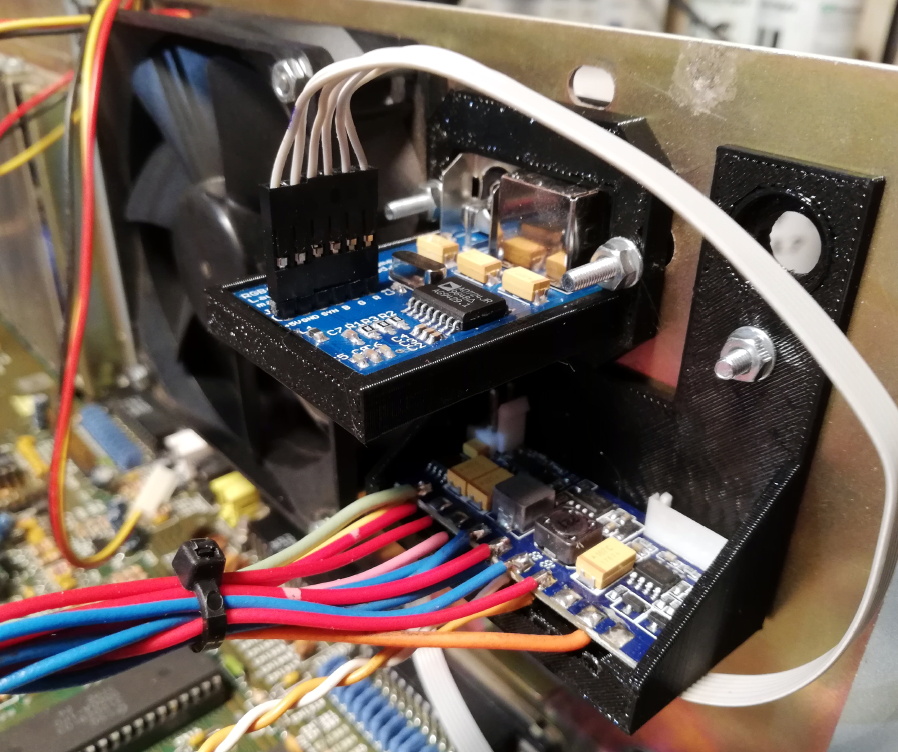
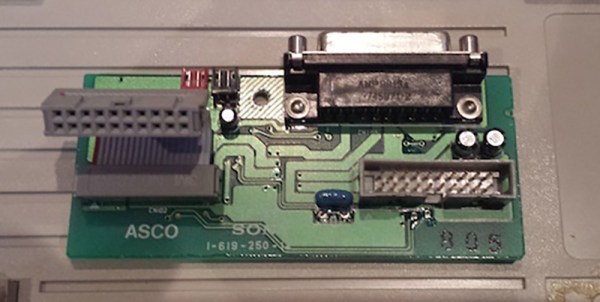
The insides of the Amiga also needed some TLC: [Drygol] competely cleaned and lubricated the floppy drive, gave the motherboard a good ultrasonic scrub, and replaced dodgy capacitors all over. He expanded the RAM from 512 kB to 1 MB and added a Gotek floppy emulator, which can work in parallel with the original disk drive. To make the Gotek easy to operate, [Drygol] placed its OLED screen and a pair of touch-sensitive buttons in a cutout on the front of the case.

A matching blue mouse and gamepad, both connected through the MouSTer adapter, complete the setup. The result is a good-looking A500 with some modern conveniences that’s perfect for exploring the Amiga’s extensive software library. If custom colors aren’t your thing, you’ll be happy to know that the original shade of grey or beige might be available for your retro console, too.

Continue reading “Restored Amiga 500 Is Blue – And Glows In The Dark”

Arduino Nano Floppy Emulator For When Your Disk Is Not Accessible

Among the plethora of obsolete removable media there are some which are lamented, but it can be difficult to find those who regret the passing of the floppy disk. These flexible magnetic disks in hard plastic covers were a staple of computing until some time in the early 2000s, and their drives could be found by the crateload in any spares box. But what about today, when there’s a need for a real floppy drive and none is to be found? Enter [Acemi Elektronikci], with an Arduino Nano based floppy emulator, that plugs into the floppy port of a PC old enough to have one, and allows the easy use of virtual floppy disks.

Aside from the Nano it has an SD card and associated level shifter, and an SSD1306 i2c screen. Most of the Arduino’s lines drive the floppy interface, so the five-button control comes to a single ADC pin via a resistor ladder. He freely admits that it’s not a perfect cycle-exact emulator of original hardware and there may be machines or even operating systems that complain when faced with it, but for all that it is a useful tool. One of the machines that may have issues is the Amiga, but fortunately there’s a fix for that with a Raspberry Pi.

Smashed Amiga 2000 Gets New Lease On Life

For most people, opening up a package and seeing that the Amiga 2000 you purchased on eBay had been smashed up by the delivery carrier would be a heartbreaking moment. But not [Drygol]. If you live and breathe vintage computer restorations like he does, finding your latest acquisition is in need of more repairs and upgrades than you originally anticipated is actually a bonus.

The first issue that needed sorting out was the broken case. This Amiga must have had one wild ride, as there were several nasty cracks in the front panel and whole chunks had been broken off. We’ve seen [Drygol] repair broken computer cases before, but it seems like each time he comes up with some new tricks to bring these massacred pieces of plastic back to like-new condition. In this case plastic welding is used to hold the parts together and fill in the gaps, and then brass mesh is added to the backside for strength. The joints are then sanded, filled in with polyester putty, and finally sprayed with custom color matched paint. While he was in the area, he also filled in a hole the previous owner had made for a toggle switch.

Then [Drygol] moved onto the internals. Some of the traces on the PCB had been corroded by a popped battery, a socket needed to be replaced, and as you might expect for a machine of this vintage, all of the electrolytic capacitors were suspect and needed to go. Finally, as the system didn’t have a power supply, he wired in a picoPSU. That got the 34 year old computer back up and running, and at this point, the machine was almost like new again. So naturally, it was time to start with the upgrades and modifications.

Case fan, video adapter, and picoPSU.

[Drygol] added an IDE interface and connected a CompactFlash adapter as the computer’s primary drive. For the secondary, he installed a GoTek floppy drive emulator that lets you replace a mountain of physical disks with a USB flash drive full of images. Between the two, all of the computer’s storage needs are met with nary a moving part.

The emulator was given its own 3D printed front panel to fit with the Amiga’s visual style, and he also printed out a holder for the RGB4ALL S-Video/Composite adapter installed on the rear of the machine. To help keep all this new gear cool, he finished things off with a new case fan.

Some will no doubt complain about the addition of the extra gadgetry, but to those people, we suggest you just focus on the phenomenal case restoration work. While you might not agree with all of the modifications [Drygol] makes, there’s no question that you can learn something by going through his considerable body of work.

Quality Upgrades Give Old Synth New Lease On Life

Technology marches on at a rapid pace, but in many fields much love remains for older hardware. While still highly capable, there’s often room for improvement thanks to components made available in the intervening years. After longing for his SY-77 synthesiser of the 90s, [Mark] sourced a tired SY-99, the next model up in the line – and set to work on some upgrades.

The SY-99 relied on floppy disks for storage, but the mechanical drives are now difficult to maintain, to say nothing of the unreliability of floppy media. [Mark] installed a SD Card HXC floppy emulator instead, using a Sparkfun SD breakout to neatly install the card slot in the synth’s case. The tired LCD was replaced with a newer model using the same controller, with an LED backlight proving a nice upgrade over the original EL unit.

Additionally, [Mark] realised that there was scope to create his own upgrade modules with off-the-shelf SRAM chips. This proves far cheaper than sourcing second-hand Yamaha stock off eBay, and is readily achievable by anyone with a basic understanding of digital logic. The ICs can be had for a few dollars, versus well over $50 for the original cards – if you can even find them. Some labor is involved, but it’s a lot less painful to the wallet.

[Mark]’s work is a great example of how hardware that was once prohibitively expensive can be given greater functionality at a lower cost thanks to new technology. We’ve seen other synths modded too, like this Korg Monotron. If you’ve been tinkering away in a keyboard yourself, be sure to let us know!

[Thanks to CRJEEA] for the tip]

Apple ][ Disk Emulation

A while ago, [Steve] over at Big Mess ‘O Wires created a device that would emulate old Macintosh disk drives, storing all the data on an SD card. No, it’s not SCSI; the early Apples had a DB-19 connector for connecting 400 and 800kB disk drives. It’s a great piece of hardware for bootstrapping that old Mac you might have sitting around. Apple ][s, IIs, and //s use an extremely similar connector for their disk drives. A few rumors on some forums led [Steve] to experiment with some ancient bromide-stained boxes, and the results are interesting to say the least.

After pulling out an old //e and IIgs from storage, [Steve] found his Macintosh Floppy Emulator didn’t work with the Apples. This was due to the way Apples could daisy chain their disk drives. There’s an extra enable signal on the connector that either brings Drive 1 or Drive 2 into the circuit. Macs don’t care about this signal, but Apples do. Luckily the 800kB drives for the IIgs have an extra board that handles this daisy chain and drive eject circuitry.

After removing this extra board from a IIgs drive and connecting it to the Floppy Emu, everything worked beautifully. With schematics and a working circuit in hand, it’s now a piece of cake to build an adapter board for using the Macintosh Floppy Emu with Apples, or to build that circuit into a future revision of the Floppy Emulator.

Considering how much trouble [Steve] had bootstrapping these Apples without an SD card to Floppy drive emulator, we’re thinking this is great. The current way of making an Apple II useful is ADTPro, a program that uses audio to communicate with Apples over the cassette port. In case you haven’t noticed, microphone and headphone ports on laptops are inexplicably disappearing, making a hardware device like a SD card floppy emulator the best way to bring disk images to 30-year-old hardware.

Fail Of The Week: Electrically Effective Emulators Exceed Enclosure, Enrage Engineer

After a few years of on and off development, [Steve] from Big Mess ‘o Wires completed work on a floppy disk drive emulator for older Macs such as the Plus. The emu plugs into the DB-19 port on the Mac and acts just like a 3.5″ floppy, using an SD card to store the images. He’s been selling the floppy emus for about the last year, and assembled the first several scores of them himself. At some point, he enlisted a board house to make them, and as of November 2014, he’s had enclosures available in both clear acrylic and brown hardboard.

[Steve] recently ran out of emu stock, so it was time to call up the board house and get some more assembled. After waiting six weeks, they finally showed up. But in spite of [Steve]’s clear and correct instructions, all 100 boards are messed up. One resistor is missing altogether, and they transposed a part between the extension cable adapter board, connecting it directly to the emu main board. But get this: the boards still work electrically. They don’t fit in the housings, however, and the extension cables are useless. After explaining the situation, the board house agreed to cook up a new batch of boards, which [Steve] is waiting patiently to receive.


2013-09-05-Hackaday-Fail-tips-tileFail of the Week is a Hackaday column which runs every Wednesday. Help keep the fun rolling by writing about your past failures and sending us a link to the story — or sending in links to fail write ups you find in your Internet travels.