Fluorescence Microscope On A Hacker’s Budget

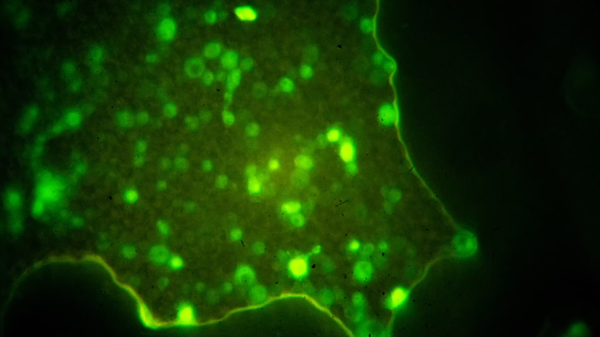
Some of biology’s most visually striking images come from fluorescence microscopes. Their brilliant colors on black look like a neon sign from an empty highway. A brand new fluorescence microscope is beyond a hacker’s budget and even beyond some labs’, but there are ways to upgrade an entry-level scope for the cost of a few cups of coffee. [Justin Atkin] of The Thought Emporium published a scope hacking video which can also be seen below. He is becoming a reputed scope modder.

This video assumes a couple of things for the $10 price tag. The first premise is that you already have a scope, a camera adapter, and a camera capable of shooting long exposures. The second premise is that you are willing to break the seals and open the scope to make some reversible mods. Since you are reading Hackaday, maybe that is a given.

The premise is simple compared to the build, which is not rocket surgery, the light source from below illuminates the subject like a raver, and the filter removes any light that isn’t spectacular before it gets to the camera.

Continue reading “Fluorescence Microscope On A Hacker’s Budget”

Fluorescence Microscopy Meets DIY Fluid Management

Fluorescence microscopy is an optical technique that incorporates fluorescence or phosphorescence (as opposed to reflection and absorption) in order to study the properties of organic and inorganic substances. Not a stranger to bringing DIY techniques into the lab, [Philip] is using 3D printing resources to advance science and delight interns from labs everywhere.

In fluorescence microscopy, a huge limiting factor that decreases the amount of data that can be gleaned from a single sample is the number of targets that can be labeled with fluorescent tags. However, overlap in the spectral emissions of fluorophores limits the fluorophores that can be used side-by-side. This means that only around four targets can be labeled with fluorescent tags in a typical setup, with ten being the absolute maximum if careful spectral demixing is done. However, in a single sample, there might be a few hundred components. Clearly, we’re off by an order of magnitude (or more).

However, researchers are smart. One current solution is to label targets in a sequential manner with probe signal nullification steps in between. Ideally, probes are introduced in sequential without moving the sample off of the microscope. After imaging, the probes can be removed, allowing the number of labeled targets to be limited only to the number of rounds of probe replacement. And, with clever ‘barcoding’ schemes, the returns from each round can even scale exponentially, rather than linearly.

But, to accomplish this feat, a single sample must be processed through the labeling and stripping steps repeatedly. It’s not uncommon to do this by hand, consisting of many hours of exceptionally tedious work. That’s where [Philip] comes in. By using a 3D printer like Cartesian robot, [Philip] is automating the labeling and stripping steps resulting in happy interns and ultimately a more precise product. Rather than spending a few tens of thousands on a commercial machine, you can find all of [Philip’s] design files in his GitHub repo and make one for ~ $1k. Ready for more? We’ve got your back.

Video after the break.

Continue reading “Fluorescence Microscopy Meets DIY Fluid Management”