A Guide For Heat-Treating Steel At Home

A lot of colloquial words that we might use when describing something’s durability take on extremely specific meanings when a materials scientist or blacksmith uses them. Things like “strength”, “toughness”, “hardness”, and “resilience” all have different meanings when working in a laboratory or industrial setting than most people might otherwise think.

For the beginner metalworker, this can be a little bit confusing at first but some hands-on practice will help. To that end, this beginner lesson in heat-treating steel from [Blondihacks] demonstrates why it can be beneficial to trade some of the metal’s toughness for improved hardness and just how to accomplish it on your own.

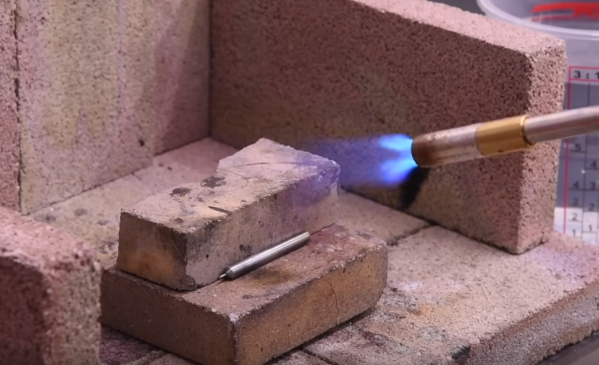
The first part of the lesson is to make sure the steel is high-carbon steel, since most other steels aren’t able to be heat treated. It will also have a specific method for its quenching, either in oil, water, or some other medium. But beyond that the only other thing required for this process is a torch of some sort. [Blondihacks] is using a MAP-Pro torch to get the steel up to temperature, which is recognizable when it turns a specific orange color. From there all that’s needed is to quench the hot metal in whatever fluid is called for. At this point the metal can also be tempered, which restores some of its toughness while maintaining a certain amount of hardness.

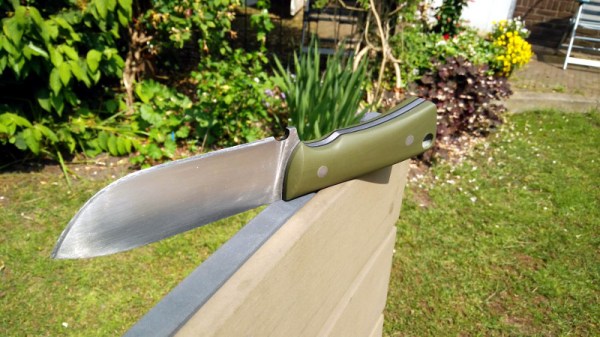
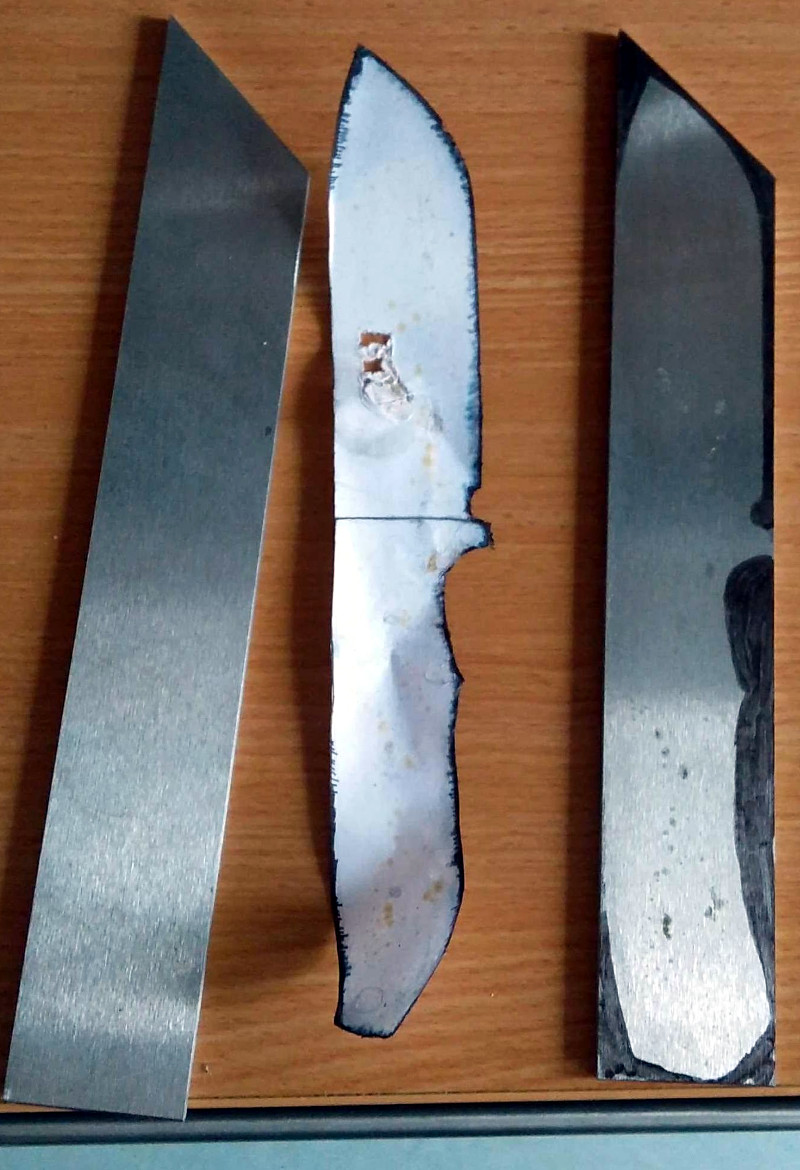
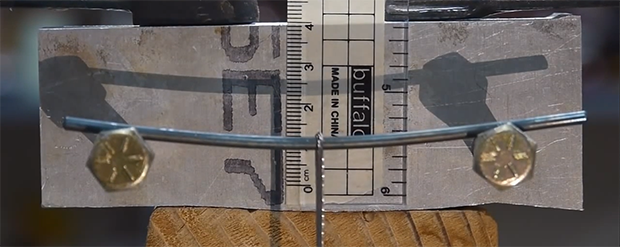
While the process doesn’t require specialized tools, [Blondihacks] does have a hardness tester, a fairly expensive piece of instrumentation that measures how deeply the metal can be indented by a force. By measuring the size of the indentation made by the tool, the hardness can be determined. As it’s many thousands of dollars this is mostly for demonstration and not necessary for most of us, but does go a long way to demonstrate the effectiveness of heat treating and tempering in an otherwise simple environment. If you’re looking for excuses to start heat treating and tempering metal, here’s a great project which creates a knife nearly from scratch.

Continue reading “A Guide For Heat-Treating Steel At Home”

Heat Turns 3D Printer Filament Into Springs

The next time you find yourself in need of some large-ish plastic springs, maybe consider [PattysLab]’s method for making plastic springs out of spare filament. The basic process is simple: tightly wind some 3D printer filament around a steel rod, secure it and wrap it in kapton tape, then heat it up. After cooling, one is left with a reasonably functional spring, apparently with all the advantages of annealed plastic.

The basic process may be simple, but [PattysLab] has a number of tips for getting best results. The first is to use a 3D-printed fixture to help anchor one end of filament to the steel rod, then use the help of an electric drill to wind the filament tightly. After wrapping the plastic with kapton tape (wrap counter to the direction of the spring winding, so that peeling the tape later doesn’t pull the spring apart), he suspends it in a pre-heated oven at 120 C for PLA and 160 C for PETG. How long does it stay in there? [PattysLab] uses the following method: when the spring is wound, he leaves a couple inches of filament sticking out to act as a visual indicator. When this segment of filament sags down, that’s his cue to begin the retrieval process. After cooling, the result is a compression or extension spring, depending on how it was wound before being heated.

[PattysLab] shared a short video on this Reddit post that shows both springs in action, and the process is all covered in the video, embedded below.

Continue reading “Heat Turns 3D Printer Filament Into Springs”

Building A Knife By Hand Is Just As Hard As You Think

Carl Sagan once said: “If you wish to make an apple pie from scratch, you must first invent the universe.” In other words, the term “scratch” is really a relative sort of thing. Did you grow the apples? Did you plant the wheat to make the flour? Where do you keep your windmill, incidentally? With Carl’s words in mind, we suppose we can’t say that [Flannagill] truly built this incredible knife from scratch, after all, he ordered the sheet steel on Amazon. But we think it’s close enough.

He was kind enough to document the epic build in fantastic detail, including (crucially), the missteps he made along the way. While none of the mistakes were big enough to derail the project, he mentions a few instances where he wasted time and money trying to take shortcuts. Even if making your own knives at home isn’t on your short list of summer projects, we’d wager there’s something in this build log you can learn from regardless.

So how does one build a knife? Slowly and methodically, if what [Flannagill] has written up is any indication. It started with a sketch of the knife on a piece of paper, the outline of which was then transferred to a piece of tool steel with nothing more exotic than a permanent marker. An angle grinder was then used to follow the outline and create the rough shape of the final knife.

From there, the process is done almost entirely with hand files. Here [Flannagill] gives one of his most important pieces of advice: don’t cheap out on the tools. He bought the cheapest set of files he could, and paid the price: he says it took up to 14 hours to complete just one side of the knife. Once he switched over to higher quality files, the rest of the work went much faster.

After filing and sanding the knife blank, it went into a charcoal fire to be hardened, followed by a total of 4 hours in a 200 C (~400 F) oven to heat temper it. Finally the handle pieces (which are officially known as “scales”) were attached, and finished with considerably less labor intensive woodworking methods. The final result is a gorgeous one of a kind specimen that [Flannagill] is rightly very proud of.

If you’re worried this process looks a bit too quick and easy for you, don’t worry. You can always go the [Bil Herd] route and make a forge out of your old sink if you’d rather start your apple pie a bit closer to the tree.

For Your Binge-Watching Pleasure: The Clickspring Clock Is Finally Complete

It took as long to make as it takes to gestate a human, but the Clickspring open-frame mechanical clock is finally complete. And the results are spectacular.

If you have even a passing interest in machining, you owe it to yourself to watch the entire 23 episode playlist. The level of craftsmanship that [Chris] displays in every episode, both in terms of the clock build and the production values of his videos is truly something to behold. The clock started as CAD prints glued to brass plates as templates for the scroll saw work that roughed out the frames and gears. Bar stock was turned, parts were threaded and knurled, and gear teeth were cut. Every screw in the clock was custom made and heat-treated to a rich blue that contrasts beautifully with the mirror polish on the brass parts. Each episode has some little tidbit of precision machining that would make the episode worth watching even if you have no interest in clocks. For our money, the best moment comes in episode 10 when the bezel and chapter ring come together with a satisfying click.

We feature a lot of timekeeping projects here, but none can compare to the Clickspring clock. If you’re still not convinced, take a look at some of our earlier coverage, like when we first noticed [Chris]’ channel, or when he fabricated and blued the clock’s hands. We can’t wait for the next Clickspring project, and we know what we’re watching tonight.

Continue reading “For Your Binge-Watching Pleasure: The Clickspring Clock Is Finally Complete”

[Ben Krasnow] Discusses The Heat Treatment Of Steel

steel

For home metallurgy, there are two sources of information for the heat treatment and tempering of steel. The first source is academic publications that include theoretical information, while the second includes the home-spun wisdom of blacksmiths who learn through trial and error. [Ben Krasnow] put up a great video that tries to bridge that gap with some great background information with empirical observations to back up his claims.

For investigating the hardness of steel, a few definitions are in order. The first is stiffness, or the ability of a material to ‘spring back’ after being flexed. The second is strength, specifically yield strength, which is the amount of strain a material can withstand before being permanently deformed.

[Ben] did all these experiments with a 1/8″ W1 steel drill rod. As it came from McMaster, this rod could handle a bit of force before becoming permanently bent, and in terms of stiffness was much better than a piece of coat hanger wire [Ben] had lying around. After taking a piece of this drill rod, heating it up to a cherry red and quenching it in water, [Ben] successfully heat treated this steel to a full hardness. After putting it on his testing jig, this full hardness steel didn’t deform at all, it simply broke.

Full hardness steel is basically useless as a structural material, so [Ben] tried his hand at tempering pieces of his drill rod. By putting a few pieces in a kiln at the requisite temperature, [Ben] was able to temper his drill rods to be stronger than the stock material, but not as terribly brittle as a full hard rod.

Continue reading “[Ben Krasnow] Discusses The Heat Treatment Of Steel”