Silicon Photolithography The PCB Way

[ProjectsInFlight] has been doing some fantastic work documenting his DIY semiconductor fab lately. Next up: exploring down-and-dirty photolithography methods.

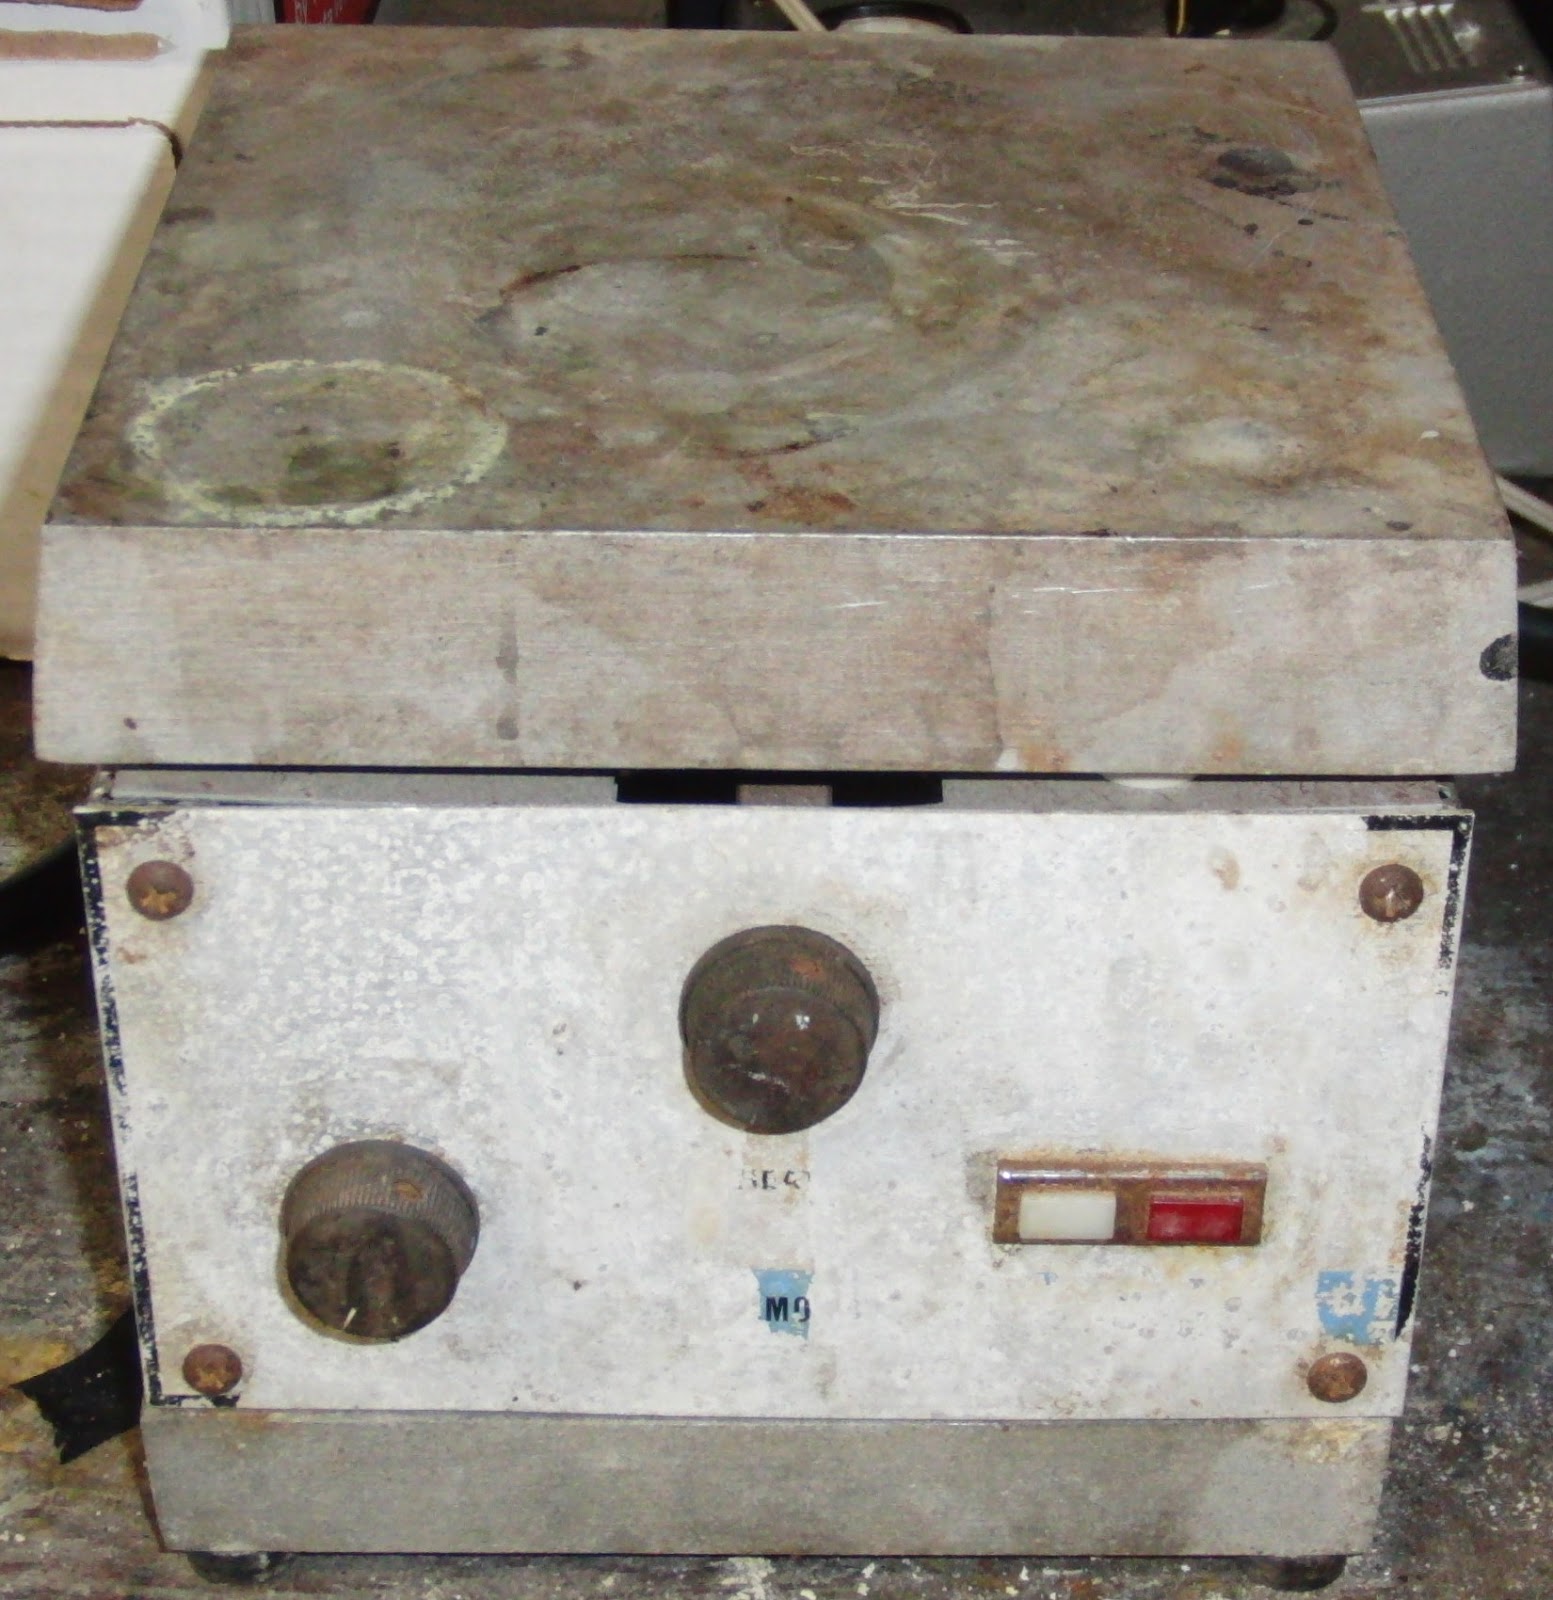
If you’ve been following along with this series — and why wouldn’t you? — you’ll recall [ProjectsInFlight]’s earlier experiments, like creating oxide layers on silicon chips with a homebrew tube furnace and exploring etchants that can selectively remove them. But just blasting away the oxide layer indiscriminately isn’t really something you need to do when etching the fine features needed to fabricate a working circuit. The trouble is, most of the common photoresist solutions used by commercial fabs are unobtainium for hobbyists, leading to a search for a suitable substitute.

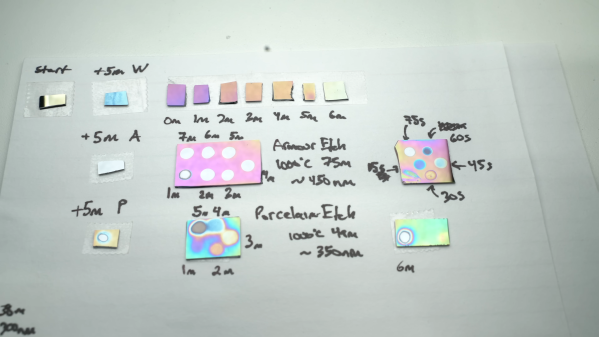
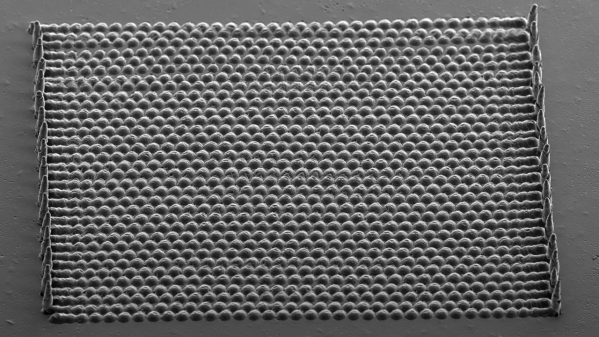
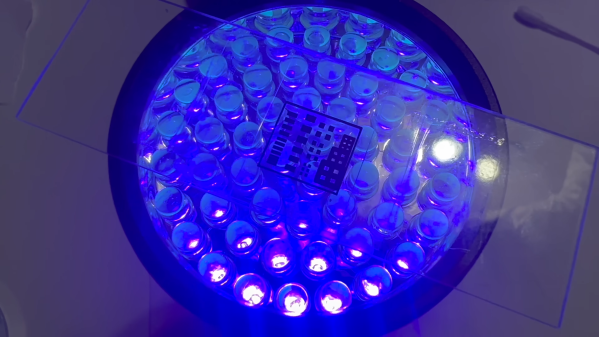
Surprisingly, PCB photoresist film seemed to work quite well, but not without a lot of optimization by [ProjectsInFlight] to stick it to the silicon using a regular laminator. Also in need of a lot of tweaking was the use of a laser printer to create masks for the photolithography process on ordinary transparency film, including the surprisingly effective method of improving the opacity of prints with acetone vapor. There were also extensive experiments to determine the best exposure conditions, a workable development process, and the right etchants to use. Watch the video below for a deep dive into all those topics as well as the results, which are pretty good.

There’s a lot to be said for the methodical approach that [ProjectsInFlight] is taking here. Every process is explored exhaustively, with a variety of conditions tested before settling on what works best. It’s also nice to see that pretty much all of this has been accomplished with the most basic of materials, all of which are easily sourced and pretty cheap to boot. We’re looking forward to more of the same here, as well as to see what others do with this valuable groundwork.

Continue reading “Silicon Photolithography The PCB Way”

Testing Oxide Etchants For The Home Semiconductor Fab

Building circuits on a silicon chip is a bit like a game of Tetris — you have to lay down layer after layer of different materials while lining up holes in the existing layers with blocks of the correct shape on new layers. Of course, Tetris generally doesn’t require you to use insanely high temperatures and spectacularly toxic chemicals to play. Or maybe it does; we haven’t played the game in a while, so they might have nerfed things.

Luckily, [ProjectsInFlight] doesn’t treat his efforts to build semiconductors at home like a game — in fact, the first half of his video on etching oxide layers on silicon chips is devoted to the dangers of hydrofluoric acid. As it turns out, despite the fact that HF can dissolve your skin, sear your lungs, and stop your heart, as long as you use a dilute solution of the stuff and take proper precautions, you should be pretty safe around it. This makes sense, since HF is present in small amounts in all manner of consumer products, many of which are methodically tested in search of a practical way to remove oxides from silicon, which [ProjectsInFlight] has spent so much effort recently to learn how to deposit. But such is the ironic lot of a chip maker.

Three products were tested — rust remover, glass etching cream, and a dental porcelain etching gel — against a 300 nm silicon dioxide layer. Etch speed varied widely, from rust remover’s 10 nm/min to glass etching cream’s blazing 240 nm/min — we wonder if that could be moderated by thinning the cream out with a bit of water. Each solution had pros and cons; the liquid rust remover was cheap easy to handle and clean up, while the dental etching gel was extremely easy to deposit but pretty expensive.

The good news was that everything worked, and each performed differently enough that [ProjectsInFlight] now has a range of tools to choose from. We’re looking forward to seeing what’s next — looks like it’ll be masking techniques.

Continue reading “Testing Oxide Etchants For The Home Semiconductor Fab”

Scanning electron micrograph of a microfabricated lens array

Getting A Fly’s-Eye View With Microfabricated Lens Arrays

Atomic force microscopy, laser ablation, and etching with a witches brew of toxic chemicals: sounds like [Zachary Tong] has been playing in the lab again, and this time he found a way to fabricate arrays of microscopic lenses as a result.

Like many of the best projects, [Zach]’s journey into micro-fabrication started with a happy accident. It happened while he was working on metal-activated chemical etching (MACE), which uses a noble metal catalyst to selectively carve high-aspect-ratio features in silicon. After blasting at a silver-coated silicon wafer with a laser, he noticed the ablation pits were very smooth and uniform after etching. This led him to several hypotheses about what was going on, all of which he was able to test.

The experiments themselves are pretty interesting, but what’s really cool is that [Zach] realized the smooth hemispherical pits in the silicon could act as a mold for an array of microscopic convex lenses. He was able to deposit a small amount of clear silicone resin into the mold by spin-coating, and (eventually) transfer the microlens array to a glass slide. The lenses are impressively small — hundreds of them over only a couple hundred square microns — and pretty well-formed. There’s always room for improvement, of course, but for an initial attempt based on a serendipitous finding, we’d call it a win. As for what good these lenses are, your guess is as good as ours. But novel processes like these tend to find a way to be useful, and the fact that this is coming out of a home lab doesn’t change that fact.

We find this kind of micro-fabrication fascinating. Whether it’s making OLED displays, micro-machining glass with plasma, or even rolling your own semiconductors, we can’t get enough of this stuff.

Continue reading “Getting A Fly’s-Eye View With Microfabricated Lens Arrays”

What Can Happen When You Do Try This At Home

In somewhat of a countdown format, [John McMaster] looked back over the last few years of projects and documented the incidents he’s suffered (and their causes) in the course of doing cool stuff.

[John] starts us off easy — mis-wiring and consequently blowing up a 400V power supply. He concludes “double-check wiring, especially with high power systems”. Other tips and hazards involve situations in which we seldom find ourselves: “always check CCTV” before entering the experiment chamber of a cyclotron to prevent getting irradiated. Sounds like good advice.

hotplate[John] also does a lot of IC decapping, which can involve both heat and nasty acids. His advice includes being ready for large spills with lots of baking soda on hand, and he points out the need to be much more careful with large batches of acid than with the usual smaller ones. Don’t store acid in unfamiliar bottles — all plastics aren’t created equal — and don’t store any of it in your bedroom.

The incidents are listed from least to most horrible, and second place goes to what was probably a dilute Hydrofluoric acid splash. Keyword: necrosis. First place is a DIY Hydrochloric acid fabrication that involves, naturally, combining pure hydrogen and chlorine gas. What could possibly go wrong?

Anyway, if you’re going to do “this” at home, and we know a bunch of you are: be careful, be protected, and be prepared.

Thanks [J. Peterson] for the tip!