You probably don’t notice keyboard latency when typing or doing mundane tasks, but if you start gaming, that’s also when you might start complaining. Every millisecond counts in that arena. Think your keyboard is fast? Think again. Because unfortunately, no matter what you’ve got in there, that key matrix is slowing you down. What you need is an FPGA-based keyboard with an overkill MCU. You need Nyan Keys.
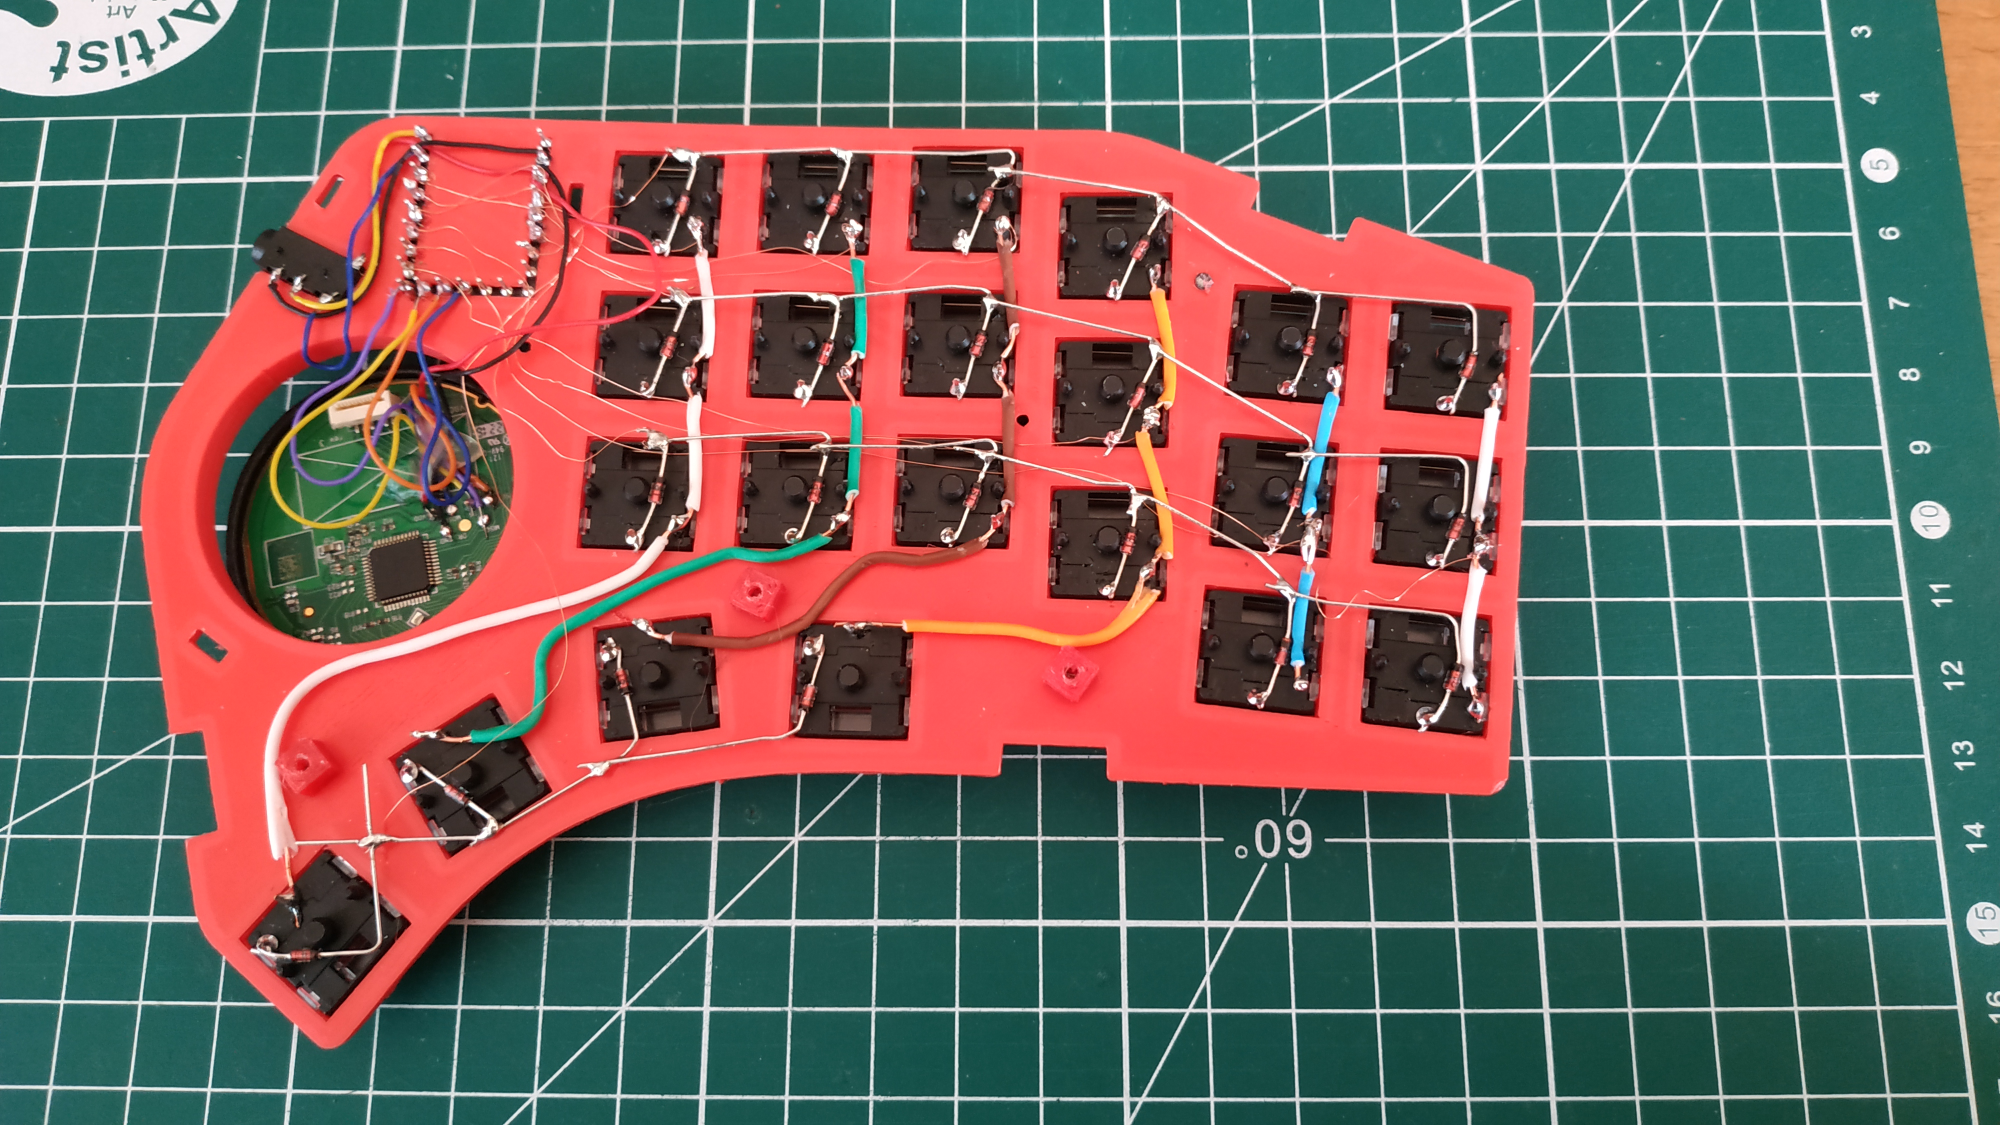
 [Portland.HODL] set out to make the lowest-latency mechanical keyboard possible that would accept any Cherry-compatible switches, and boy howdy, is this thing fast.
Coupled with the STM32F723VET6 MCU is USB 2.0 HS, which has an 8000Hz polling rate. At worst, key latency measures 30μS, which blows the 1mS average out of the water.
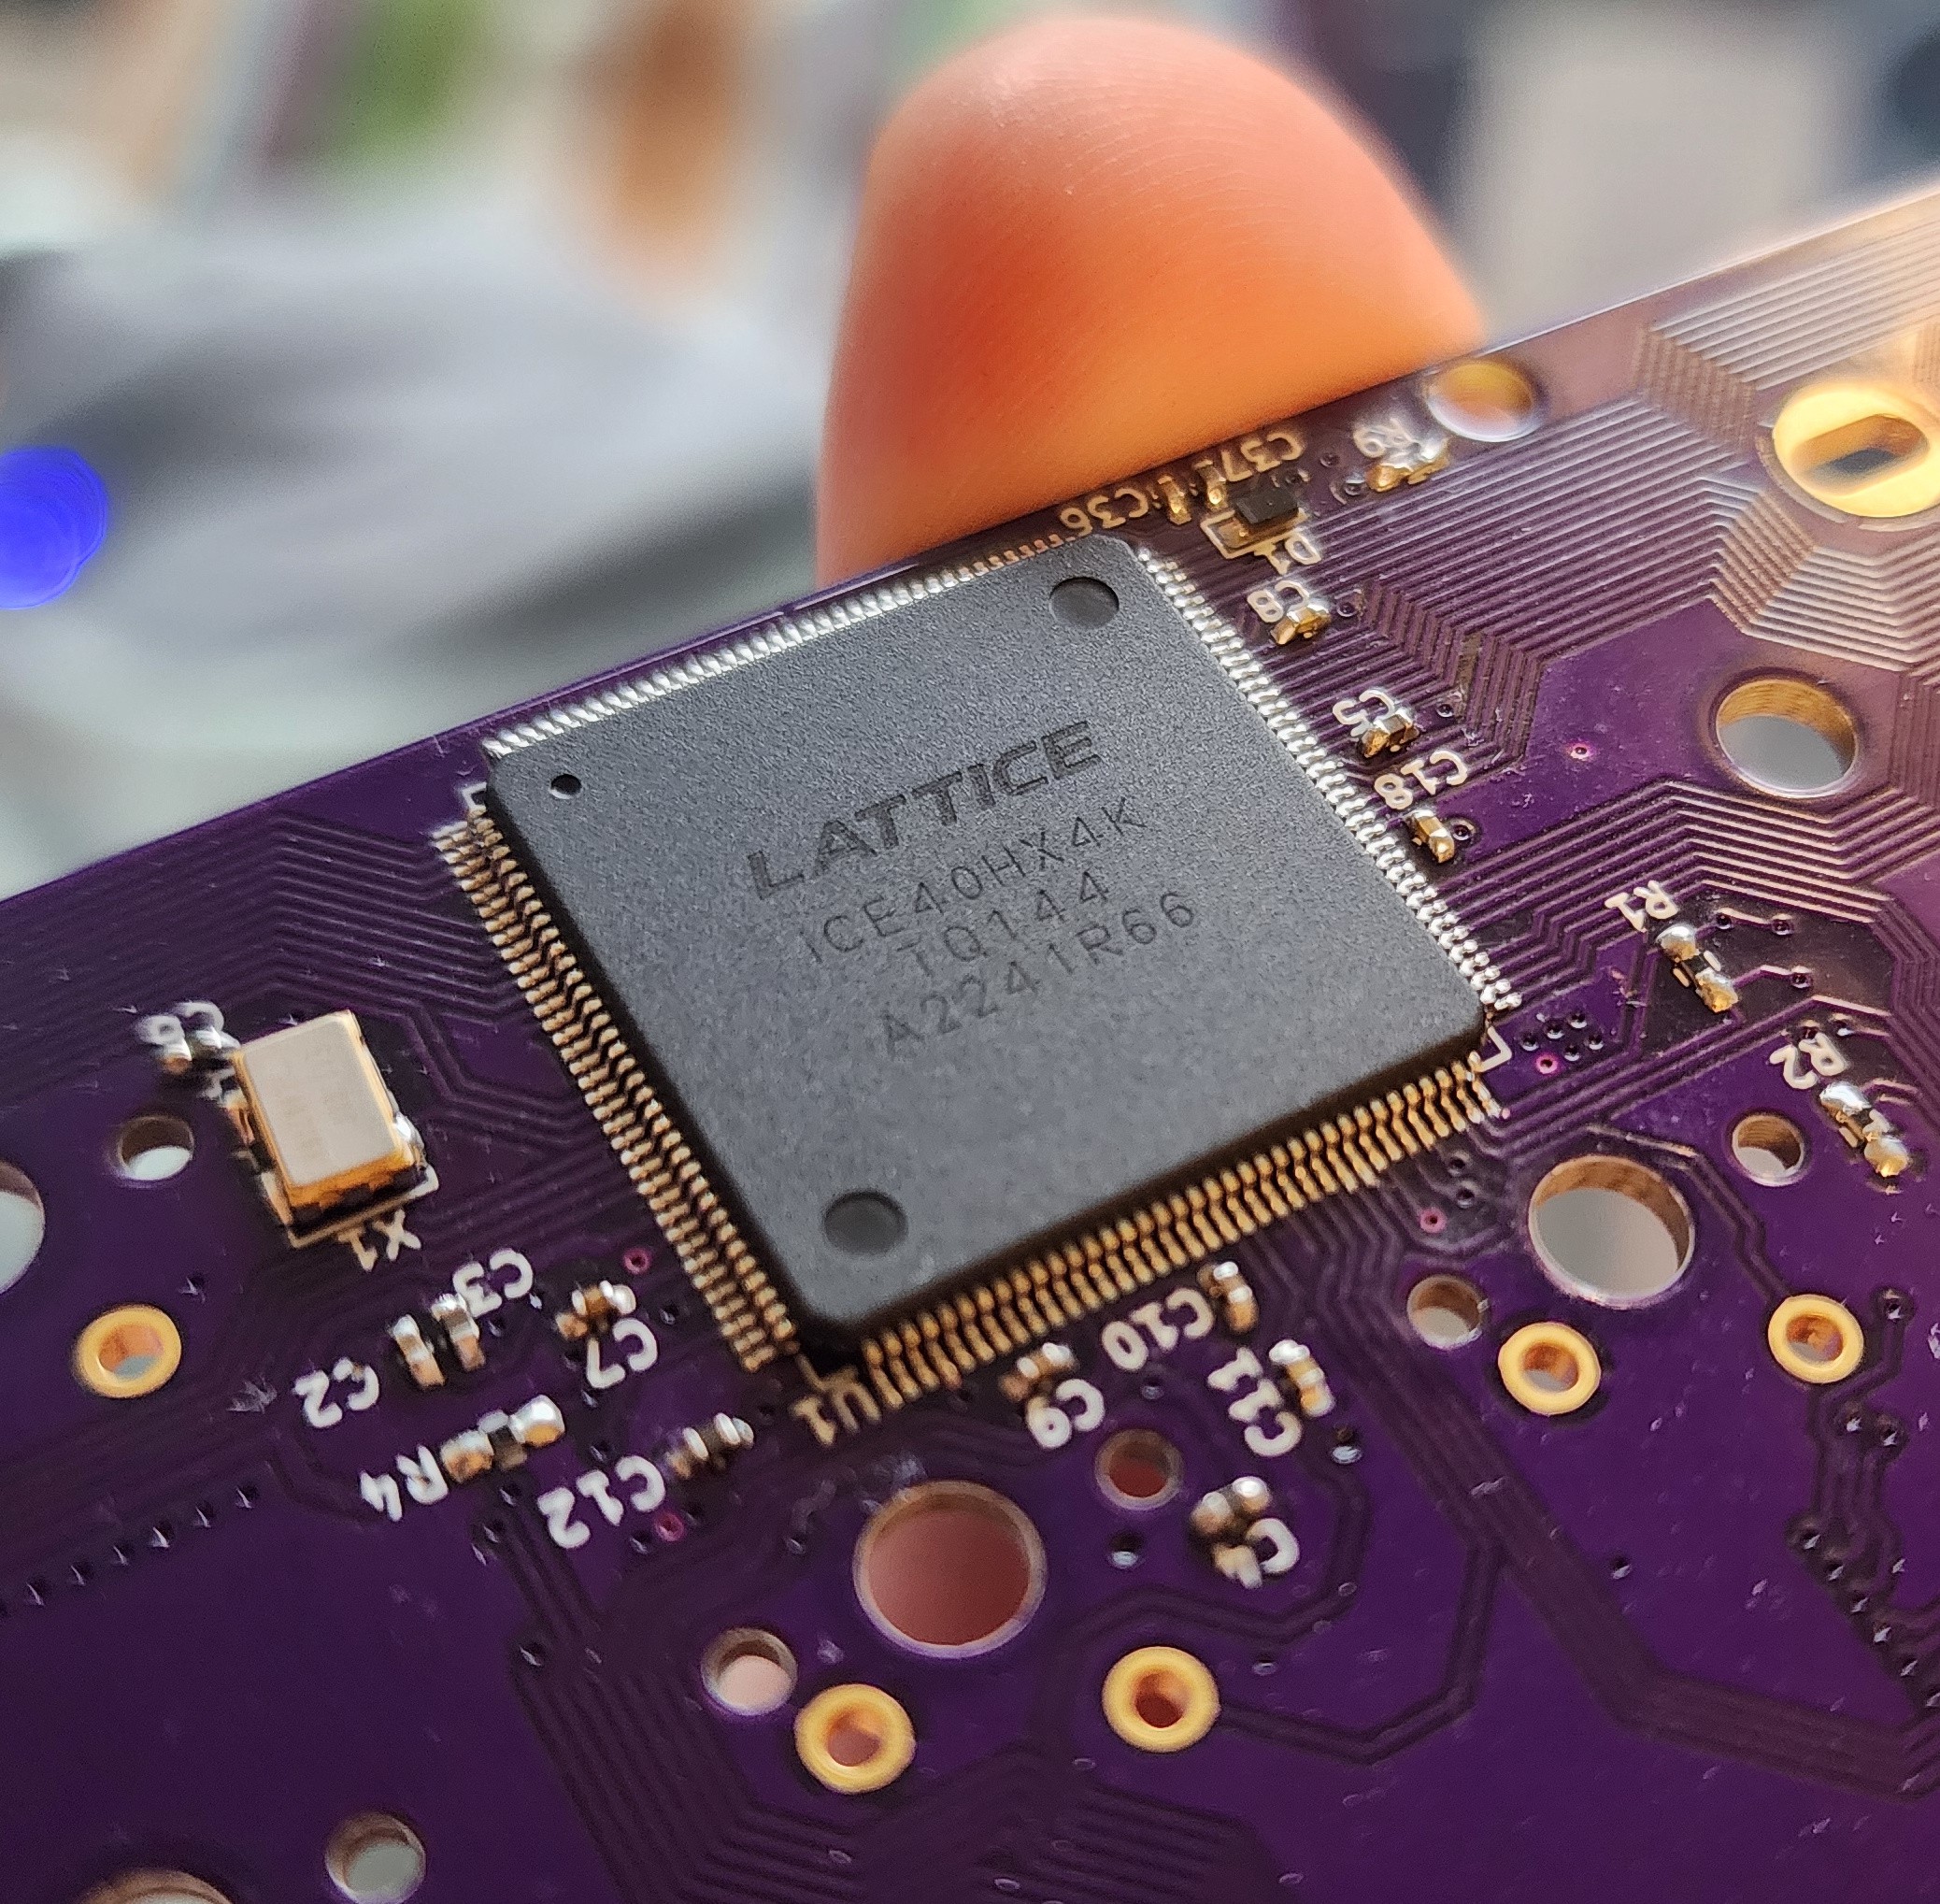
Because it uses a Lattice Semi iCE40HX 4k FPGA, each key switch can connect to its own I/O pin, which also eliminates the need for diodes.
It also means that each key switch can have its own “core” — an 8-bit timer that is always counting up to 255. The key can only change its state when the timer reads 255. This acts as a rather clever debounce mechanism.
If all that’s not enough, [Portland.HODL] built an operating system called NyanOS written in C to avoid any performance-reducing overhead. Oh, and it has an opt-in Bitcoin miner.
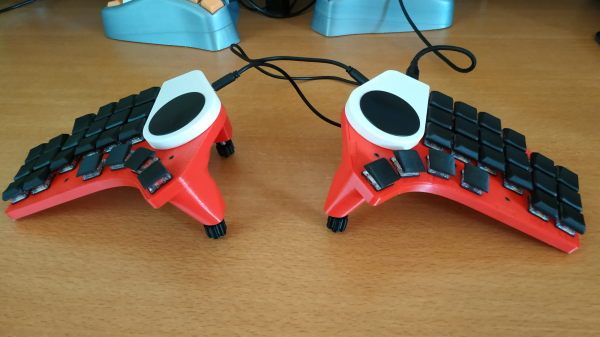
We’ve seen a lot of keyboards, the fast ones are fast because of the input side — they are chording keyboards that take combinations to type, rather than using one key (or so) per character. The Characorder is so fast that it was banned from competition.