If you’re like us, you’ve never spent a second thinking about what happens when you dunk an ordinary LED into liquid nitrogen. That’s too bad because as it turns out, the results are pretty interesting and actually give us a little bit of a look at the quantum world.
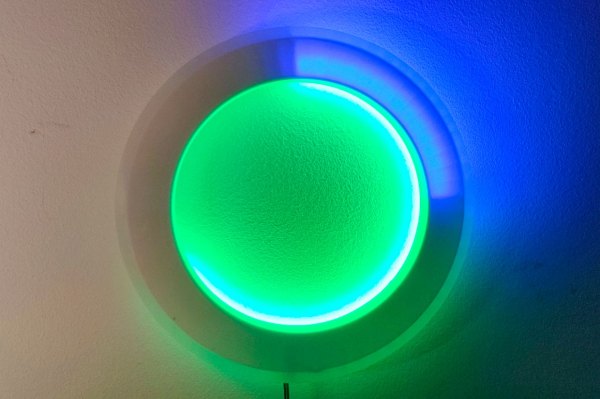
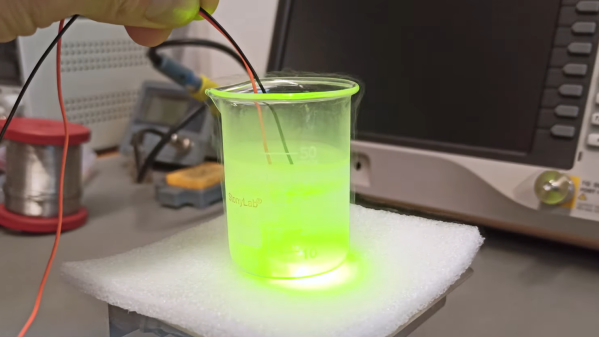
The LED fun that [Sebastian] over at Baltic Lab demonstrates in the video below starts with a bright yellow LED and a beaker full of liquid nitrogen. Lowering the powered LED into the nitrogen changes the color of the light from yellow to green, an effect that reverses as the LED is withdrawn and starts to warm up again. There’s no apparent damage to the LED either, although we suppose that repeated thermal cycles might be detrimental at some point. The color change is quite rapid, and seems to also result in a general increase in the LED’s intensity, although that could be an optical illusion; our eyes are most sensitive in the greenish wavelengths, after all.
So why does this happen? [Sebastian] goes into some detail about that, and this is where quantum physics comes into it. The color of an LED is a property of the bandgap of the semiconductor material. Bandgap is just the difference in energy between electrons in the valence band (the energy levels electrons end up at when excited) and the conduction band (the energy levels they start at.) There’s no bandgap in conductive materials — the two bands overlap — while insulators have a huge bandgap and semiconductors have a narrow gap. Bandgap is also dependent on temperature; it increases with decreasing temperature, with different amounts for different semiconductors, but not observably so over normal temperature ranges. But liquid nitrogen is cold enough for the shift to be dramatically visible.
We’d love to see the color shift associated with other cryogens, or see what happens with a blue LED. Want to try this but don’t have any liquid nitrogen? Make some yourself!
Continue reading “Neopixels? Try Liquid Nitrogen To Color Shift Your LEDs Instead”