Printing Objects Directly From Fallout 4

Fallout 4 was released about a month ago, and although we don’t have a ‘took an arrow to the knee’ meme like Bethesda’s last game, there are ample opportunities for cosplay and printing out deathclaws and mirelurks on a 3D printer. How do you turn files hidden away in a game’s folders into a real, printed object? It’s actually pretty easy and [Angus] is here to tell you how.

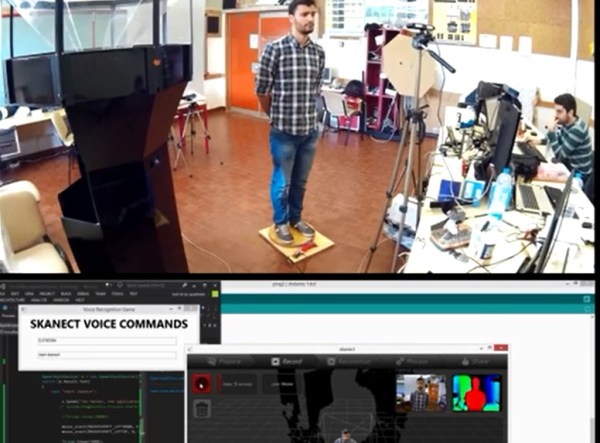
The files for Fallout enemies and items can be readily accessed with the Bethesda Archive Extractor, although this won’t give you files that a 3D printer can understand. You’ll get a .NIF file, and NifSkope can convert the files found in the Fallout archives to an .OBJ file any 3D modeling program can understand. The next step from there is taking the .OBJ file into Meshmixer and fixing everything with Netfabb. After that, it’s off to the printer.

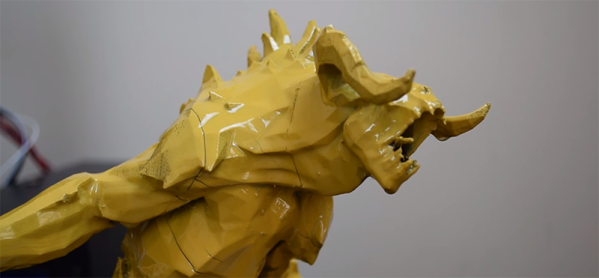
[Angus] printed his model of a Deathclaw in ABS in multiple parts, gluing them together with a little bit of acetone. This didn’t go exactly as planned; there were some contaminants in the ABS that turned into a white film on the black ABS. This was ultimately fixed with XTC-3D, the 3D print coating everyone is experimenting with.

The finished product is a solid yellow but completely smooth 3D model of one of the toughest enemies in Fallout 4. The only thing left to do is paint the model. The best way to proceed at this point is probably doing what model builders have been doing for decades – an airbrush, and hundreds of tiny bottles of paint. [Angus] is opening up his YouTube comments for suggestions, and if you have a better idea he’s looking for some help.
Continue reading “Printing Objects Directly From Fallout 4”

Take A Spin On This Voice-Controlled 3D Scanning Rig

[Aldric Negrier] wanted to make 3D-scanning a person streamlined and simple. To that end, he created this voice-controlled 3D-scanning rig.

[Aldric] used a variety of hacking skills to make this project, and his thorough Instructable illustrates this nicely. Everything from CNC milling to Arduino programming to 3D-printing was incorporated into the making of this rig. Plywood was used to construct the base and the large toothed gear. A 12″ Lazy Susan bearing was attached to this gear to allow smooth rotation. In order to automate the rig, a 12V DC geared motor was attached to a smaller 3D-printed gear and positioned on the base. When the motor is on, the smaller gear’s teeth take the larger gear for a spin. He used a custom dual H-bridge motor driver made by a friend, which is connected to an Arduino Nano. The Nano is also connected to a Bluetooth module and an ultrasonic range finder. When an object within 1-35cm is detected on the rig for 3 seconds, the motor starts to spin, stopping when the object is no longer detected. A typical scan takes about 60 seconds.

This alone would have been a great project, but [Aldric] did not stop there. He wanted to be able to step on the rig and issue commands while being scanned. It makes sense if you want to scan yourself – get on the rig, assume the desired position, and then initiate the scan. He used the Windows speech recognition SDK to develop an application that issues commands via Bluetooth to Skanect, a 3D-scanning software. The commands are as simple as saying “Start Skanect.” You can also tell the motor to switch on or off and change its speed or direction without breaking form. [Aldric] used an Asus Xtion for a 3D-scanner, but a Kinect will also work. Afterwards, he smoothed his scans using MeshMixer, a program featured in previous hacks.

Check out the videos of the rig after the break. Voice commands are difficult to hear due to the background music in one of the videos, but if you listen carefully, you can hear them. You can also see more of [Aldric’s] projects here or on this YouTube channel.

Continue reading “Take A Spin On This Voice-Controlled 3D Scanning Rig”