Old Prius Gets Upgraded Batteries

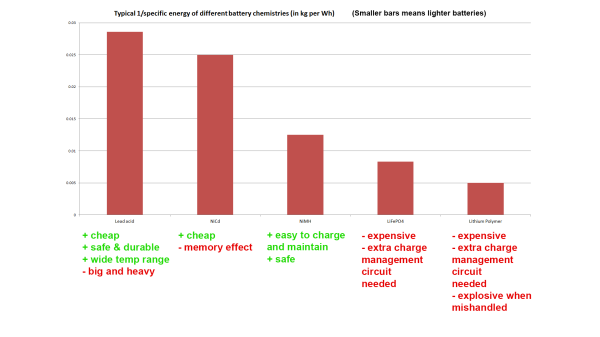
So many of the batteries made today are lithium batteries of some sort, from mobile phones, laptops, and drones to electric cars and grid storage solutions. But this technology is relatively new; even as late as the 90s and early 00s the only widely-available batteries for things like power tools or the new hybrid vehicles coming on the market were nickel-metal hydride (NiMH). While it was good for the time, they don’t hold up to all of the advantages lithium has. There’s still plenty of hybrid vehicles on the road using these batteries, so if you’re driving an older Prius and want to give it a modern refresh, there’s a quick option to swap your old batteries.

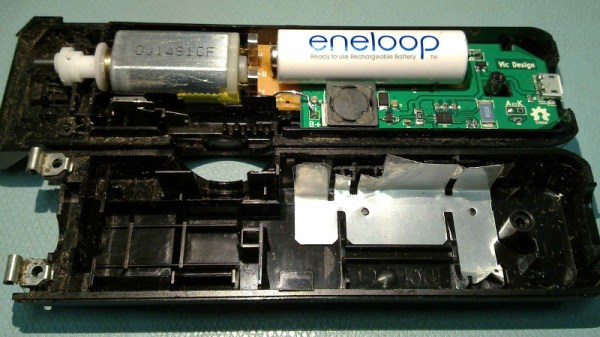
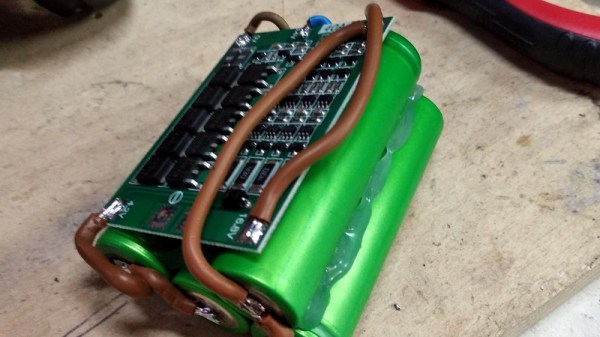
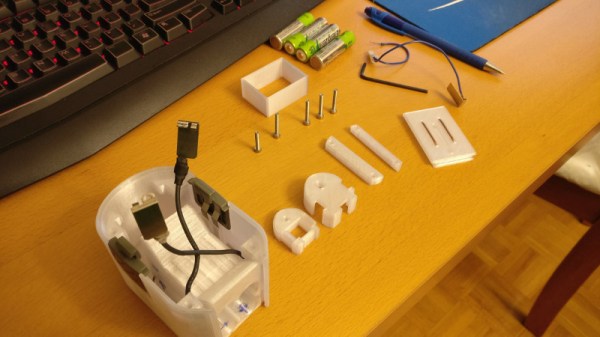
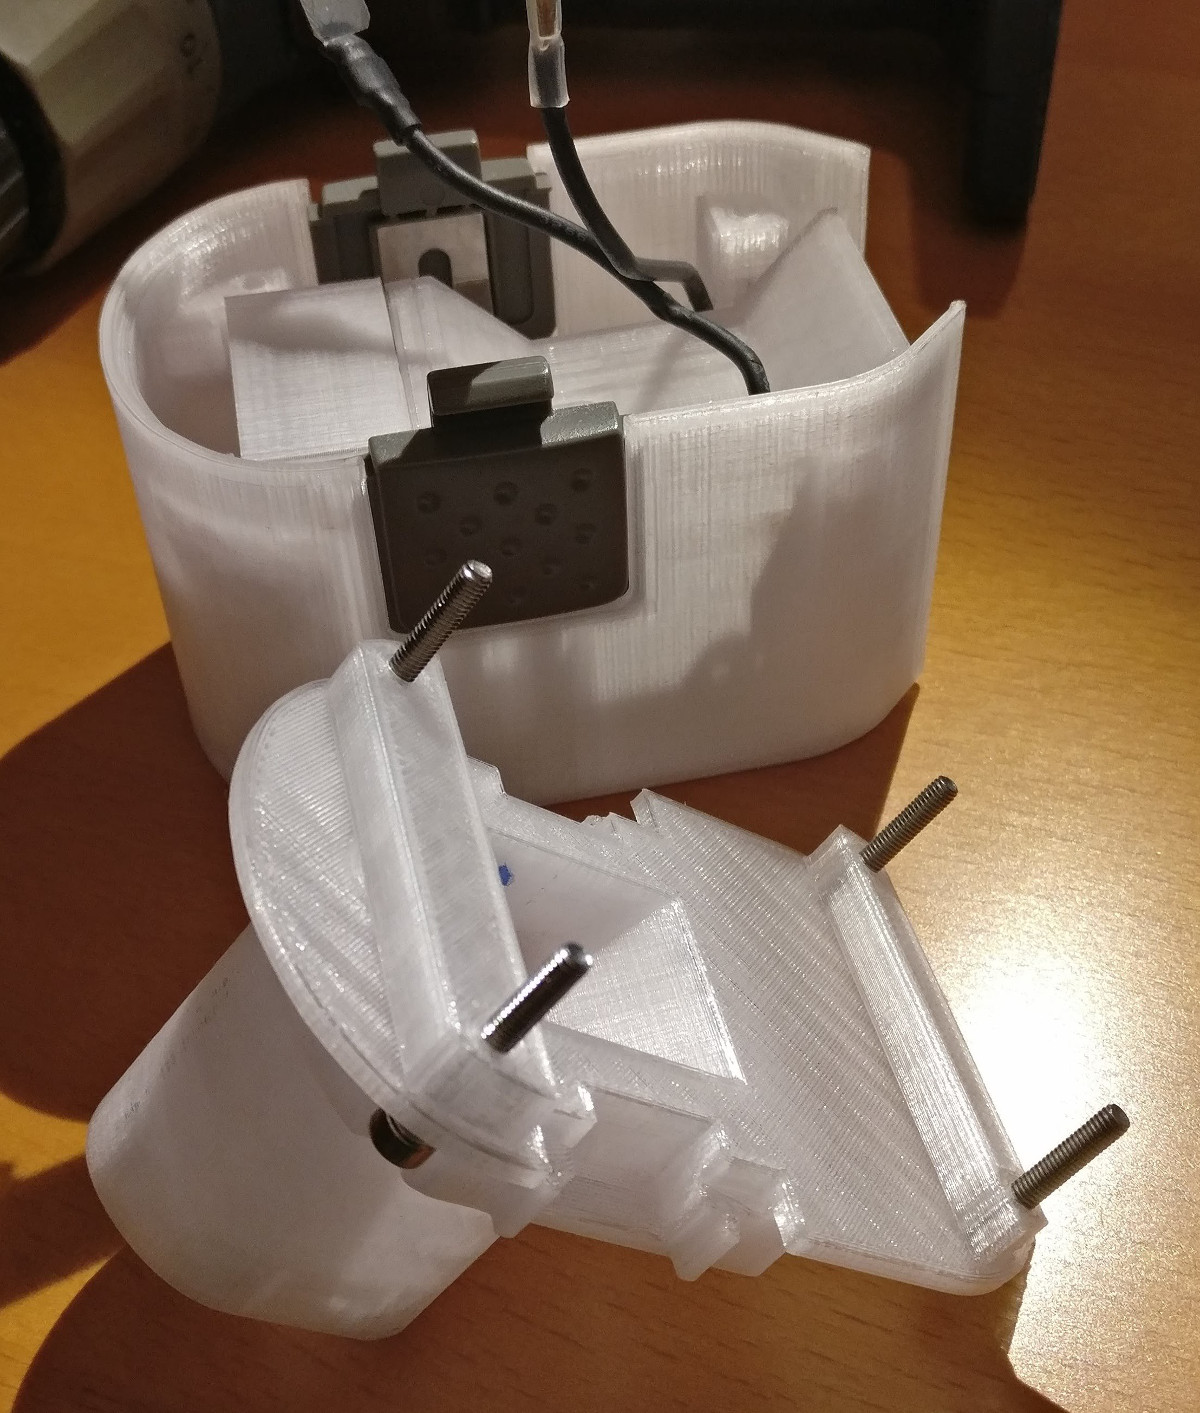
Despite lithium technology being available for several decades, the switch to lithium for the Toyota Prius wasn’t instant, with many variants still using NiMH batteries as late as the 2020s largely because the NiMH batteries are less expensive and less maintenance-intensive than lithium batteries are. As these batteries lose capacity, the cars are still driveable but the advantages of the hybrid drivetrain won’t be as accessible anymore. The upgrade, from a company called Project Lithium, replaces these batteries with modern lithium technology that can improve the efficiency and performance of these cars even above their original capabilities since lithium batteries have more power density.

With the Toyota Prius being among the most reliable vehicles on the road thanks to the electric motor in the hybrid drivetrain taking a lot of stress off of the internal combustion engine, it’s often worth upgrading these old batteries to modern ones to squeeze every last mile from these workhorses as possible. With many of the replacement processes being almost as simple as lifting out an old battery and placing a new one in, it can be a no-brainer if that’s the only issue with the vehicle otherwise. This is also true of all-electric vehicles as well, although the process to replace the battery can be a little more involved.

Thanks to [JohnU] for the tip!

Reverse Engineering A Classic ThinkPad Battery

The ThinkPad 701 is an iconic laptop series from the mid-90s and is still highly sought after today because of its famous butterfly keybaord. The laptop itself is tiny even by the standards of the time, so in order to fit a full-size keyboard IBM devised a mechanism where the keyboard splits and slides over itself to hide away as the screen is closed. But, like most 30-year-old laptops, the original batteries for these computers are well past their prime. [polymatt] takes us through all of the steps needed in order to recreate a battery from this era down to the last detail.

He starts by disassembling an old battery with extensive damage from the old, leaky batteries. The first part of the recreation is to measure the battery casing so a new one can be modeled and printed. The control boards for the batteries of these computers were not too sophisticated, so [polymatt] is able to use a logic analyzer with a working unit to duplicate its behavior on an ATtiny microcontroller. With that out of the way, a new PCB is created to host the cloned chip and a new battery pack, made out of 9 NiMH cells is put together.

[polymatt] wanted this build to be as authentic as possible, so he even goes as far as replicating the label on the underside of the battery. With everything put together he has a faithful recreation of this decades-old battery for a famous retro laptop. ThinkPads are popular laptops in general, too, due to their fairly high build quality (at least for their enterprise lineups) and comprehensive driver support especially for Linux and other open-source software projects like coreboot and libreboot.

Thanks to [Roman UA] for the tip!

Continue reading “Reverse Engineering A Classic ThinkPad Battery”

There’s Life In That Beard Trimmer Yet!

You just can’t get a decent beard trimmer these days! At least that’s what [Peter Franck] found when his trusty Panasonic finally expired after a couple of decades and a few replacement batteries. The shaver’s PCB contained a mains-powered NiCd charger which had comprehensively released its magic smoke, and the expensive replacement trimmers he bought simply didn’t cut the mustard.

Many people would have given up in despair, but he persevered, and produced a custom replacement board containing a Maxim DS2710 single-sell NiMH charger, and an AA NiMH cell. It fits perfectly into the space vacated by the previous board, and takes its charge through a micro-USB socket on the edge of the PCB.

It’s interesting to note that NiMH-based projects have in recent years become a comparative rarity on these pages compared to ones using Li-ion or Li-poly cells. This is an inevitable progression on cost, size, and power density grounds, but it’s still worth knowing about projects using the older battery chemistry. He remarks that his razor is now future-proofed, but we’d probably have fitted a USB-C conector before making that assertion. Either way, it’s a neat piece of work that has achieved its aim of making an expired razor useful again. We’ve brought you another razor fix in the past, though a much less sophisticated one.

Save An Old Drill From Landfill, With Some Lithium-Ion Magic

What do you do, when your trusty cordless drill starts to lose battery capacity? You bought it a decade ago and parts are a distant memory, so there’s no chance of buying a new pack. If you are [Danilo Larizza], you strip away the old NiMh cells, and replace them with a custom pack (Italian, Google Translate link) made from 18650 Li-ion cells.

The build is a straightforward one to anyone familiar with lithium-ion packs, but to a battery newbie it should serve as a handy step-by-step description. He starts by selecting a range of matched cells from discarded laptop batteries and adds an off-the-shelf battery management board to keep everything safe. Interestingly he appears to have soldered his wires to the cells rather than the more usual spot-welding, sadly for many of us a spot-welder is beyond our means. It would be interesting to know both the mechanical integrity of the resulting connection and whether the heat of soldering might in some way affect the cells.

Firing up the drill with the new pack is not the immediate success he hoped it would be, the start-up current is so high that the battery management board goes into a fault condition. This situation is resolved with a model that can take more current, and he can take his drill out once more.

If you are annoyed by the rise of cordless tools, you’re in good company. Meanwhile if you lack a spot-welder for batteries, have a look at one of the nicer ones we’ve seen.

3D Printed Battery Pack Keeps Old Drill Spinning

The greatest enemy of proprietary hardware and components is time. Eventually, that little adapter cable or oddball battery pack isn’t going to be available anymore, and you’re stuck with a device that you can’t use. That’s precisely what happened to [Larry G] when the now antiquated 7.2V NiCd batteries used by his cordless drill became too hard to track down. The drill was still in great shape and worked fine, but he couldn’t power the thing. Rather than toss a working tool, he decided to 3D print his own battery pack.

The 3D modeling on the battery pack is impeccable

He could have just swapped new cells into his old pack, but if you’re going to go through all that trouble, why not improve on things a little? Rather than the NiCd batteries used by the original pack, this new pack is designed around readily available AA NiMH batteries. For the light repairs and craft work he usually gets himself into, he figures these batteries should be fine. Plus he already had them on hand, and as we all know, that’s half the battle when putting a project together.

Interestingly, the original battery pack was wired in such a way that it provided two voltages. In older tools such as this one, this would be used for rudimentary speed control. Depending on which speed setting the drill is on, it would either connect to 4 or 6 cells in the original pack. [Larry] didn’t want to get involved with the extra wiring and never used the dual speeds anyway, so his pack only offers the maximum speed setting. Though he does mention that it may be possible to do PWM speed control in the battery itself via a 555 timer if he feels like revisiting the project.

[Larry] tells us the pack itself was rendered completely from scratch, using only the original battery pack and trial-and-error to get the fit perfect. He reused the side-mounted release buttons to save time, but otherwise everything is 3D printed in PETG for its strength and chemical resistance.


This is an entry in Hackaday’s

Repairs You Can Print contest

The twenty best projects will receive $100 in Tindie credit, and for the best projects by a Student or Organization, we’ve got two brand-new Prusa i3 MK3 printers. With a printer like that, you’ll be breaking stuff around the house just to have an excuse to make replacement parts.

The Best NiMh Charger?

[Paul Allen] has been working on the latest iteration of his NiMh battery charger and it looks amazing!

We’ve covered [Paul Allen]s awesome hacks and tutorials before, but never this project. What makes his charger so special is it’s ability to monitor and log every aspect of the charging process. Not only does it have a SD card for data logging, but it also interfaces with a Windows application for real-time monitoring as well as analysis and visualization of the charging process (Linux users don’t fret it has a serial interface too).

[Paul] doesn’t say if he plans to open hardware or kickstart the charger, but some of his older posts give us a quick peak at the gerbers. Let’s hope this awesome project makes its way into the wild soon, and hopefully we’ll be able to try it for ourselves and see if it lives up to its name.

Battery Basics – Choosing A Battery For Your Project

If choosing a rechargeable battery for your project intimidates you, [Afroman] has prepared a primer video that should put you at ease. In this tutorial for battery basics he not only walks you through a choice of 5 rechargeable chemistries and their respective tradeoffs, but gives a procedure that will allow you to navigate through the specs of real-world batteries for sale – something that can be the most intimidating part of the process.

You cannot learn everything about batteries in 9 minutes, but watching this should get you from zero to the important 80% of the way there. Even if your project does not give you the specs you need to begin buying, [Afroman] tells you what to measure and how to shop for it. In particular, the information he gives is framed in the context you care about, hopefully ensuring you are not waylaid by all the details that were safe to ignore. If this is not enough, [Afroman]’s prequel video on battery terminology has more detail.

Much like your high school English teacher told you, you need to know the rules before you can choose to break them. Many of battery absolute Dos or Don’ts are written for the manufacturer, who provides for the consumer, not the hacker. Hackaday has published hundreds of battery articles over the years; search our archives when you are ready for more.

Continue reading “Battery Basics – Choosing A Battery For Your Project”