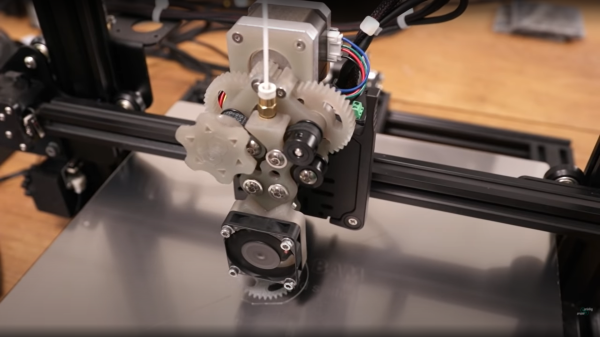
[Proper Printing] clearly enjoys pushing the boundaries of 3D printed materials, and sometimes this requires building custom 3D printers or at least the business end of them. Flexible filaments can be a bit of a pain to deal with, simply because most extruders are designed to push the filament into the hot end with a simple hobbed bolt (or pinch roller setup) and only work reliably due the rigidity of the plastic itself. Once you go flexible, the rigidity is reduced and the filament often deflects sideways and the extruder jams. The longer the filament path leading to the hotend, the harder it gets. The dual belt drive extruder (they’re calling it ‘proper extruder’) grips the filament on two sides with a pair of supported belts, guiding it into the hotend without allowing it to deflect sideways. The extruder body and gears were resin printed (but, we checked — the design is suitable for FDM printing as well) proving that resin printing on modern printers, does indeed maintain adequate dimensional accuracy allowing the building of mechanisms, despite the naysayers! Continue reading “Tame Your Flexible Filaments With This Belt-Drive Extruder”
Ninjaflex16 Articles
Modular Rover Platform Rolls On 3D Printed Flexible Tank Tracks
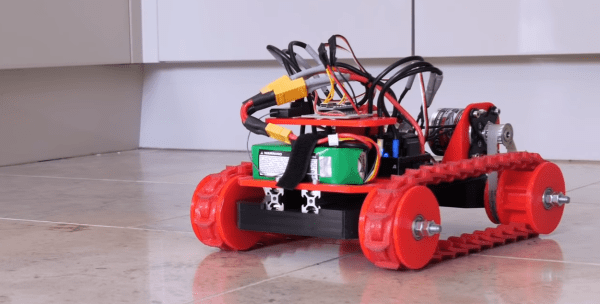
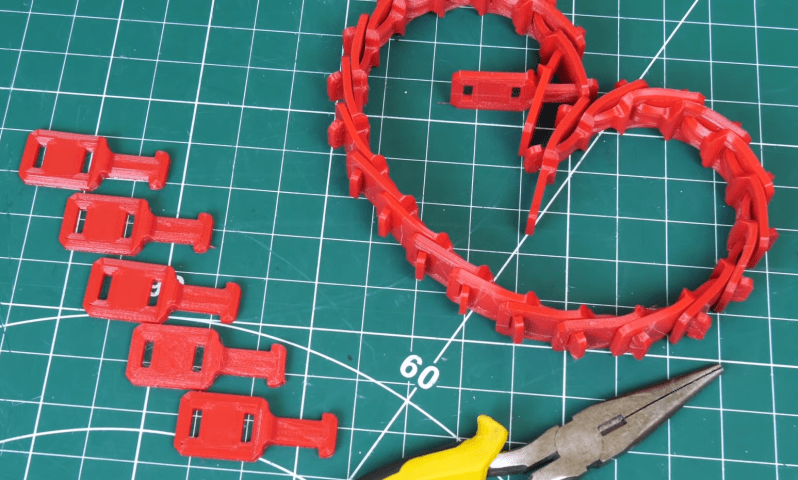
Master of 3D printed robots, [James Bruton], plans to do some autonomous rover projects in the future, but first, he needed a modular rover platform. Everything is cooler with tank tracks, so he built a rover with flexible interlocking track sections.
The track sections are printed with flexible Ninjaflex filament. Each section has a tab designed to slot through two neighboring pieces. The ends of the tabs stick through on the inside of the track fit into slots on the drive wheel like gear teeth. This prevents the track from slipping under load. The Ninjaflex is almost too flexible, allowing the tracks to stretch and almost climb off the wheels, so [James] plans to experiment with some other materials in the future. The chassis consists of two 2020 T-slot extrusions, which allows convenient mounting of the wheel bogies and other components.
For initial driving tests [James] fitted two completely overpowered 1500 W brushless motors that he had on hand, which he plans to replace with smaller geared DC motors at a later stage.
A standard RC system is used for control, but it does not offer a simple way to control a skid steer vehicle. To solve this, [James] added an Arduino between the RC receiver and the motor ESC. It converts the PWM throttle and turn signal from the transmitter, and combines is into differential PWM outputs for the two ESCs.
Continue reading “Modular Rover Platform Rolls On 3D Printed Flexible Tank Tracks”
Robotic Worm Uses NinjaFlex Filament
If you think about building a moving machine, you probably will consider wheels or tracks or maybe even a prop to take you airborne. When [nwlauer] found an earthworm in the garden, it inspired a 3D-printed robot that employs peristaltic motion. You can see a video of it moving, below.
The robot uses pneumatics and soft plastic, and is apparently waterproof. Your printer’s feed path has to be pretty rigid to support flexible filament without jamming. There’s also some PVA filament and silicone tubing involved.
3D Printed Sneakers Are Now A Thing
Shoes may seem simple at face value, but are actually rather complex. To create a comfortable shoe that can handle a full day of wear without causing blisters, as well as deal with the stresses of running and jumping and so on, is quite difficult. Is it possible to create a shoe that can handle all that, using a 3D printer?
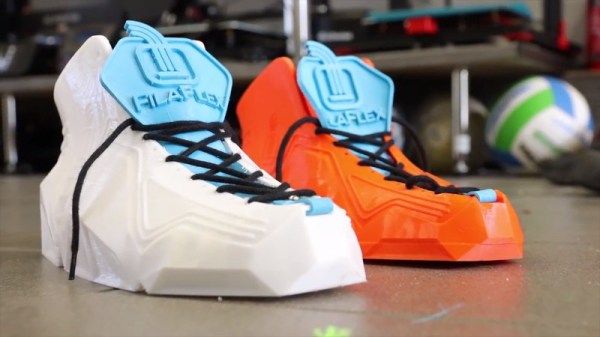
[RCLifeOn] discovered these sneakers by [Recreus] on Thingiverse, and decided to have a go printing them at home. While [Recreus] recommend printing the shoes in their Filaflex material, for this build, one shoe was printed in thermoplastic polyurethane, the other in Ninjaflex. As two filaments that are both commonly known to be pliable and flexible, the difference in the final parts is actually quite significant. The Ninjaflex shoe is significantly more flexible and cushions the foot better, while the rigidity of the TPU shoe is better for ankle support.
Our host then takes the shoes on a long run through the woods, battling dirt, mud, and other undesirables. Both shoes hold up against the abuse, although [RCLifeOn] notes that the Ninjaflex shoe is much more comfortable and forgiving for longer duration wear.
We’ve seen other 3D printed shoe hacks before, too – like these nifty shoelace locks.
3D Printing Belts For Vintage Hardware
It may be hard for some of the younger readers to believe, but there was a time when hardware was full of little rubber belts. Tape decks, VCRs, even some computers: they all had rotating parts that needed to transfer power to other components, and belts were a cheap and quiet way to do it. Unfortunately, now decades later we realize that these little belts are often the Achilles heel of classic hardware, getting brittle and breaking long before the rest of the components are ready to give up the fight.
Which is exactly what [FozzTexx] found when trying to revive his newly purchased Commodore PET 2001. The belt inside of the cassette drive had become hard and fallen to pieces, and rather than hunt around for a replacement, [FozzTexx] reasoned he might be able to print one out of a flexible 3D printer filament like NinjaFlex. Besides, this wasn’t the only piece of vintage tech in his house that needed a belt replacement, so he figured it would be a worthwhile experiment.
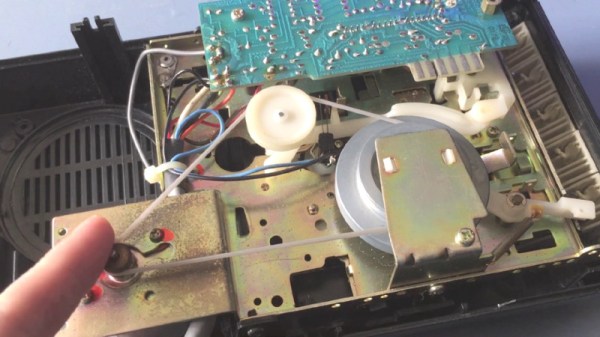
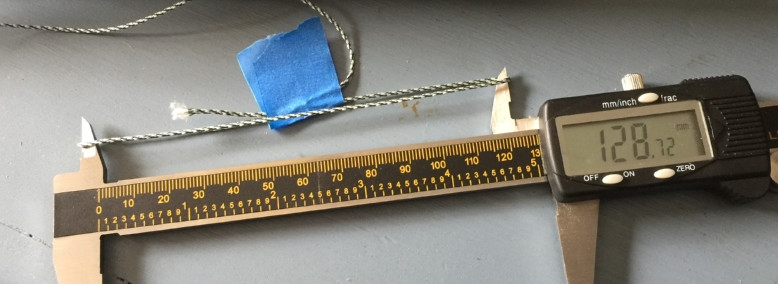
As the original belt was little more than dust, [FozzTexx] had to design his replacement from scratch. He started by cleverly replicating the path the belt would need to take with string, and then measuring the inside diameter of the string circle with his calipers. [FozzTexx] then reduced the diameter by 5% to take into account the stretching of the new belt.
The profile of the belt was square, which made modeling and 3D printing much easier. [FozzTexx] just subtracted a smaller circle from a larger one in 2D, and then extruded that circle into the third dimension by 1.18 mm to match the height of the original part. Careful measurement paid off, and the newly printed NinjaFlex belt had his Commodore loading and saving programs on the first try.
We’ve covered the difficulty in sourcing replacement belts for old hardware previously, so it will be interesting to see if others are able to make use of the research [FozzTexx] has done here. Of course, longevity concerns are always brought up when NinjaFlex is used, so hopefully [FozzTexx] keeps us updated.
Print A Flexible Keypad
[Micah Elizabeth Scott] needed a custom USB keyboard that wrapped around a post. She couldn’t find exactly what she wanted so she designed and printed it using flexible Nijaflex filament. You can see the design process and the result in the video below.
The electronics rely on a Teensy, which can emulate a USB keyboard easily. The keys themselves use the old resistor divider trick to allow one analog input on the Teensy to read multiple buttons. This was handy, but also minimized the wiring on the flexible PCB.
The board itself used Pyralux that was milled instead of etched. Most of the PCB artwork was done in KiCAD, other than the outline which was done in a more conventional CAD program.
Three Thumbs, Way, Way Up!
At least one in their lives — or several times a day — everyone has wished they had a third hand to help them with a given task. Adding a mechanical extra arm to one’s outfit is a big step, so it might make sense to smart small, and first add an extra thumb to your hand.
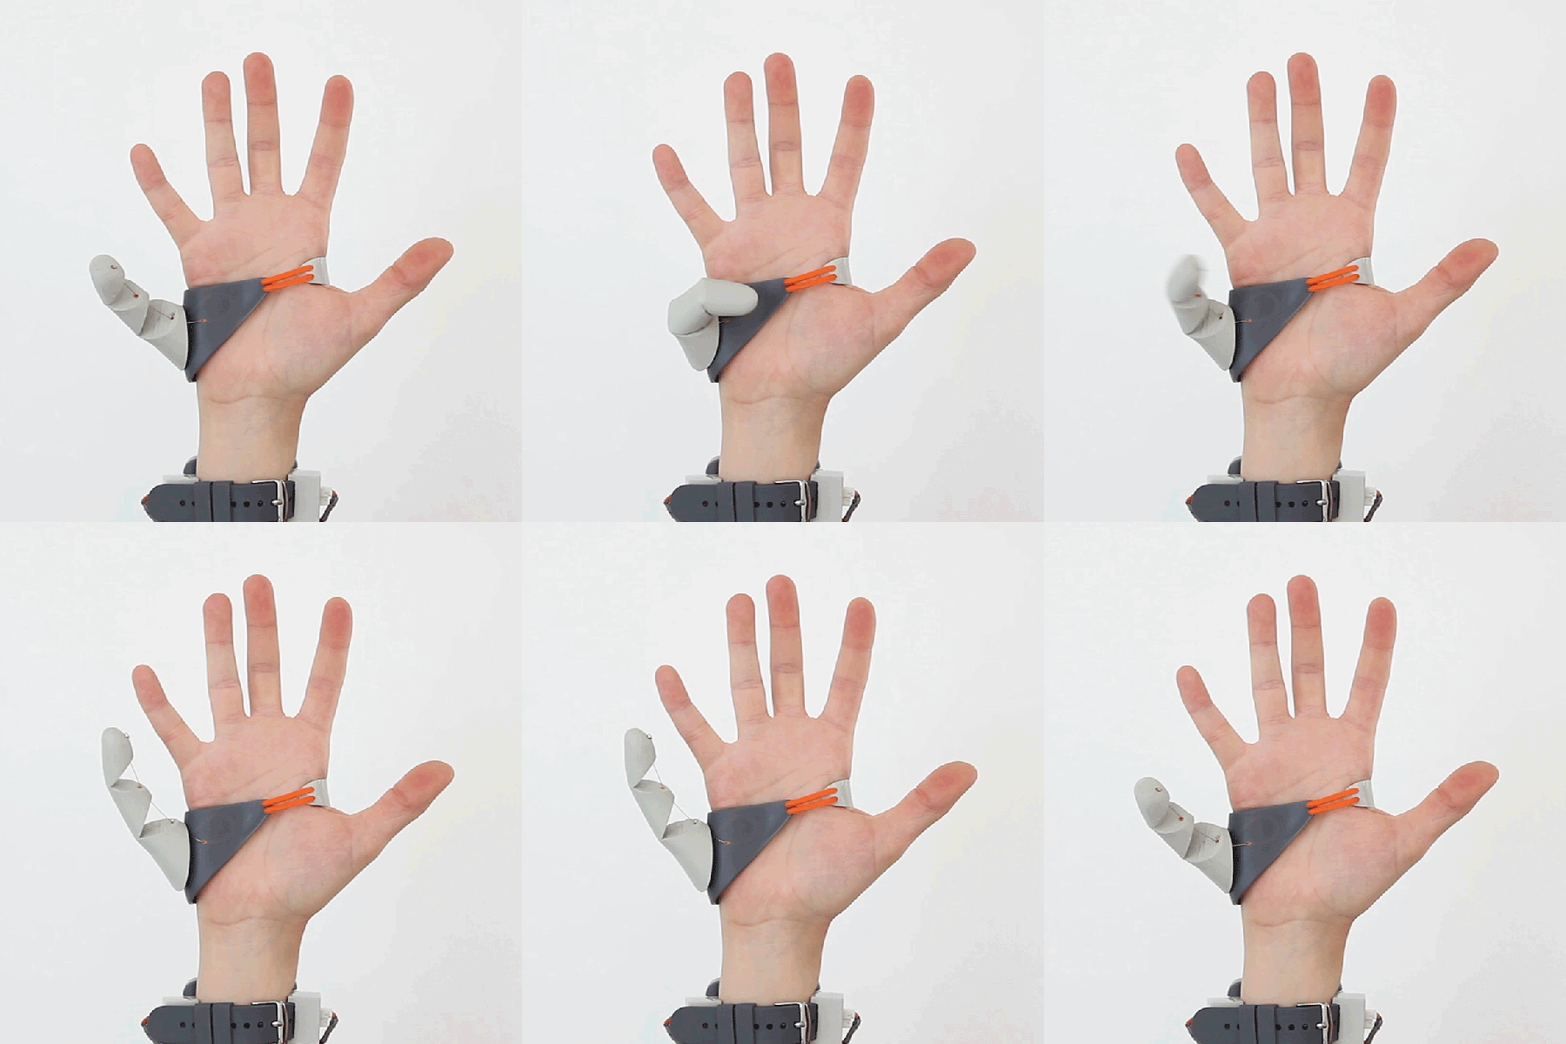
This is not a prosthetic in the traditional sense, but a wearable human augmentation envisioned by [Dani Clode], a master’s student at London’s Royal College of Art. The thumb is 3D-printed out of Ninjaflex and mounted to a printed brace which slides over the hand. One servo rotates the thumb, and a second pulls it closed using a bowden cable system — not unlike that of a bicycle brake. Control of the thumb is achieved by pressure sensors in the wearer’s shoes, linked via Bluetooth to a wristband hosting the servos and the electronics. We already use our hands and feet in conjunction, so why not capitalize on this intuitive link?

