Running a server completely off solar power seems like it would be a relatively easy thing to do: throw up a couple of panels, tack on a charge controller and a beefy battery, and away you go. But the reality is somewhat different. Most of us hackers are operating on a relatively limited budget and probably don’t have access to the kind of property you need to put out big panels; both pretty crippling limitations. Doing solar on a small-scale is hard, and unless you really plan ahead your setup will probably be knocked out on its first cloudy day.
 So when [Kris de Decker] wanted to create a solar-powered version of his site “Low-tech Magazine”, he went all in. Every element of the site and the hardware it runs on was investigated for potential power savings, and luckily for us, the entire process was written up in meticulous detail (non-solar version here). The server still does go down from time to time if the weather is particularly poor, but in general it maintains about 90% uptime in Barcelona, Spain.
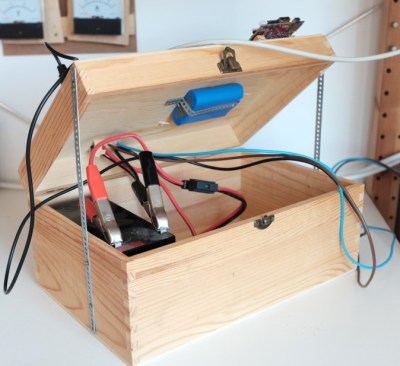
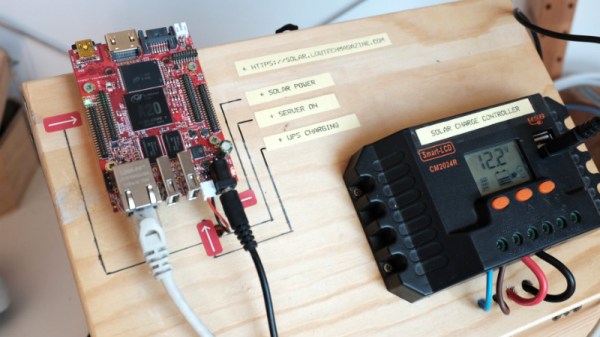
The solar side of the equation is fairly simple. There’s a 50 watt photovoltaic panel charging a 12V 7Ah lead-acid battery though a 20A charge controller. With an average of 4 to 6 hours of sunlight a day, the panel generates 300 Wh of electricity in the best case scenario; which needs to be split between charging the battery and running the server itself.
As for the server, [Kris] chose the Olimex Olinuxino A20 Lime 2 in part because of it being open source hardware, but also because it’s very energy-efficient and includes a AXP209 power management chip. Depending on processor load, the Olimex board draws between 1 and 2.5 watts of power, which combined with charging losses and such means the system can run through two days of cloudy weather before giving up the ghost. A second battery might be added in the future to help improve the run time during low-light conditions, but for now its been working pretty well.
Perhaps the most interesting part of the whole project are the lengths to which the website itself was optimized to keep resource utilization as low as possible. Images are compressed using dithering to greatly reduce their file sizes, and the site eschews modern design in favor of a much less processor intensive static layout. There’s even a battery capacity display integrated into the page through some clever use of CSS. Even if you aren’t looking to set up your own sun worshiping website, there are tips here for building efficient web pages that could absolutely be put to use in other projects.
If you’re interested in solar projects, we’ve got you covered. From an open source charge controller to building DIY photovoltaic panels, there’s plenty of prior art you should find very…illuminating. Please clap.


