Interesting Optical Journey Results In Hybrid Viewfinder For Smartphones

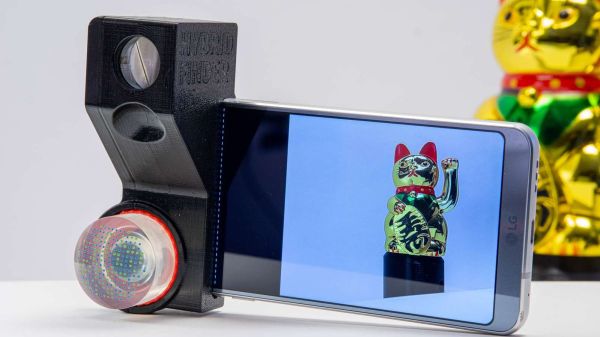
Fair warning: if you ever thought there was nothing particularly interesting with optical viewfinders, prepare to have your misconception corrected by [volzo] with this deep-dive into camera-aiming aids that leads to an interesting hybrid smartphone viewfinder.

For most of us, the traditional optical viewfinder is very much a thing of the past, having been supplanted by digital cameras and LCD displays. But some people still want to frame a photograph the old-fashioned way, and the optical principles that make that possible are actually a lot more complicated than they seem. [volzo]’s blog post and video go into a great deal of detail on viewfinder optics, so feel free to fall down that rabbit hole — it’s worth the trip. But if you’d rather cut to the chase, the actual viewfinder build starts at about the 23:00 mark in the video.

The design is an interesting combination of lenses and beamsplitters that live in a 3D-printed enclosure. The whole thing slips over one end of a smartphone and combines an optical view of the scene that corresponds to the camera’s field of view with a small digital overlay from the phone’s screen. The overlay is quite simple: just some framing gridlines and a tilt indicator that’s generated by a little Android app. But it’s clear that much more information could be added now that [volzo] has all the optical issues sorted out.

We appreciate this deep dive into something that appears to be mundane and outdated, which actually proves to be non-obvious and pretty interesting. And if you have any doubt about the extreme cleverness of the camera engineers of yore, look no further than this sort-of solar-powered camera from the 1960s.

Continue reading “Interesting Optical Journey Results In Hybrid Viewfinder For Smartphones”

Hackaday supercon badge PCB showing illuminated activity lights after being loaded with a punch card

Supercon Badge Reads A “Punch” Card

This year’s Hackaday Supercon, the first since 2019 thanks to the pandemic, was a very similar affair to those of the past. Almost every hardware-orientated hacker event has its own custom electronic badge, and Supercon was no different. This year’s badge is a simulation platform for a hypothetical 4-bit CPU created by our own [Voja Antonic], and presented a real challenge for some of the attendees who had never touched machine code during their formative years. The challenge set was to come up with the most interesting hack for the badge, so collaborators [Ben Hencke] and [Zach Fredin] set about nailing the ‘expandr’ category of the competition with their optical punched card reader bolt-on.

Peripheral connectivity is somewhat limited. The idea was to build a bolt-on board with its own local processing — using a PixelBlaze board [Ben] brought along — to handle all the scanning details. Then, once the program on the card was read, dump the whole thing over to the badge CPU via its serial interface. Without access to theirPrinted paper faux punch card showing read LEDs and an array of set and reset bits of the encoding 
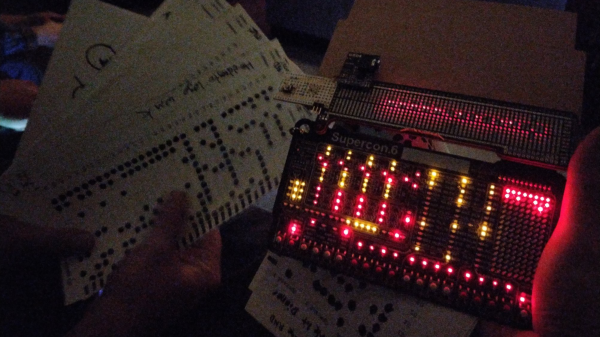
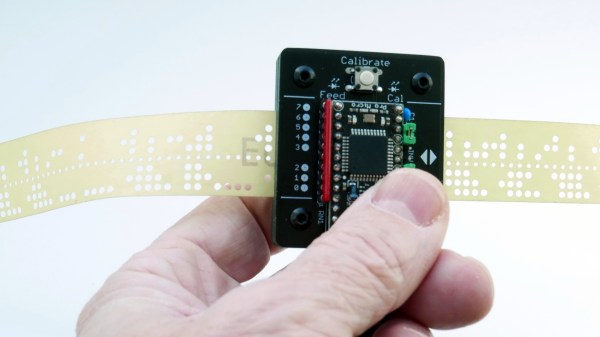
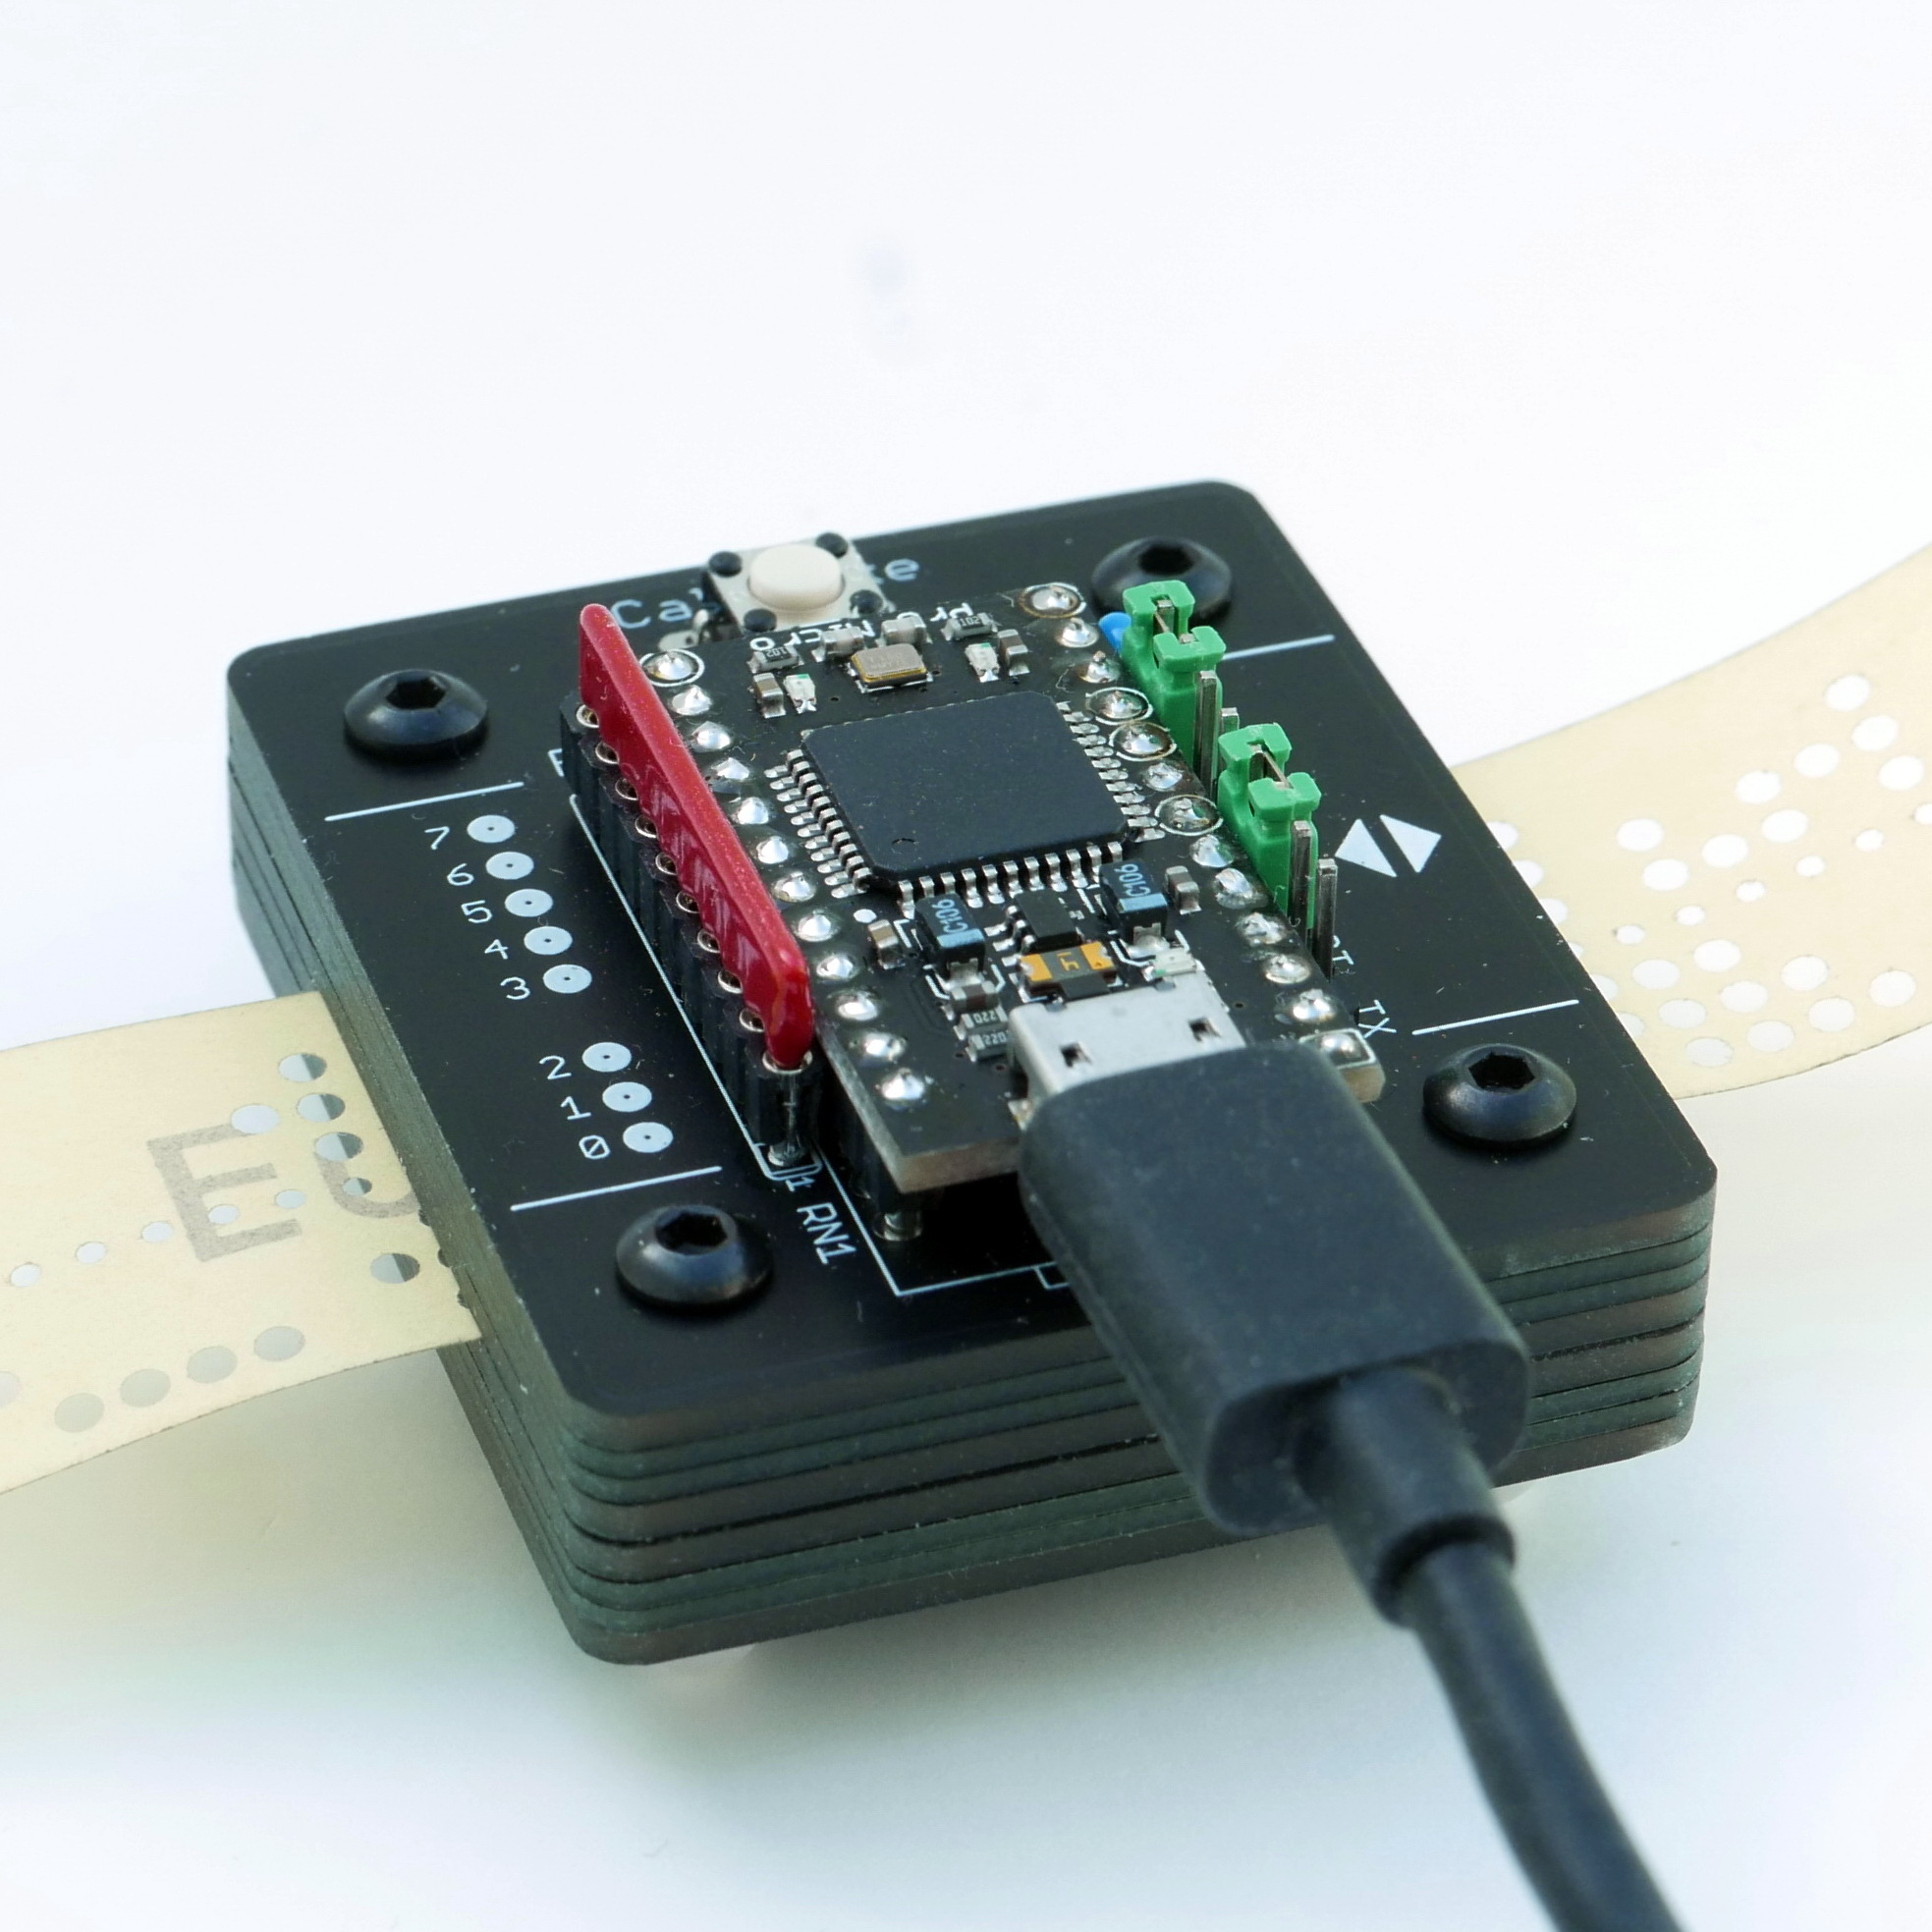
usual facilities back home, [Ben] and [Zach] obviously had to improvise with whatever they had with them, and whatever could be scrounged off other badges or other hardware lying around.

One big issue was that most people don’t usually carry photodiodes with them, but luckily they remembered that an LED can be used as a photodiode when reverse-biased appropriately. Feeding the signal developed over a one Meg resistance, into a transconductance amplifier courtesy of a donated LM358 there was enough variation for the STM32 ADC to reliably detect the difference between unfilled and filled check-boxes on the filled-in program cards.

The CPU required 12-bit opcodes, which obviously implies 12 photodiodes and 12 LEDs to read each word. The PixelBlaze board does not have this many analog inputs. A simple trick was instead of having discrete inputs, all 12 photodiodes were wired in parallel and fed into a single input amplifier. To differentiate the different bits, the illumination LEDs instead were charlieplexed, thus delivering the individual bits as a sequence of values into the ADC, for subsequent de-serialising. The demonstration video shows that it works, with a program loaded from a card and kicked into operation manually. Such fun!

Punch cards usually have a hole through them and can be read mechanically, and are a great way to configure testers like this interesting vacuum valve tester we covered a short while back.

Continue reading “Supercon Badge Reads A “Punch” Card”

Homebrew Optical Sensor Helps Your Diesel Pass The Smoke Test

We’ve all heard of the smoke test, and we know that it’s the lowest possible bar for performance of an electronic device. If it doesn’t burst into flames when power is applied, you’re good to go for more functional testing. But the smoke test means something else for cars, especially those powered by diesel fuel. And passing diesel exhaust tests can become something of a chore.

To make passing these tests a little easier, [Janis Alnis] came up with this diesel exhaust monitor that measures the opacity of his car’s emissions. The sensor itself is quite simple, and mimics what commercial exhaust analyzers use: a LED and a photodiode at opposite ends of a tube of a specified length. Soot particles in exhaust passing through the tube will scatter light in a predictable way, and the numbers work out that a passing grade is anything greater than 53% transmission.

The sensor body is cobbled together from brass pipe fittings with glass windows epoxied into each end. Exhaust enters via a tee fitting attached to a hose and sampling tube, and exits through another tee. One window of the sensor has a cheap battery-powered flashlight as a light source, while the other end has a Texas Instruments OPT101 photodiode sensor. The sensor is connected to one of the analog inputs of an Arduino, which also runs a 128×64 pixel LCD display — inspired by this air quality meter — to show the current smokiness both graphically and as a percentage. The video below shows the sensor at work.

While there were some issues with soot buildup and water vapor condensation, using the sensor [Janis] discovered that a little bit of a warm-up drive got things hot enough to clear up his ride’s tendency to smoke a bit, allowing him to pass his inspection. Continue reading “Homebrew Optical Sensor Helps Your Diesel Pass The Smoke Test”

Growing Silver Nanoprisms With Light

Nanoparticles sound a bit like science fiction to minds of your average hacker — too esoteric and out of reach to be something we might get to work with in our own lairs — but [Ben Krasnow] of [Applied Science] over on YouTube has proven that they most definitely can be made by mere mortals, and importantly they can be tuned. With light. That’s right, nano particle growth appears to be affected very strongly by being illuminated with specific wavelengths, which locks-in their size, and thus defines their light-bending properties. This is the concept of photo mediated synthesis, which causes nanoparticles to clump together into different configurations depending on the wavelength. The idea is to start with a stock solution of Silver Nitrate, which is then reduced to form silver nanospheres which are then converted to larger silver nanoprisms, sized according to the wavelength of the illuminating source.

The process seems simple enough, with a solution of Silver Nitrate and Sodium Citrate being vacuum degassed to remove oxygen, and then purged by bubbling argon or nitrogen. Sodium Borohydride acts as a reducing agent, producing silver metal nanoparticles from the Silver Nitrate solution. The Sodium Citrate coats the silver nanoparticles, as they are produced, preventing them clumping together into a mushy precipitate. PVP (Polyvinylpyrrolidone) is added, acting as a colloiding agent preventing the coated nanoparticles from clumping together, and helping keep the solution stable long enough for the photo mediated synthesis process to complete. Finally, the pH is adjusted up to 11 using sodium hydroxide. The resulting silver nanoparticle stock solution has a pale yellow colour, and is ready for the final particle size selection using the light source.

The light source was custom made because [Ben] says he couldn’t find something suitable off the shelf. This is a simple design using a Teensy to drive an array of PAM2804 LED drivers, with each one of those driving its own medium power LED, one for each of the different wavelengths of interest. As [Ben] stresses, the naïve approach of trying to approximate a specific colour with an RGB LED setup would not work, as although the human eye perceives the colour, the actual wavelength peak will be totally wrong, and the reaction will not proceed as intended. The hardware design is available on MultiSpectLED GitHub for your viewing pleasure.

Nanoparticles have all kinds of weird and wonderful properties, such as making the unweldable, weldable, enabling aluminium to be 3D printed, and even enabling the production of one of our favourite liquid toys, ferrofluid.

Continue reading “Growing Silver Nanoprisms With Light”

Paper Tape Reader Self-calibrates, Speaks USB

Input devices consisting of optical readers for punched paper tape have been around since the earliest days of computing, so why stop now? [Jürgen]’s Paper Tape Reader project connects to any modern computer over USB, acting like a serial communications device. Thanks to the device’s automatic calibration, it works with a variety of paper materials. As for reading speed, it’s pretty much only limited to how fast one can pull tape through without damaging it.

Stacked 1.6 mm PCBs act as an enclosure, of sorts.

While [Jürgen]’s device uses LEDs and phototransistors to detect the presence or absence of punched holes, it doesn’t rely on hardware calibration. Instead, the device takes analog readings of each phototransistor, and uses software-adjusted thresholds to differentiate ones from zeros. This allows it to easily deal with a wide variety of tape types and colors, even working with translucent materials. Reading 500 characters per second isn’t a problem if the device has had a chance to calibrate.

Interested in making your own? The build section of the project has all the design files; it uses only through-hole components, and since the device is constructed from a stack of 1.6 mm thick PCBs, there’s no separate enclosure needed.

Paper tape and readers have a certain charm to them. Cyphercon 4.0 badges featured tape readers, and we’ve even seen the unusual approach of encoding an I2C byte stream directly onto tape.

Old Printer Becomes Direct Laser Lithography Machine

What does it take to make your own integrated circuits at home? It’s a question that relatively few intrepid hackers have tried to answer, and the answer is usually something along the lines of “a lot of second-hand equipment.” But it doesn’t all have to be cast-offs from a semiconductor fab, as [Zachary Tong] shows us with his homebrew direct laser lithography setup.

Most of us are familiar with masked photolithography thanks to the age-old process of making PCBs using photoresist — a copper-clad board is treated with a photopolymer, a mask containing the traces to be etched is applied, and the board is exposed to UV light, which selectively hardens the resist layer before etching. [Zach] explores a variation on that theme — maskless photolithography — as well as scaling it down considerably with this rig. An optical bench focuses and directs a UV laser into a galvanometer that was salvaged from an old laser printer. The galvo controls the position of the collimated laser beam very precisely before focusing it on a microscope that greatly narrows its field. The laser dances over the surface of a silicon wafer covered with photoresist, where it etches away the resist, making the silicon ready for etching and further processing.

Being made as it is from salvaged components, aluminum extrusion, and 3D-printed parts, [Zach]’s setup is far from optimal. But he was able to get some pretty impressive results, with features down to 7 microns. There’s plenty of room for optimization, of course, including better galvanometers and a less ad hoc optical setup, but we’re keen to see where this goes. [Zach] says one of his goals is homebrew microelectromechanical systems (MEMS), so we’re looking forward to that.

Continue reading “Old Printer Becomes Direct Laser Lithography Machine”

Beautiful Engineering In This Laser Unit From A Tornado Jet Fighter

Those of use hailing from the UK may be quite familiar with the Royal Air Force’s Tornado fighter jet, which was designed to fight in a theoretical nuclear war, and served the country for over 40 years. This flying deathtrap (words of an actual serving RAF fighter pilot this scribe met a few years ago) was an extremely complex machine, with state-of-the-art tech for its era, but did apparently have a bit of a habit for bursting into flames occasionally when in the air!

Anyway, the last fleet is now long retired and some of the tech inside it is starting to filter down into the public domain, as some parts can be bought on eBay of all places. [Mike] of mikeselectricstuff has been digging around inside the Tornado’s laser head unit,  which was part of the bomber’s laser-guided missile subsystem, and boy what a journey of mechanics and electronics this is!

Pulse-mode optically pumped YAG laser

This unit is largely dumb, with all the clever stuff happening deep in an avionics bay, but there is still plenty of older high-end tech on display. Using a xenon-discharge-tube pumped yttrium aluminum garnet (YAG) laser, operating in pulsed mode, the job of the unit is to illuminate the ground target with an IR spot, which the subsequently fired missiles will home on to.

Designed for ground-tracking, whilst the aircraft is operating at speed, the laser head has three degrees of moment, which likely is synchronized with the aircraft movement to keep the beam steady. The optical package is quite interesting, with the xenon tube and YAG rod swimming in a liquid cooling bath, inside a metal housing. The beam is bounced around inside the housing using many prisms, and gated with a Q-switch which allows the beam to build up in intensity, before be unleashed on the target. Also of note is the biggest photodiode we’ve ever seen — easily over an inch in diameter, split into four quadrants, enabling the sensor to resolve direction changes in the reflected IR spot and track its error. A separate photodiode receiver forms part of the time-of-flight optical range finder, which is also important information to have when targeting.

There are plenty of unusual 3-phase positioning motors, position sensors, and rate gyros in the mix, with the whole thing beautifully crafted and wired-up military spec. It is definitely an eye opener for what really was possible during the cold war years, even if such tech never quite filtered down to civilian applications.

We’ve seen a few bits about the Tornado before, like this over-engineered attitude indicator, and here’s the insides of an old aircraft QAR (Quick Access Recorder)

Continue reading “Beautiful Engineering In This Laser Unit From A Tornado Jet Fighter”