Close To The Metal

Firmware is caught between hardware and software. What do I mean? Microcontroller designers compete on how many interesting and useful hardware peripherals they can add to the chips, and they are all different on purpose. Meanwhile, software designers want to abstract away from the intricacies and idiosyncrasies of the hardware peripherals, because code wants to be generic and portable. Software and hardware designers are Montagues and Capulets, and we’re caught in the crossfire.

I’m in the middle of a design that takes advantage of perhaps one of the most idiosyncratic microcontroller peripherals out there – the RP2040’s PIOs. Combining these with the chip’s direct memory access (DMA) controllers allows some fairly high-bandwidth processing, without bogging down the CPUs. But because I want this code to be usable and extensible by a wide audience, I’m also trying to write it in MicroPython. And configuring DMA controllers is just too idiosyncratic for MicroPython.

But there’s an escape hatch. In my case, it’s courtesy of the machine.mem32 function, which lets you read and write directly into the chip’s memory, including all of the memory-mapped configuration registers. Sure, it’s absurdly low-level, but it means that anything you read about in the chip’s datasheet, you can do right away, and from within the relative comfort of a Micropython program. Other languages have their PEEK and POKE equivalents as well, or allow inline assembler, or otherwise furnish you the tools to get closer to the metal without having to write all the rest of your code low level.

I’m honestly usually a straight-C or even Forth programmer, but this experience of using a higher-level language and simultaneously being able to dive down to the lowest levels of bit-twiddling at the same time has been a revelation. If you’re just using Micropython, open up your chip’s datasheet and see what it can offer you. Or if you’re programming at the configure-this-register level, check out the extra benefits you can get from a higher-level language. You can have your cake and eat it too!

Take A PEEK At This 3D Printer

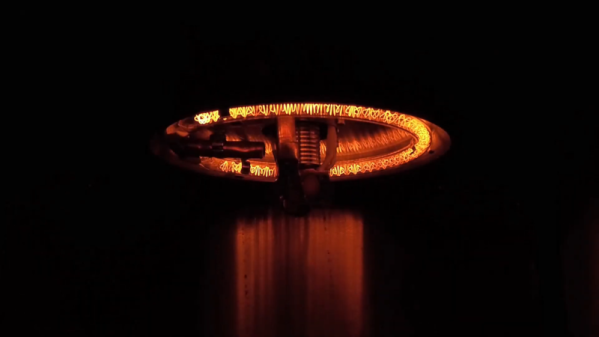
Normally, when you think of PEEK in 3D printing, you think of a part made of PEEK, suitable for lower-temperature plastics. [ND-3D] has a different idea: printing with PEEK. You can get the details over on Hackaday.io, and there are a few YouTube videos below. Using a special controller and a halogen lamp, you can modify your own printer to use this exotic material often found in printer hot ends.

Logically, if PEEK is used near the hot end of regular printers, it must need a higher temperature to print. PEEK has a glass transition temperature of about 143 °C and melts at 343 °C. Compare this to PLA, which melts between 150 °C and 180 °C and has a glass transition temperature of only 60 °C.

Continue reading “Take A PEEK At This 3D Printer”

High temperature 3D printer

Extreme Thermal Mods For 3D Printing Exotic Materials

For general everyday use, there’s nothing wrong with the standard selection of plastics that most 3D printer filaments are available in. PLA, ABS, PETG — they’ve all got their place, and they’re all pretty easy to work with. But if you need to work with more exotic materials, you might need to go to extremes and modify an off-the-shelf printer for high-temperature work.

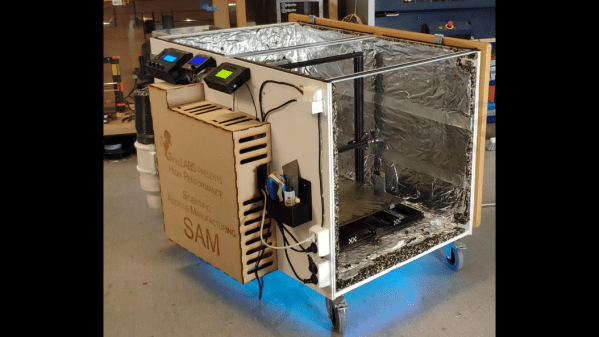
For the team led by [Andreas Hagerup Birkelid] at the Norwegian University of Science and Technology, the standard menu of printer chow wasn’t up to the jobs they had in mind. They wanted to print using polyether ether ketone, or PEEK, a high-performance thermoplastic with useful mechanical and thermal properties, in addition to chemical resistance. Trouble is, the melting point of PEEK is a whopping 343°C (649°F), making it necessary to turn up the heat — a lot. A standard Creality CR-10 printer was upgraded to withstand not only the 500°C max temperature of the new hot end and 200° printed bed, but also to survive operating in what amounts to an oven — a balmy 135° in a chamber made from IKEA cabinets. That entailed replacing plastic parts with metal ones, upgrading belts, pulleys, and wires, and moving all the electronics outside the enclosure. Even the steppers got special treatment, with water cooling to keep their magnets from reaching the Curie point.

The mods seemed to do the trick, because a Benchy printed in a carbon-fiber PEEK filament came out pretty good. It seems like a long way to go and kind of pricey — $1,700 for the printer and all the mods — but if you have a need to print exotic materials, it’s way cheaper than a commercial high-temp printer.

[via 3D Printing Industry]

Bringing High Temperature 3D Printing To The Masses

Despite the impressive variety of thermoplastics that can be printed on consumer-level desktop 3D printers, the most commonly used filament is polylactic acid (PLA). That’s because it’s not only the cheapest material available, but also the easiest to work with. PLA can be extruded at temperatures as low as 180 °C, and it’s possible to get good results even without a heated bed. The downside is that objects printed in PLA tend to be somewhat brittle and have a low heat tolerance. It’s a fine plastic for prototyping and light duty projects, but it won’t take long for many users to outgrow its capabilities.

The next step up is usually polyethylene terephthalate glycol (PETG). This material isn’t much more difficult to work with than PLA, but is more durable, can handle higher temperatures, and in general is better suited for mechanical parts. If you need greater durability or higher heat tolerance than PETG offers, you could move on to something like acrylonitrile butadiene styrene (ABS), polycarbonate (PC), or nylon. But this is where things start to get tricky. Not only are the extrusion temperatures of these materials greater than 250 °C, but an enclosed print chamber is generally recommended for best results. That puts them on the upper end of what the hobbyist community is generally capable of working with.

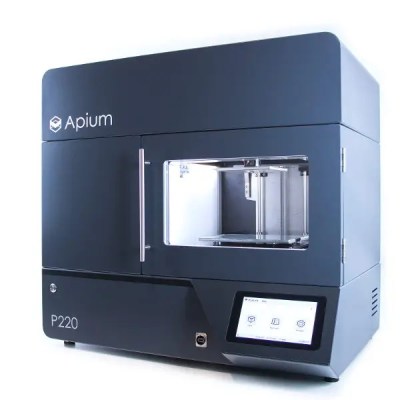
Industrial 3D printers like the Apium P220 start at $30,000.

But high-end industrial 3D printers can use even stronger plastics such as polyetherimide (PEI) or members of the polyaryletherketone family (PAEK, PEEK, PEKK). Parts made from these materials are especially desirable for aerospace applications, as they can replace metal components while being substantially lighter.

These plastics must be extruded at temperatures approaching 400 °C, and a sealed build chamber kept at >100 °C for the duration of the print is an absolute necessity. The purchase price for a commercial printer with these capabilities is in the tens of thousands even on the low end, with some models priced well into the six figure range.

Of course there was a time, not quite so long ago, where the same could have been said of 3D printers in general. Machines that were once the sole domain of exceptionally well funded R&D labs now sit on the workbenches of hackers and makers all over the world. While it’s hard to say if we’ll see the same race to the bottom for high temperature 3D printers, the first steps towards democratizing the technology are already being made.

Continue reading “Bringing High Temperature 3D Printing To The Masses”

Plasma-Powered Thrusters For Your Homebrew Satellite Needs

It seems as though every week we see something that clearly shows we’re living in the future. The components we routinely incorporate into our projects would have seemed like science fiction only a few short years ago, but now we buy them online and have them shipped to us for pennies. And what can say we’ve arrived in the future more than off-the-shelf plasma thrusters for the DIY microsatellite market?

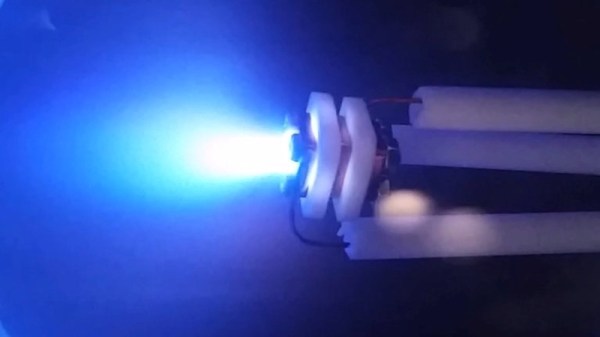
Although [Michael Bretti] does tell us that he plans to sell these thrusters eventually, they’re not quite ready for the market yet. The AIS-gPPT3-1C series that’s currently under testing is designed for the micro-est of satellites, the PocketQube, a format with a unit size only 5 cm on a side – an eighth the size of a 1U CubeSat. The thrusters are solid-fueled, with blocks of Teflon, PEEK, or Ultem that are ablated by a stream of plasma. The gaseous exhaust is accelerated and shaped by a magnetic nozzle that’s integrated right into the thruster. The thruster is mounted directly to a PCB containing the high-voltage supplies and control electronics to interface with the PocketQube’s systems. The 34-gram thrusters have enough fuel for perhaps 500 firings, although that and the specifics of performance are yet to be tested.

If you have any interest at all in space engineering or propulsion systems, [Michael]’s site is worth a look. There’s a wealth of data there, and reading it will give you a great appreciation for plasma physics. We’ve been down that road a lot lately, with cold plasma, thin-film plasma deposition, and even explaining the mystery of plasmatic grapes.

Thanks to [miguekf] for the tip.

Industrial 3D Printing Uses Layers Like We’ve Never Seen Before

We’ve seen FDM printers lay down layers by extruding plastic in a line. We’ve seen printers use sintering and lithography to melt or cure one layer at a time before more print medium moves into place for the next layer. What we’ve never seen before is a printer like this that builds parts from distinct layers of substrate.

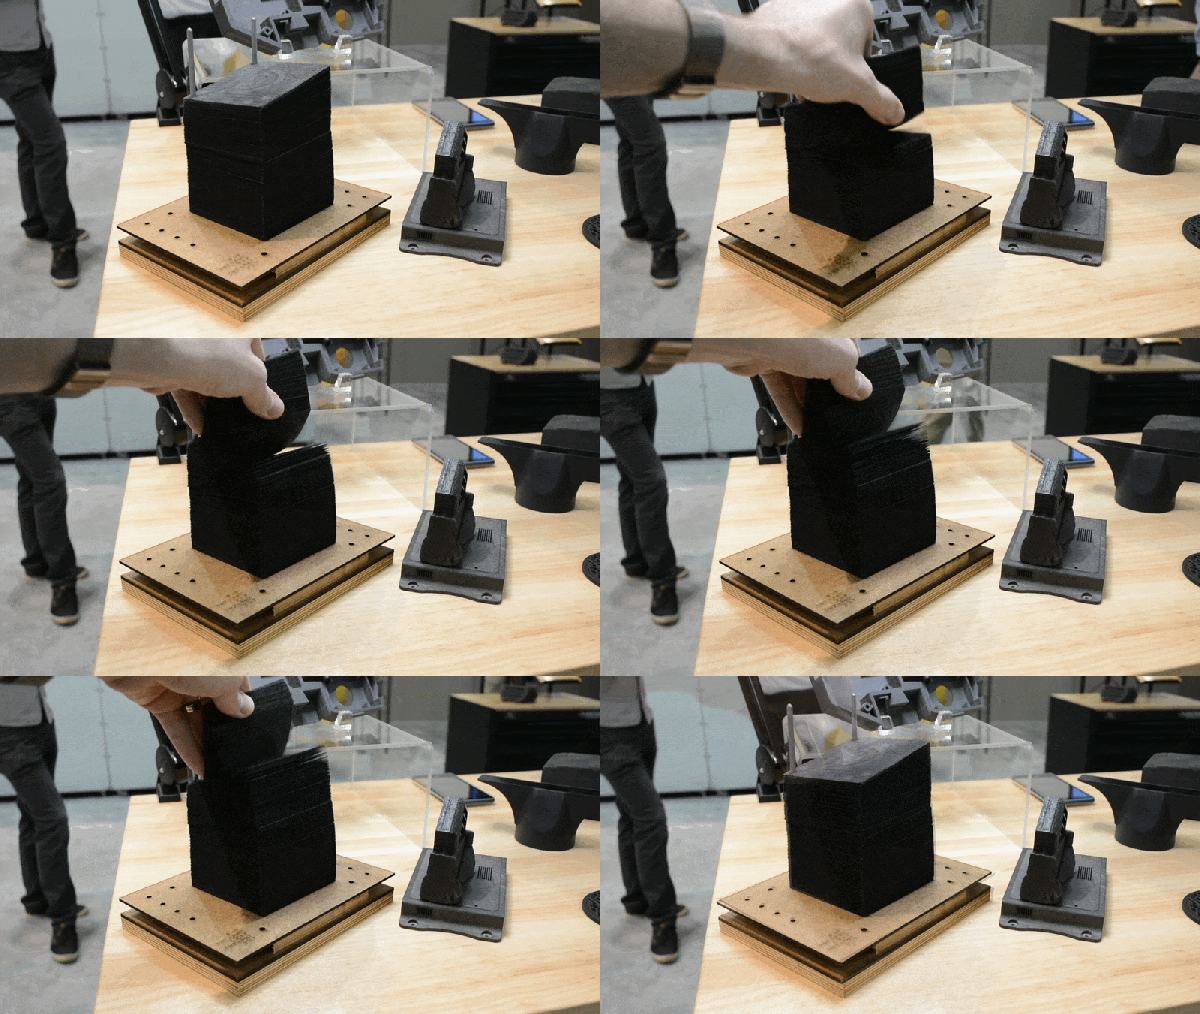
At the International Manufacturing Technology Show last week I spoke with Eric of Impossible Objects. The company is using a “sheet lamination process” that first prints each layer on carbon fiber or fiberglass, then uses a hydraulic press and an oven to bake the part into existence before bead-blasting the excess substrate away. Check out my interview with Eric and join me below for more pictures and details.

Continue reading “Industrial 3D Printing Uses Layers Like We’ve Never Seen Before”

Hackaday Links: October 25, 2015

There are dozens of different 3D printable cases out there for the Raspberry Pi, but the BeagleBone Black, as useful as it is, doesn’t have as many options. The folks at 3D hubs thought they could solve this with a portable electronics lab for the BBB. It opens like a book, fits a half-size breadboard inside, and looks very cool.

The guy who 3D printed his lawnmower has a very, very large 3D printer. He now added a hammock to it, just so he could hang out during the very long prints.

There’s a box somewhere in your attic, basement, or garage filled with IDE cables. Wouldn’t they be useful for projects? Yep, only not all the wires work; some are grounds tied together, some are not wired straight through, and some are missing. [esot.eric] has the definitive guide for 80-wire IDE cables.

Like case mods? Here’s a golden apple, made out of walnut. Yes, there are better woods he could have used. It’s a wooden replica of a Mac 128 with a Mac Mini and LCD stuffed inside. Want a video? Here you go.

If you have a 3D printer, you’re probably familiar with PEEK. It’s the plastic used as a thermal break in non-all-metal hotends. Now it’s a filament. An extraordinarily expensive filament at €900 per kilogram. Printing temperature is 370°C, so you’ll need an all-metal hotend.

It’s the Kickstarter that just keeps going and going and going. That’s not a bad thing, though: there really isn’t much of a market for new Amiga 1200 cases. We’ve featured this project before, but the last time was unsuccessful. Now, with seven days left and just over $14k to go, it might make it this time.