Pen Plotter Uses Polar Coordinates

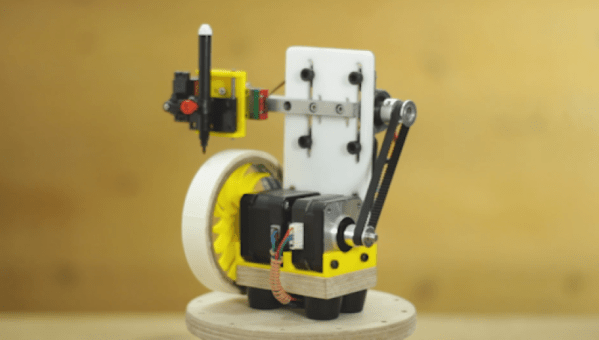
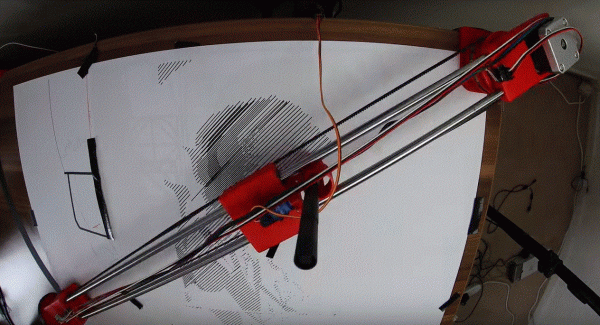
To keep track of a location in a two-dimensional space, two measurements are needed. Most of the time, we would naturally think to do this by the Cartesian method, measuring position along one axis and then again along a second axis. But this isn’t the only way of keeping track of position. Polar coordinates, where the distance from the origin and an angle are used as the two measurements, works just as well, and sometimes can be a preferred method. This pen plotter tosses the expected Cartesian methodology we would typically expect in favor of this polar system.

The first prototype that [André] built was a good proof of concept. A pen attached to a movable carriage on a single rotating arm produced passable drawings, but as all prototypes go this one needed some refinement. Limit switches at the ends of the table, as well as within the arm, served to orient the plotter so that it didn’t manually need to be zeroed out every time. A linear actuator was added to give finer control over the pen’s pressure on the table, and finally an encoder was added to the base of the plotter to more accurately correct positional errors in the rotating arm mechanism.

With everything said and done, the polar coordinate plotter seems to work just as well as its Cartesian cousins might, orienting it like this has some advantages as well. Specifically, it is more adapted to drawing curves or circles than an X-Y device might be able to, like we saw with this similar sand-drawing plotter. Also, if allowed to rotate its entire 360-degree reach instead of just the 90 degrees shown in the video, a machine like this could theoretically reach a wider workspace more easily than other plotters.

Continue reading “Pen Plotter Uses Polar Coordinates”

Automate Handwritten Postcards With Robots

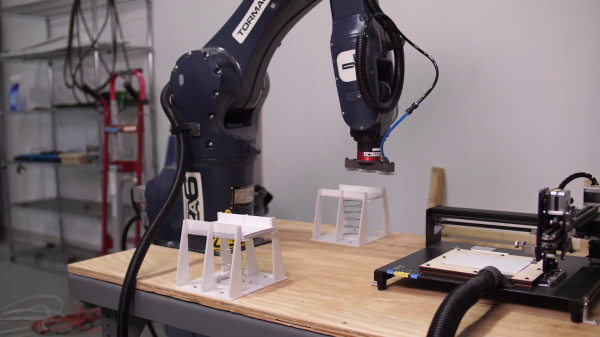
As someone notorious for not doing things the old-fashioned manual way, we’re not sure by [Shane] of Stuff Made Here was thinking when he promised to send out a few hundred handwritten letters. Predictably he built an automated production line for the task. Video after the break.

With “handwritten” and “automated” not being particularly compatible, [Shane] set out to create a robot to create believable handwritten letters, which is significantly harder than it may seem at first glance. It turns out that turning your handwriting into a font is too consistent to be believable, which led down the rabbit of generated handwriting. [Shane] first spend a ridiculous amount of time trying to implement a machine learning model for the task, only to find there’s already an open source library good enough to fool a forensic handwriting expert.

On the robot side, [Shane] used a pen plotter from Amazon that’s it’s actually cheaper than building one from scratch. With the “handwriting” taken care of, [Shane] set up an automated loading system with the industrial robot arm he also used for his CNC chainsaw. The feeders for the empty and full postcards are 3D printed with a spring-loaded mechanism to keep the top card at the same height all the time.

Although this project contained less custom hardware and software than [Shane’s] other projects, it served as an excellent reminder that it’s unnecessary to reinvent the wheel when building a car. It’s easy to get caught up in the small details of a project that don’t matter much in the final implementation and usage.

Continue reading “Automate Handwritten Postcards With Robots”

The $50 Pen Plotter

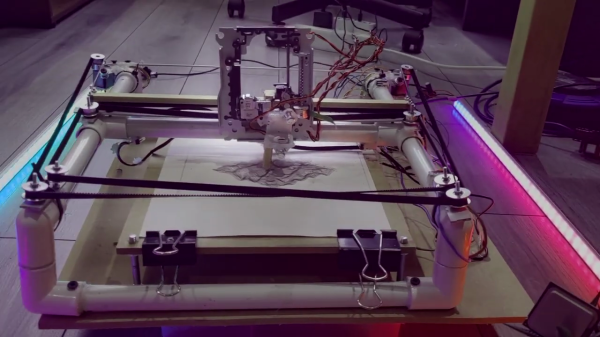
[Arca] sets out to build himself a low-cost pen plotter that doesn’t require access to a 3D printer. The plotter uses a coreXY arrangement, powered by 28BYJ-48 stepper motors, which he overdrives with +12 VDC to increase the torque. Pen up and down control is done using a stepper motor salvaged from a DVD reader. The frame is constructed using PVC electrical conduit and associated fittings, and [Arca] uses the hot glue gun quite liberally. Steppers were driven by A4988 modules with heatsinks, and motion control is provided by GRBL running on an Arduino UNO.

He has a few issues with glitches on the limit switches, and is continuing to tweak the design. There is no documentation yet, but you can discern the construction easily from the video if you want to try your hand at making one of these. This is a really cool DIY plotter, and many parts you probably have laying around your parts boxes. As [Arca] says, it’s not an AxiDraw, but the results are respectable. Keep a lookout for part 2 of this project on his YouTube channel.

Continue reading “The $50 Pen Plotter”

Irreproducible, Accumulative Hacks

Last weekend, I made an incredibly accurate CNC pen-plotter bot in just 20 minutes, for a total expenditure of $0. How did I pull this off? Hacks accumulate.

In particular, the main ingredients were a CNC router, some 3D-printed mounts that I’d designed and built for it, and a sweet used linear rail that I picked up on eBay as part of a set a few years back because it was just too good of a deal. If you had to replicate this build exactly, it would probably take a month or two of labor and cost maybe $2,000 on top of that. Heck, just tuning up the Chinese 6040 CNC machine alone took me four good weekends and involved replacing the stepper motors. Continue reading “Irreproducible, Accumulative Hacks”

Plotter Churns Out Labels With Roll Of Tape

Like it or not, organizing your workspace from time to time is a necessary chore. Labels can go a long way towards taming the most unruly of benches, but writing them out by hand isn’t exactly ideal. Looking for something a bit neater, [sandy] built a simple pen plotter to write labels on a roll of tape.

Pen plotter writing on roll of masking tape

The plotter uses the usual 3D printer components like steppers, drivers, belts, and rails. The tape holder is printed with flexible arms for a tight grip, and a servo is used to raise and lower the pen while writing.

The custom control board includes an Arduino Nano clone and a pair of stepper drivers, and an optional Bluetooth module and can be configured for a variety of machine control applications. A pair of Android apps are used to generate and send the G-code from a phone to the GRBL firmware loaded on the Arduino.

This seems to fall in the category of “entry-level” custom automation tools which help to save some time and effort on repetitive tasks without blowing the budget. We would include the various component tape cutters we’ve seen in this category, as well as smart build platform for manual PCB assembly

Masking Tape Pen Plotter Gets An Upgrade

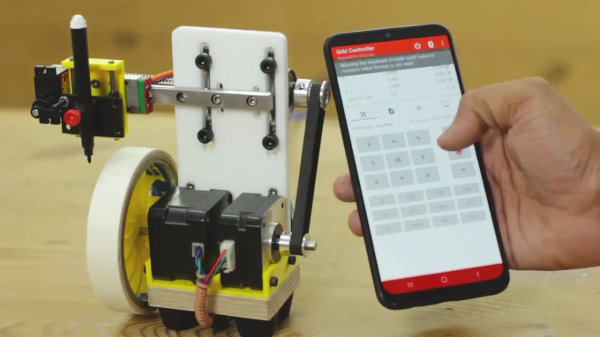
[Mr Innovative] decided to make his version of a small pen plotter (video after the break) to make labels on masking tape. The result is an impressive compact machine that is remotely controlled using your smartphone. The plotter is constructed using several different techniques, a piece of plywood as the base, a 3D printed bracket for the motors and pen carriage, and a routed acrylic plate that holds the lead screw and linear rail assembly. The whole thing is controlled by an Arduino Nano mounted on a custom motor driver carrier board.

The inspiration for this build came from a project by [michimartini] aka [Molten Cheese Bear] that we covered a few months ago. [Mr Innovative] went for belt vs direct drive and no local screen. It also appears to plot a little bit faster, but that might be due to differences in the ink pens used. An Android app called TextToCNC converts label text into G-Code, and the Grbl Controller app sends those commands to the plotter.

We like continued iterations of open source projects and look forward to seeing what the next generations look like. Thanks to [keithfromcanada] for submitting this tip.

Continue reading “Masking Tape Pen Plotter Gets An Upgrade”

CX-6000 Pen Plotter Upgrade

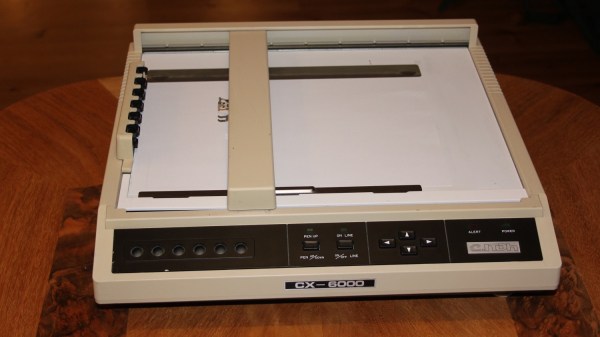
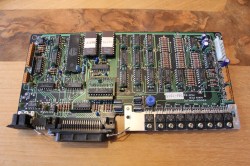
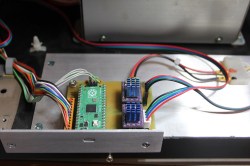
[Terje Io] decided to breathe new life into an old pen plotter — the CX6000 from C. Itoh, a Japanese company that made several printers for Apple in the 1980s. He keeps most of the framework, but the electronics get a major overhaul. The old motors are replaced, the controller and motor drivers are modernized using a Raspberry Pi Pico and stepper motor drivers. After tending to other auxiliary electronics like the control panel and limit switches, it’s time to deal with the firmware.

Rather than reinvent the wheel, [Terje] sensibly built upon existing projects and refactored them for his application. G-Code processing is done by grblHAL, with an added mode to handle HPGL code. He modified the firmware from Motöri the Plotter project to parse HPGL, making his new CX6000+ bilingual.

We covered Motöri way back in 2009, and more recently we wrote about the Teensy Controller using grblHAL, one of the 32-bit big brothers of GRBL. Have you ever restored one of these old plotters? Or is it easier to just build your own these days?