Reviving A Sensorless X-Ray Cabinet With Analog Film

In the same way that a doctor often needs to take a non-destructive look inside a patient to diagnose a problem, those who seek to reverse engineer electronic systems can greatly benefit from the power of X-ray vision. The trouble is that X-ray cabinets designed for electronics are hideously expensive, even on the secondary market. Unless, of course, their sensors are kaput, in which case they’re not of much use. Or are they?

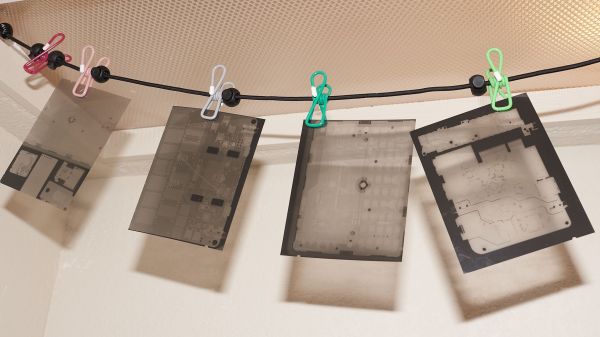
[Aleksandar Nikolic] and [Travis Goodspeed] strongly disagree, to the point that they dedicated a lot of work documenting how they capture X-ray images on plain old analog film. Of course, this is nothing new — [Wilhelm Konrad Roentgen] showed that photographic emulsions are sensitive to “X-light” all the way back in the 1890s, and film was the de facto image sensor for radiography up until the turn of this century. But CMOS sensors have muscled their way into film’s turf, to the point where traditional silver nitrate emulsions and wet processing of radiographic films, clinical and otherwise, are nearly things of the past. Continue reading “Reviving A Sensorless X-Ray Cabinet With Analog Film”

The Magic That Goes Into Magnets

Every person who reads these pages is likely to have encountered a neodymium magnet. Most of us interact with them on a daily basis, so it is easy to assume that the process for their manufacture must be simple since they are everywhere. That is not the case, and there is value in knowing how the magnets are manufactured so that the next time you pick one up or put a reminder on the fridge you can appreciate the labor that goes into one.

[Michael Brand] writes the Super Magnet Man blog and he walks us through the high-level steps of neodymium magnet production. It would be a flat-out lie to say it was easy, but you’ll learn what goes into them and why you don’t want to lick a broken hard-drive magnet and why it will turn to powder in your mouth. Neodymium magnets are probably unlikely to be produced at this level in a garage lab, but we would love to be proved wrong.

We see these magnets everywhere, from homemade encoder disks, cartesian coordinate tables, to a super low-power motor.

Lean Thinking Helps STEM Kids Build A Tiny Windfarm

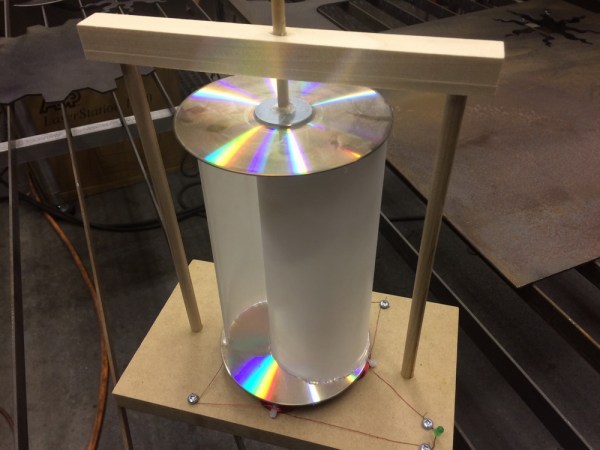
When we see a new build by [Gord] from Gord’s Garage, we never know what to expect. He seems to be pretty skilled at whatever he puts his hand to, with a great design sense and impeccable craftsmanship. You might expect him to tone it down a little for a STEM-outreach wind turbine project then, but when you get a chance to impress 28 fifth and sixth graders, you might as well go for it.

98j6zpStarting with an idea from his daughter’s teacher for wind turbines each kid could make, [Gord] applied a little lean methodology so the kids would be able to complete the build in the allotted time. The design is simple – a couple of old CDs holding vertical sections of PVC tubing to catch the breeze and spin neodymium magnets over four flat coils of magnet wire. It’s enough to light a single LED and perhaps a kid’s imagination.

As simple as the turbine is, the process of building it needed to be stripped of as much unnecessary work as possible, and [Gord] really shines here. He built jigs and fixtures galore, pre-built some assemblies, and set up well-organized workstations for each step of the build. Everything was clearly labeled, adult volunteers were trained using the video after the break, and a good time was had by all.

Sometimes the hack isn’t in the product but in the process, and [Gord] managed to hack a success out a potential disaster of disappointed kids. If getting a taste of [Gord]’s style makes you want to see more, check out his guitar fretting jig or his brake rotor mancave clock.

Continue reading “Lean Thinking Helps STEM Kids Build A Tiny Windfarm”

The Art Of Making A Nixie Tube

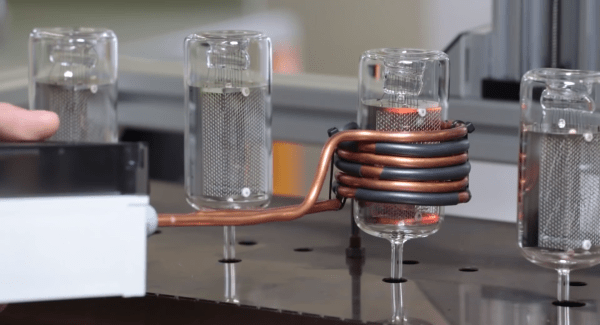
Three years ago we covered [Dalibor Farnby]’s adventures in making his own Nixie tubes. Back then it was just a hobby, a kind of exploration into the past. He didn’t stop, and it soon became his primary occupation. In this video he shows the striking process of making one of his Nixie tubes.

Each of his tubes get an astounding amount of love and attention. An evolution of the process he has been working on for five years now. The video starts with the cleaning process for the newly etched metal parts. Each one is washed and dried before being taken for storage inside a clean hood. The metal parts are carefully hand bent. Little ceramic pins are carefully glued and bonded. These are used to hold the numbers apart from each other. The assembly is spot welded together.

In a separate cut work begins on the glass. The first part to make is the bottom which holds the wire leads. These are joined and then annealed. Inspection is performed on a polariscope and a leak detector before they are set aside for assembly. Back to the workbench the leads are spot welded to the frame holding the numbers.

It continues with amazing attention to detail. So much effort goes into each step. In the end a very beautiful nixie tube sits on a test rack, working through enough cycles to be certified ready for sale. The numbers crisp, clear, and beautiful. Great work keeping this loved part of history alive in the modern age.

Continue reading “The Art Of Making A Nixie Tube”

Lessons In Small Scale Manufacturing From The Othermill Shop Floor

Othermachine Co. is not a big company. Their flagship product, the Othermill, is made in small, careful batches. As we’ve seen with other small hardware companies, the manufacturing process can make or break the company. While we toured their factory in Berkeley California, a few interesting things stood out to us about their process which showed their manufacturing competence.

It’s not often that small companies share the secrets of their shop floor. Many of us have dreams of selling kits, so any lessons that can be learned from those who have come before is valuable. The goal of any manufacturing process optimization is to reduce cost while simultaneously maintaining or increasing quality. Despite what cynics would like to believe, this is often entirely possible and often embarrassingly easy to accomplish.

Lean manufacturing defines seven wastes that can be optimized out of a process.

  1. Overproduction: Simply, making more than you currently have demand for. This is a really common mistake for first time producers.
  2. Inventory: Storing more than you need to meet production or demand. Nearly every company I’ve worked for has this problem. There is an art to having just enough. Don’t buy one bulk order of 3,000 screws for six months, order 500 screws every month as needed.
  3. Waiting: Having significant delays between processes. These are things ranging from running out of USB cables to simply having to wait too long for something to arrive on a conveyor belt. Do everything you can to make sure the process is always flowing from one step to another.
  4. Motion: If you have a person walking back and forth between the ends of the factory to complete one step of the manufacturing process, this is wasted motion.
  5. Transport: Different from motion, this is waste in moving the products of each individual process between sections of the assembly.
  6. Rework: Get it right the first time. If your process can’t produce a product that meets specifications, fix the process.
  7. Over-processing: Don’t do more work than is necessary. If your part specifies 1000 hours of runtime don’t buy a million dollar machine to get 2000 hours out of it. If you can find a way to do it with one step, don’t do it with three.
IMG_0371

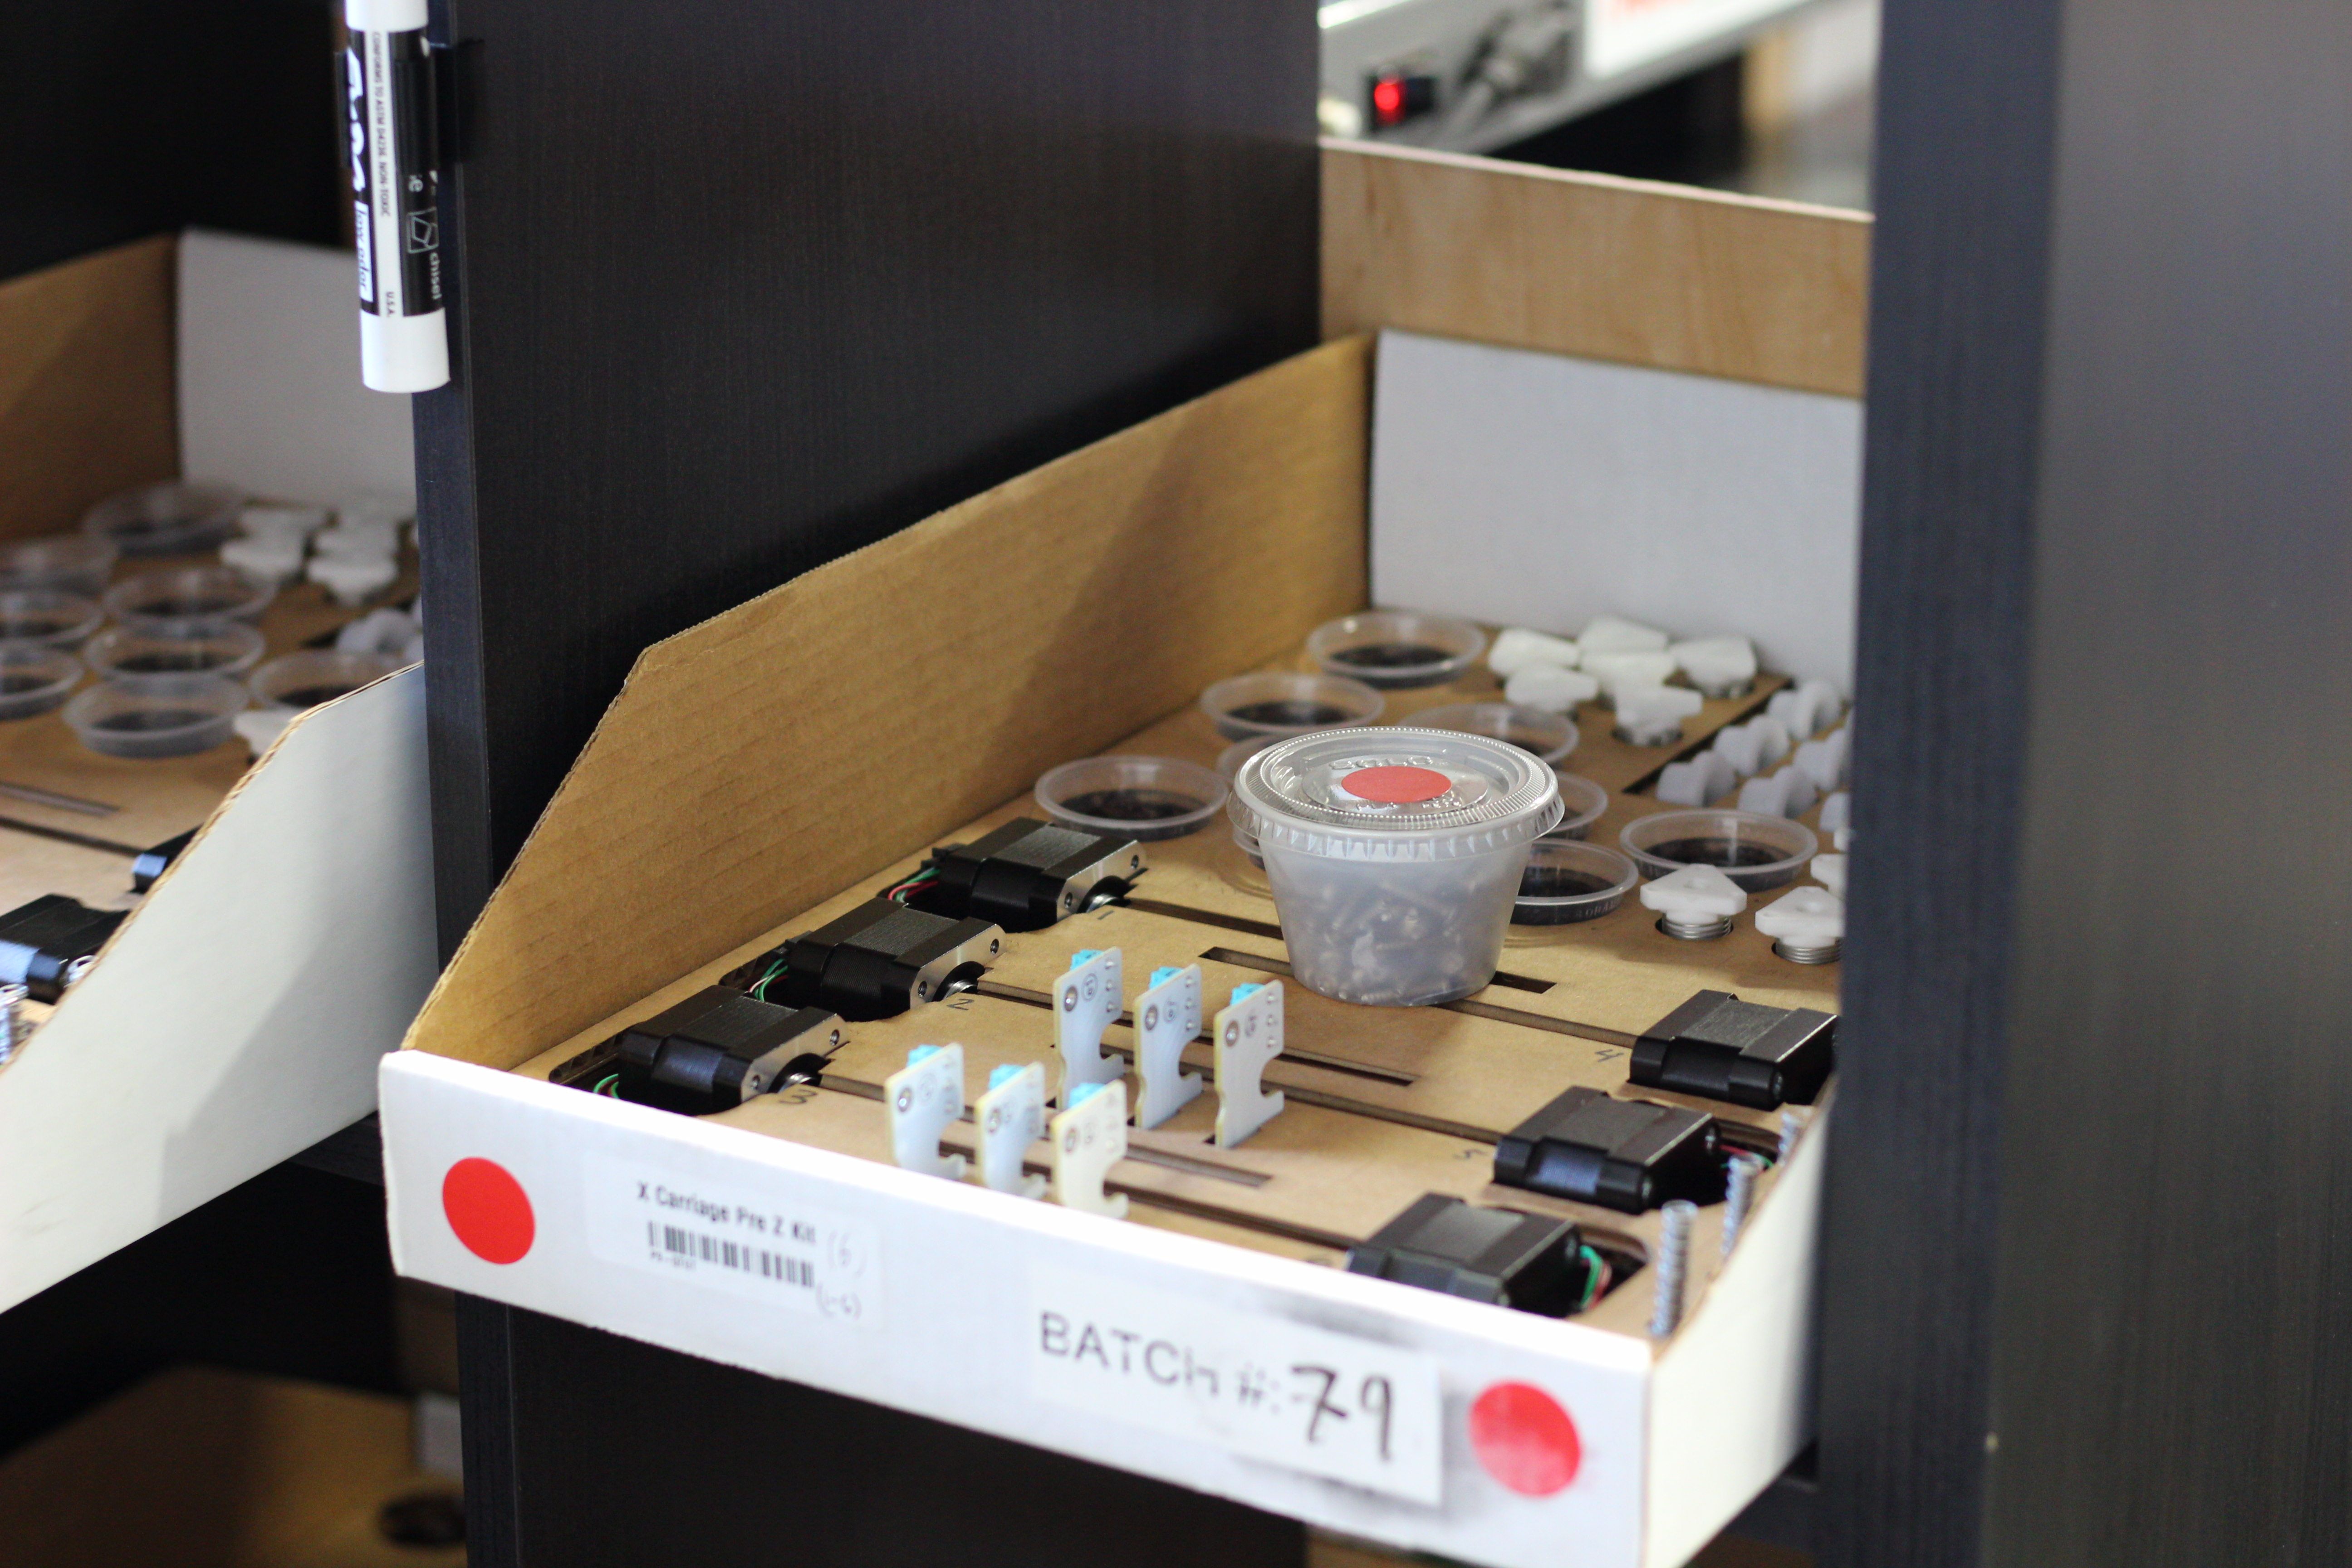
The first thing that stuck out to me upon entering Othermachine Co’s shop floor is their meticulous system for getting small batches through the factory in a timely manner. This allows them to scale their production as their demand fluctuates. CNCs and 3D printers are definitely seasonal purchases; with sales often increasing in the winter months when hackers are no longer lured away from their workstations by nice weather.

As the seven sins proclaim. It would be a bad move for Othermachine Co. to make too many mills. Let’s say they had made an extra 100 mills while demand was at a seasonal low. If they found a design or quality problem from customer feedback they’d have to commit to rework, potentially throwing away piles of defective parts. If they want to push a change to the machine or release a new model they’d either have to rework the machines, trash them, or wait till they all sold before improving their product. Even worse, they may find themselves twiddling their thumbs waiting for their supply to decrease enough to start manufacturing again. This deprives them of opportunities to improve their process and leads to a lax work environment.

One way to ensure that parts are properly handled and inventory is kept to a minimum is with proper visual controls. To this end, Othermachine Co has custom cardboard bins made that perfectly cradle all the precision parts for each process in their own color coded container. Since the shop floor is quite small, it lets them focus on making spindle assemblies one day and motion assemblies another without having to waste time between each step. Also, someone can rekit the parts for a recently completed step easily without interrupting work on the current process going on.
IMG_0373

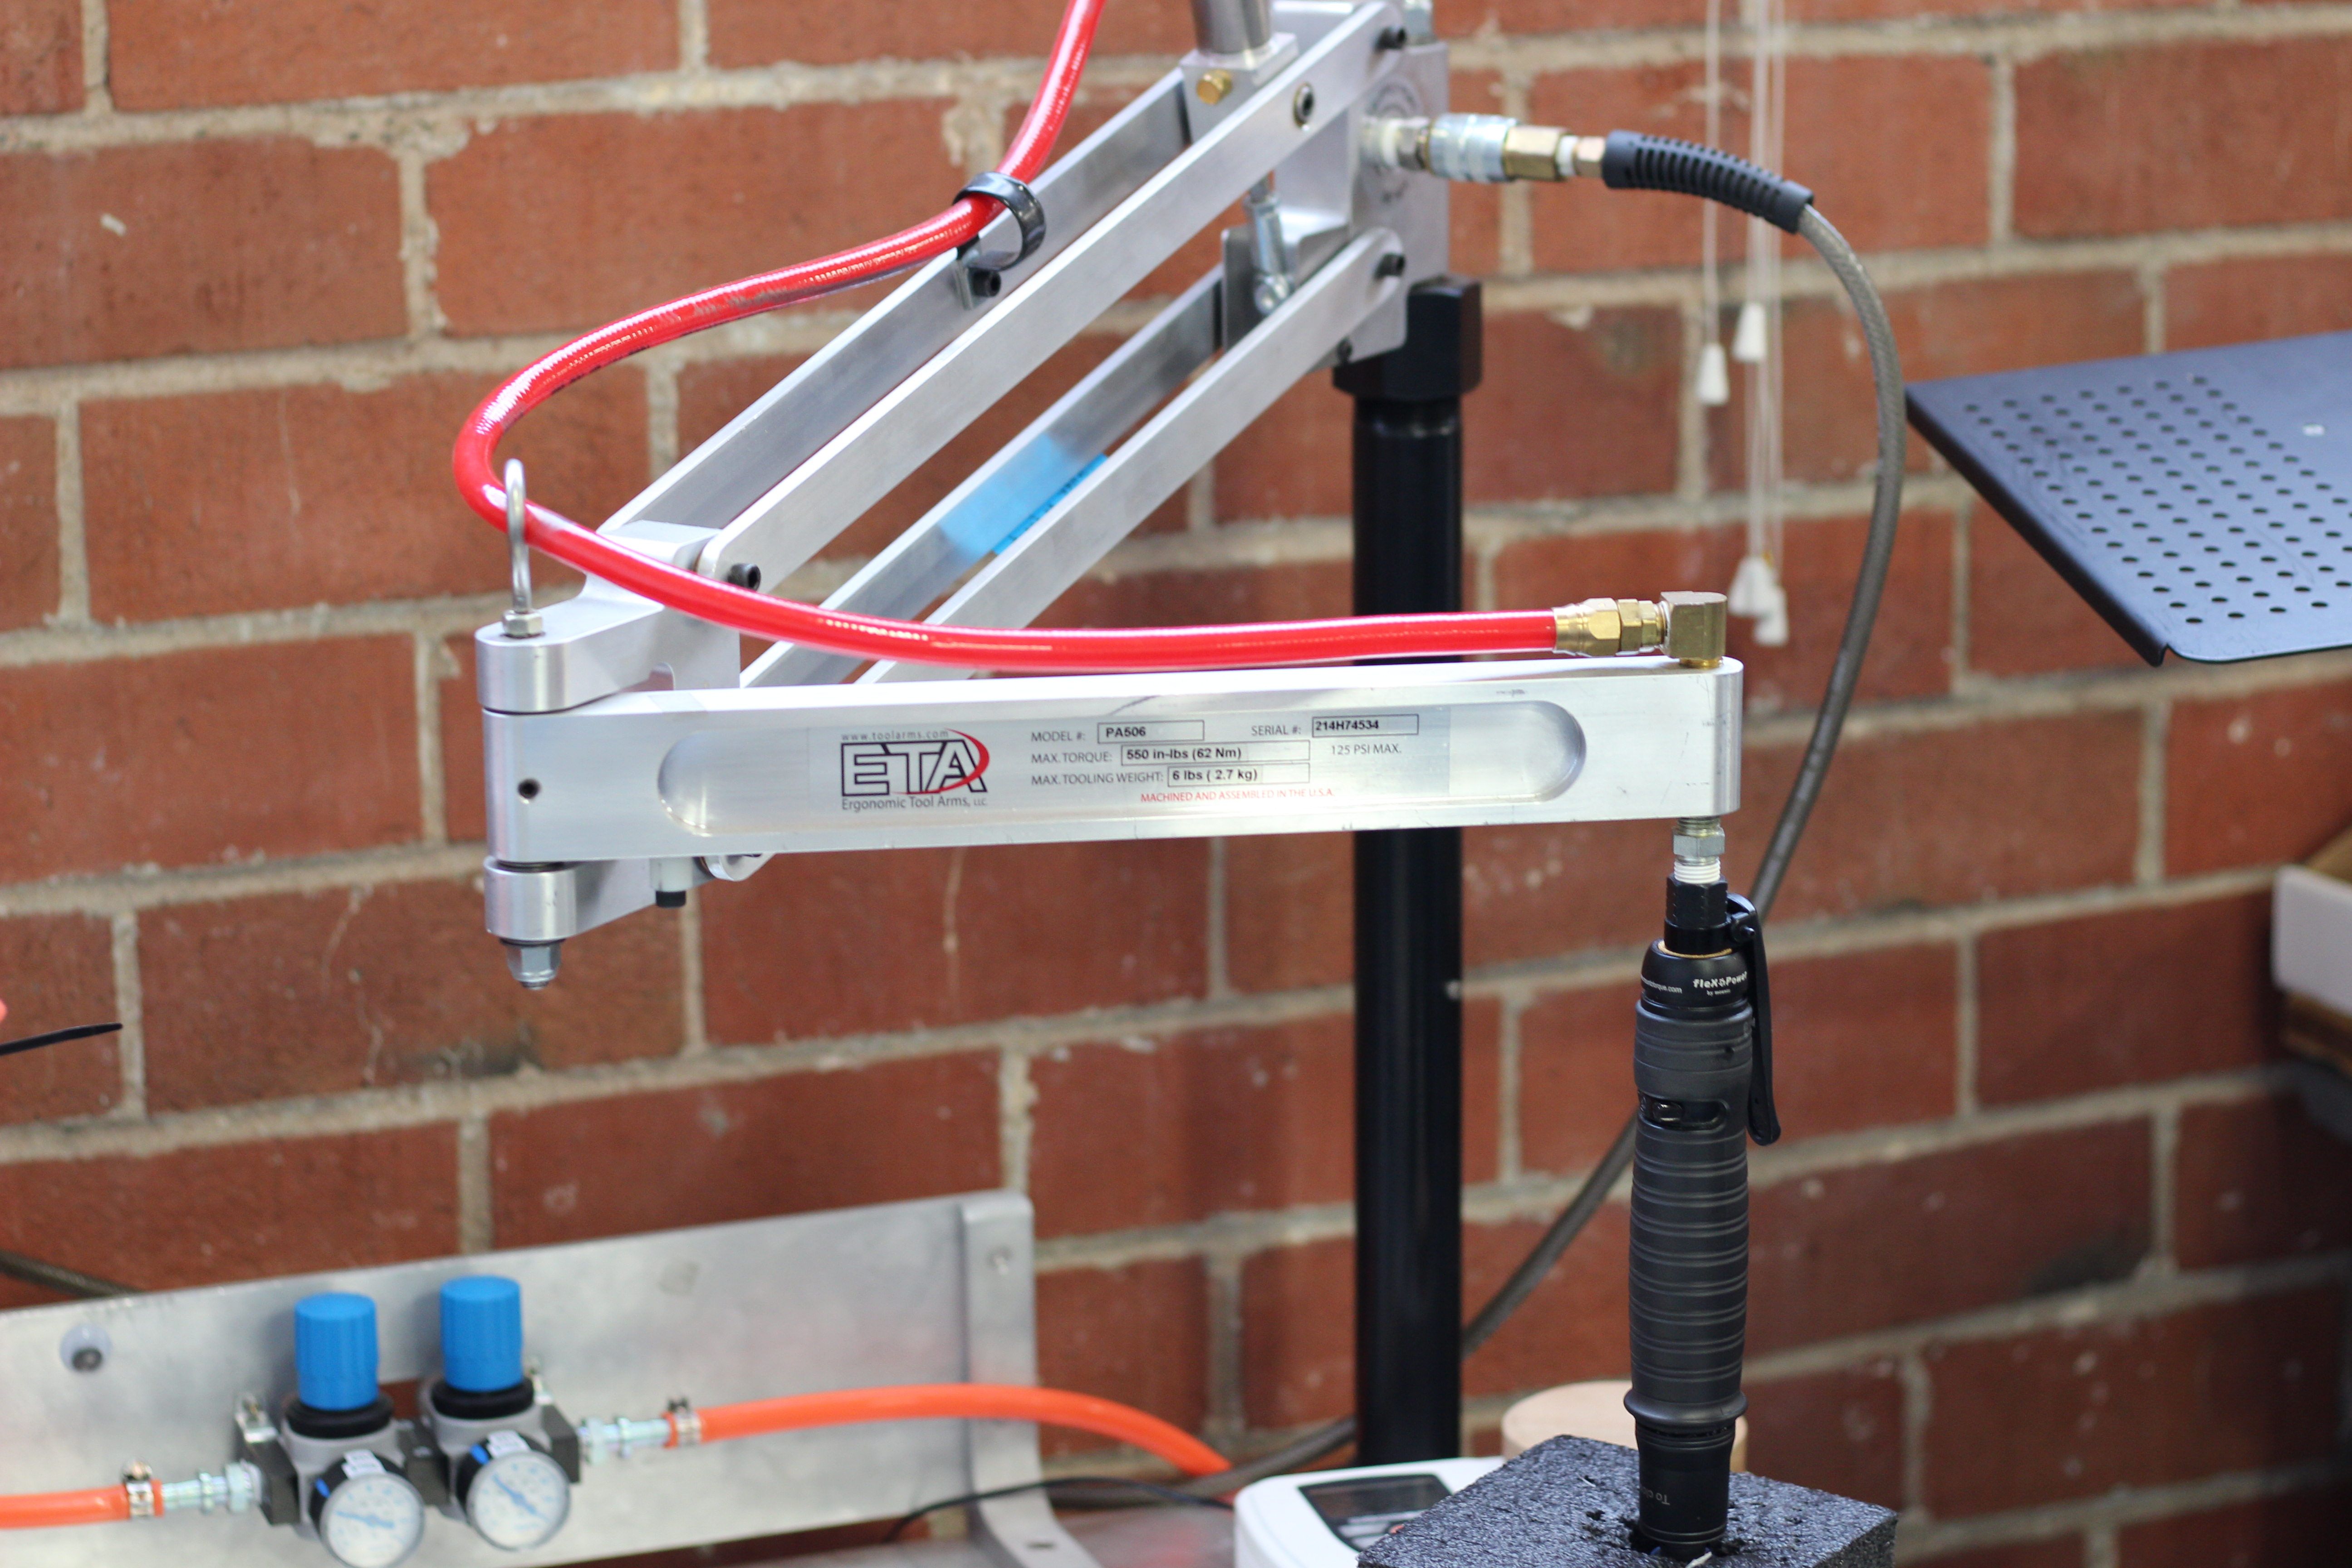
It’s hard to define what’s over processing and what isn’t. My favorite example of what isnt, and something I’ve fought for on nearly every factory floor I’ve worked on is proper torque limiting screwdrivers. They’re a little expensive, but they are a wonderful tool that helps to avoid costly rework and over processing. For example, let’s say you didn’t have a torque limiting screwdriver. Maybe your customers would complain that occasionally a screw came loose. Now, one way to solve this would be the liberal application of Loctite. Another way would be an additional inspection step. Both of these are additional and completely uneccessary steps as most screws will hold as long as they are torqued properly.

In one factory I worked in, it was often a problem that a recently hired worker would overtorque a screw, either stripping it or damaging the parts it was mating together. A torque limiting screwdriver takes the worker’s physical strength out of the equation, while reducing their fatigue throughout the day. It’s a win/win. Any time a crucial step can go from unknown to trusted with the application of a proper tool or test step it is worth it.

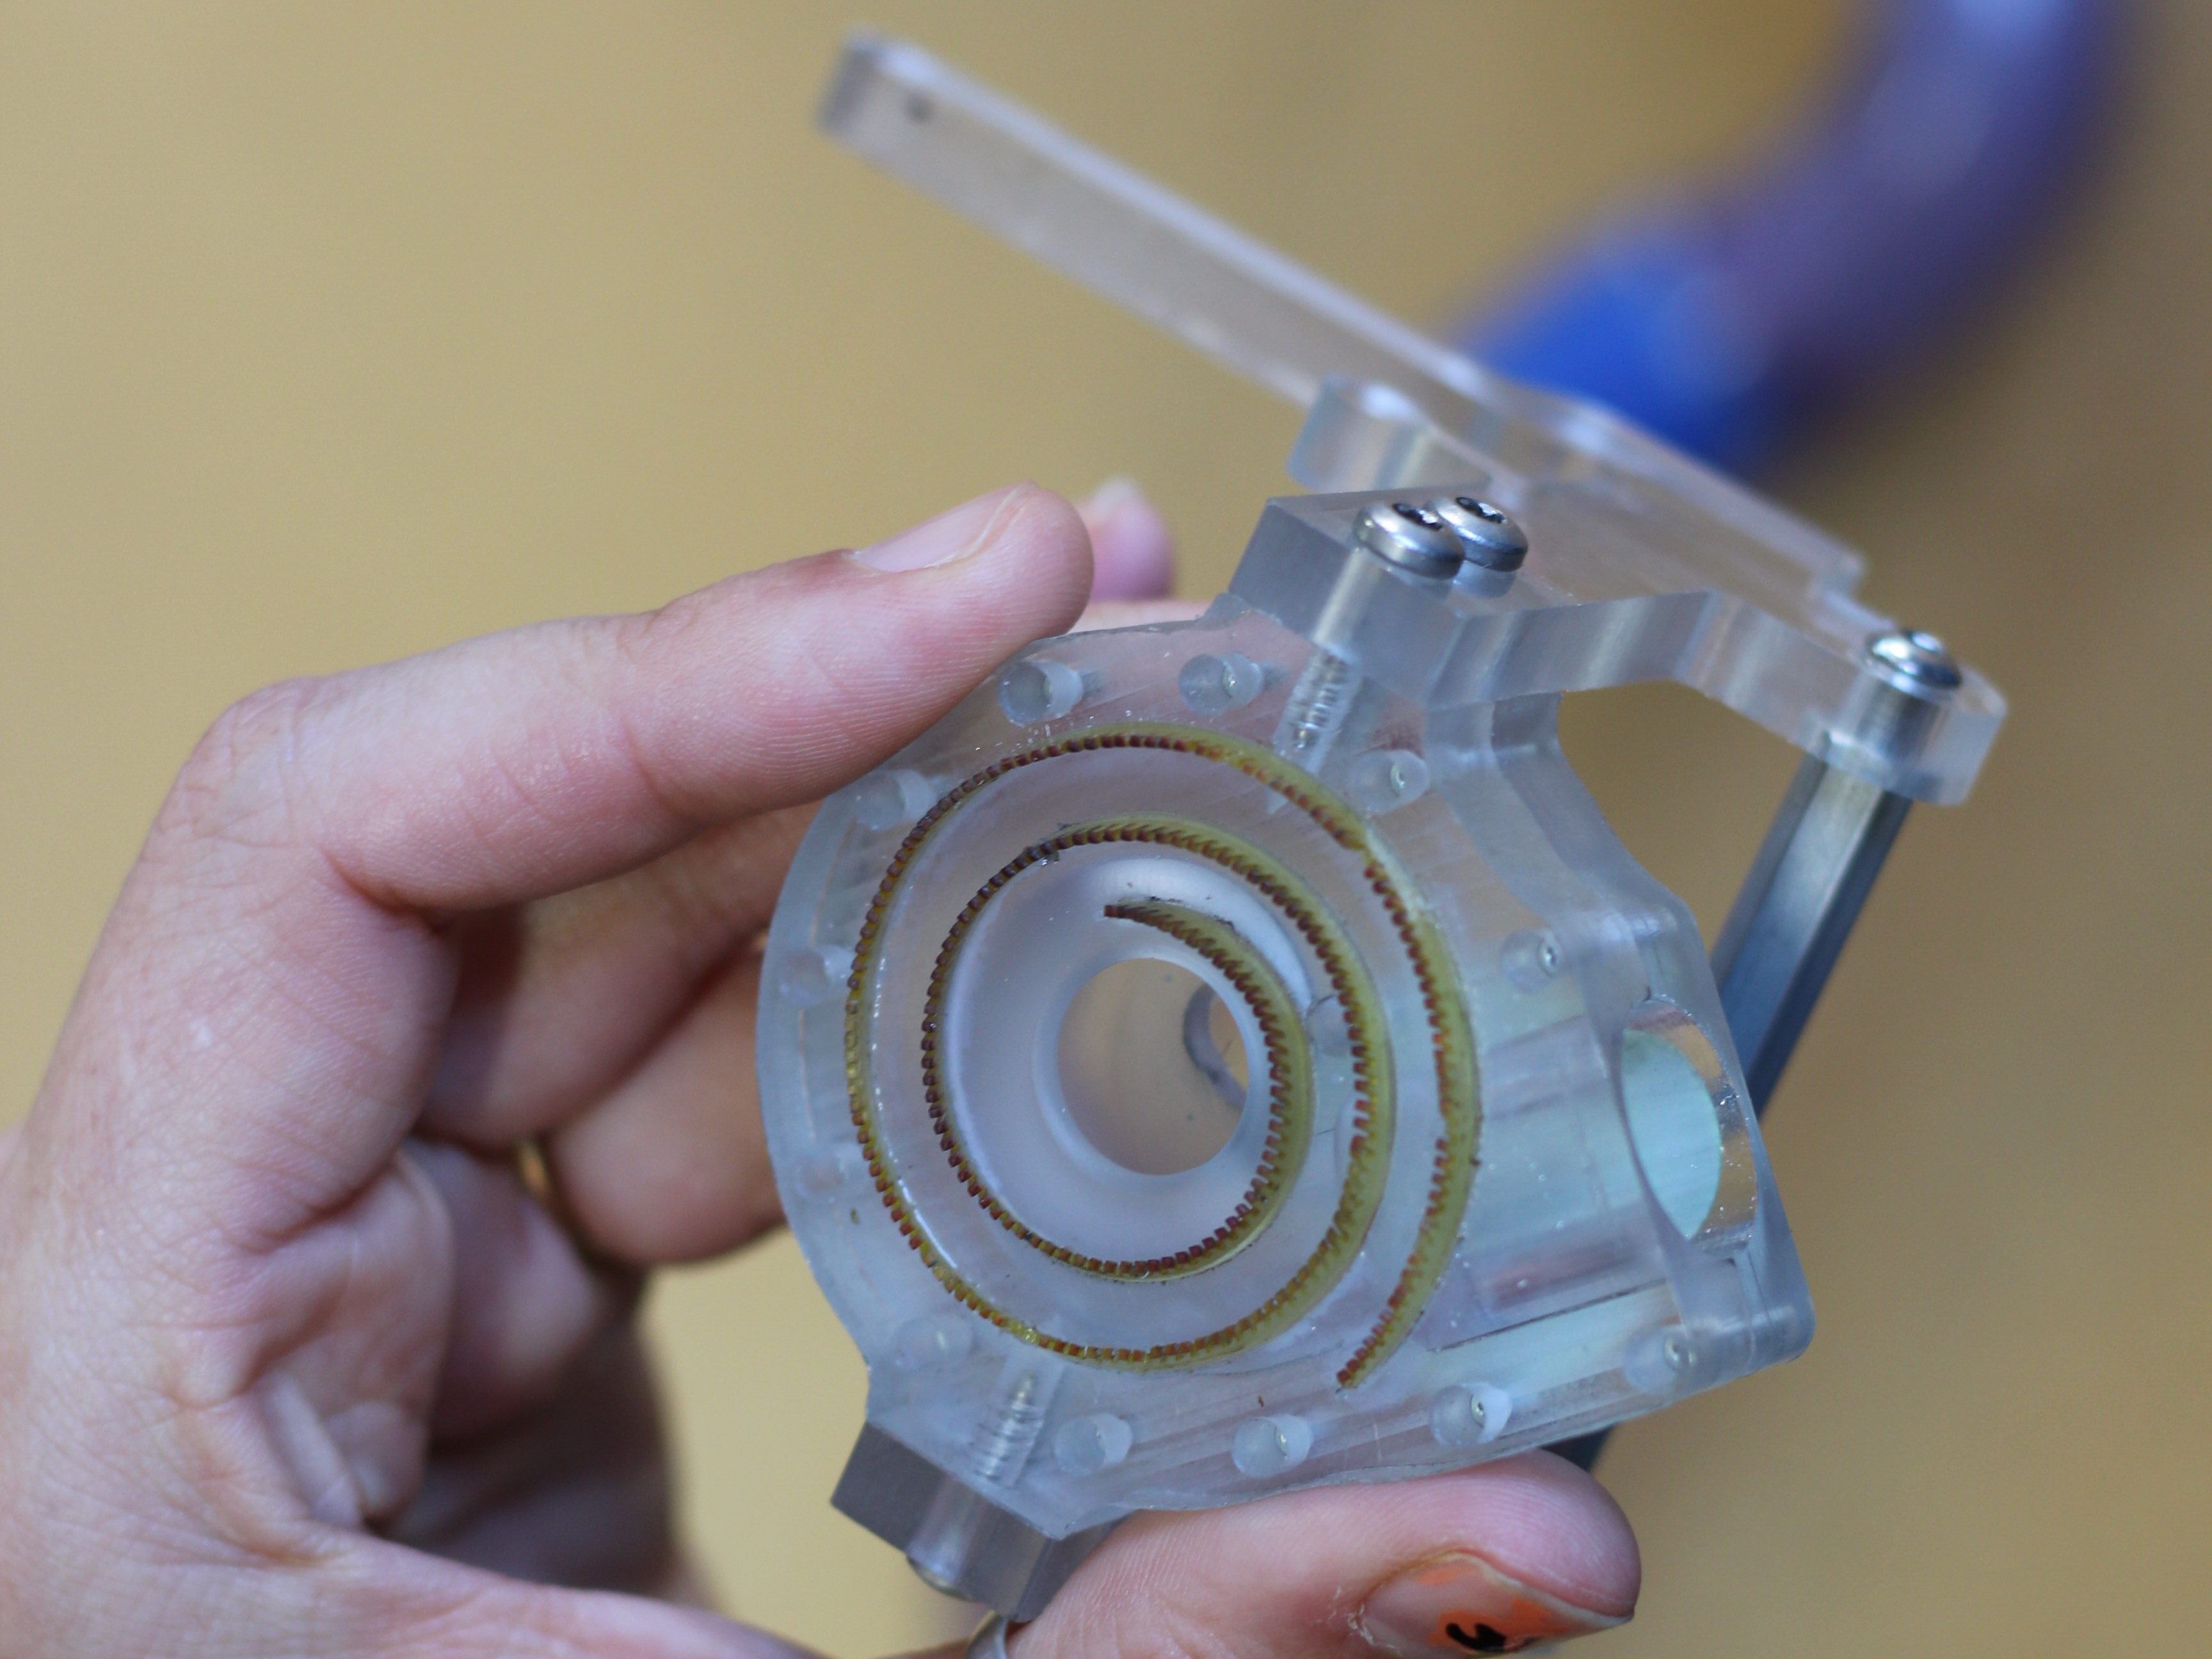
Another section where Othermachine Co. applied this principle is with the final machining step for the CNC bed. The step produces a large amount of waste chips. Rather than having an employee waste time vacuuming out every Othermill after it has gone through this process, they spent some time designing a custom vacuum attachment. This essentially removed an entire production step. Not bad!
IMG_0396 (2)

With the proper management of waste it is entirely possible to save money and improve a process at the same time. It takes a bit of training to learn how to see it. It helps to have an experienced person around in order to learn how to properly respond to them, but with a bit of practice it becomes a skill that spreads to all areas of life. Have any of you had experience with this kind of problem solving? I’ve really enjoyed learning from the work stories posted in the comments.

The First 5nm Chip

For almost forty years, integrated circuits have become smaller and smaller. These chips started out with massive transistors in the early 1970s. They shrank to less than 1μm by 1990, and shrank yet again to less than 100nm by the turn of the last century. Now, Imec and Cadence are experimenting with 5nm technology – the smallest technology available for any mass-produced integrated circuit.

The history of microelectronic fabrication over the last decade is a story of failure. Something happened in 2005, and although chips could be designed at ever-smaller technologies, the transition to these smaller manufacturing processes didn’t go as smoothly as in the 70s, 80s, and 90s. Just a few years ago, Intel said 10nm chips would ship by 2015. These chips are nowhere to be found, and even 14nm technology is still catching up to the yields found in 22nm technology. In 2009, Nvidia said their flagship graphics card would be built with a 11nm process. The current Nvidia flagship desktop graphics card is built with 28nm technology. Moore’s law isn’t 18 months anymore.

While Imec and Cadence have completed the tapeout on a 5nm device, it’s just a test chip. Before starting manufacturing on a single process node, Intel and others will tapeout a simple test chip to verify their latest process. This 5nm tapeout will not become a manufactured chip, but it does mean we’ll see more talk about the 5nm process in the future.

Real-time Depth Smoothing For The Kinect

[Karl] set out to improve the depth image that the Kinect camera is able to feed into a computer. He’s come up with a pre-processing package which smooths the depth data in real-time.

There are a few problems here, one is that the Kinect has a fairly low resolution, it is also depth limited to a range of about 8 meters from the device (an issue we hadn’t considered when looking at Kinect-based mapping solutions). But the drawbacks of those shortcomings can be mitigated by improving the data that it does collect. [Karl’s] approach is twofold: pixel filtering, and averaging of movement.

The pixel filtering works with the depth data to help clarify the outlines of objects. Weighted moving average is used to help reduce the amount of flickering areas rendered from frame to frame. [Karl] included a nice GUI with the code which lets you tweak the filter settings until they’re just right. See a demo of that interface in the clip after the break and let us know what you might use this for by leaving a comment.

Continue reading “Real-time Depth Smoothing For The Kinect”