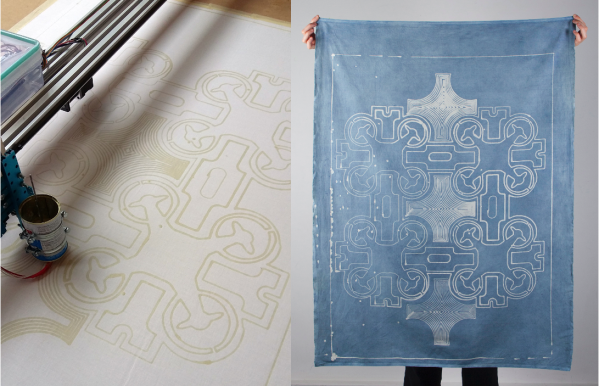
Batik is an ancient form of dyeing textiles in which hot wax is applied to a piece of cloth in some design. When the cloth is submerged in a dye bath, the parts covered with wax resist the pigment. After dyeing, the wax is either boiled or scraped away to reveal the design.
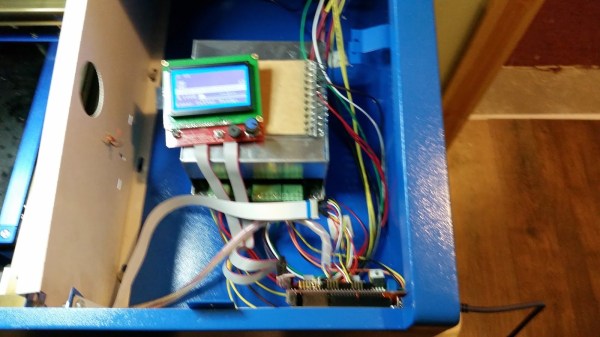
[Eugenia Morpurgo] has created a portable, open-source batik bot that rolls along the floor and draws with wax, CNC-style, on a potentially infinite expanse of cloth. The hardware should be familiar: an Arduino Mega and a RAMPS 1.4 board driving NEMA 17 steppers up and down extruded aluminium.
Traditionally, batik wax is applied with a canting, a pen-like object that holds a small amount of hot wax and distributes it through a small opening. The batik bot’s pen combines parts from an electric canting tool with the thermistor, heater block, and heater cartridge from an E3D V6 hot end. [Eugenia] built the Z-axis from scrap and re-used the mechanical endstops from an old plotter. Check out the GitHub for step-by-step instructions with a ton of clear pictures and the project’s site for even more pictures and information. Oh, and don’t resist the chance to see it in action after the break.
We love a good art bot around here, even if the work disappears with the tide.