At Last! Faster OpenSCAD Rendering Is On The Horizon

Known as “The Programmers Solid 3D CAD Modeller”, OpenSCAD is used by many people for whom writing code comes more naturally than learning a fiddly user interface. It’s a very capable piece of software, but regular users will tell you that it can be rather slow when it comes to rendering your work. We’re very pleased to see that a fix for this has been produced courtesy of [@ochafik], can now be found as an experimental feature in nightly builds, and will in due course no doubt find its way to official releases.

Despite a modern computer invariably having a multi-core architecture, it might surprise you to find that OpenSCAD wasn’t able to take advantage of this previously. The above-linked thread spans over a decade of experimenting and contains some fascinating discussions if you’re prepared to wade through it, and culminates a few weeks ago in the announcement of the new feature giving access to multiple CPUs. We don’t have it yet, but it’s great to know it’s in the works and we’re looking forward to render time involving considerably less of a wait.

So many OpenSCAD projects have passed through these pages over the years, it’s safe to say that it has a significant user base among Hackaday readers. It’s still something an AI hasn’t mastered yet though.

Thanks [pca006132] for the tip.

Adding Portals To Quake

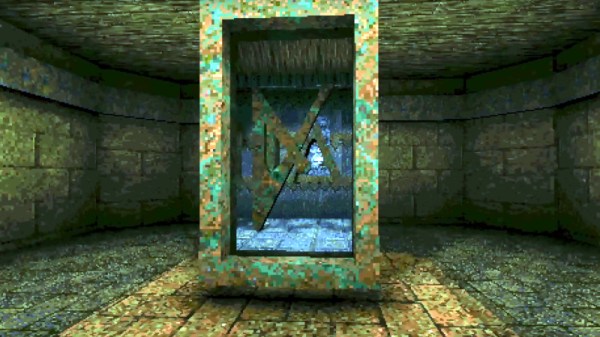
For those who have played Quake extensively, adding portals seems unnecessary, as teleporters are already a core part of the game mechanics. What [Matthew Earl] accomplishes is more of the Portal style of portal by rendering what is on the other side of the portal with a seamless teleportation transition.

Of course, Quake is an old game with a software renderer. Just throwing another camera into the scene, rendering to another texture, and then mapping that texture to the scene isn’t an option. Quake uses an edge rasterizer and generates spans along scanlines that track where edges intersect the current scanline. Rather than making expensive per-pixel comparisons, [Matt] stashes the portal spans and renders them in a second render, so even with multiple portals, only a single screen’s worth of pixels are rendered.

However, this technique has no near clipping plane, which means objects can appear in the portal that don’t make any sense as they are in front of the portal’s viewpoint. Luckily, Quake has an ingenious method for polygon occlusion: the BSP. While [Matt] is manually checking polygons, the BSP is the perfect tool for bisecting a room along a plane. It’s an incredible hack, and we’re excited to see Quake expand into a puzzle game. [Matt] dives into greater detail on how the software renderer works in another video that’s well worth a watch.

Perhaps the most incredible aspect of this technique is that it could run on original hardware. If you want to bring a little more Quake to life, why not get the Quake light flicker in your house? Video after the break.

Continue reading “Adding Portals To Quake”

Signed Distance Functions: Modeling In Math

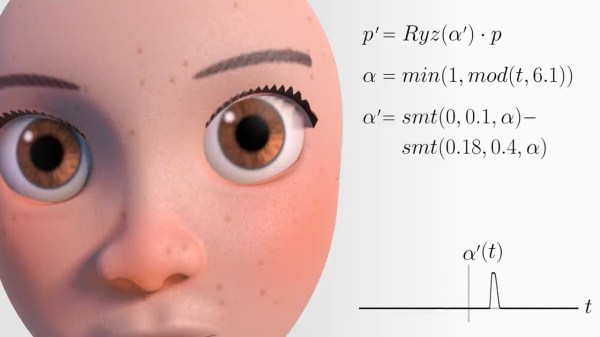
What if instead of defining a mesh as a series of vertices and edges in a 3D space, you could describe it as a single function? The easiest function would return the signed distance to the closest point (negative meaning you were inside the object). That’s precisely what a signed distance function (SDF) is. A signed distance field (also SDF) is just a voxel grid where the SDF is sampled at each point on the grid. First, we’ll discuss SDFs in 2D and then jump to 3D.

SDFs in 2D

A signed distance function in 2D is more straightforward to reason about so we’ll cover it first. Additionally, it is helpful for font rendering in specific scenarios. [Vassilis] of [Render Diagrams] has a beautiful demo on two-dimensional SDFs that covers the basics. The naive technique for rendering is to create a grid and calculate the distance at each point in the grid. If the distance is greater than the size of the grid cell, the pixel is not colored in. Negative values mean the pixel is colored in as the center of the pixel is inside the shape. By increasing the size of the grid, you can get better approximations of the actual shape of the SDF. So, why use this over a more traditional vector approach? The advantage is that the shape is represented by a single formula calculated at many points. Most modern computers are extraordinarily good at calculating the same thing thousands of times with slightly different parameters, often using the GPU. GLyphy is an SDF-based text renderer that uses OpenGL ES2 as a shader, as discussed at Linux conf in 2014. Freetype even merged an SDF renderer written by [Anuj Verma] back in 2020. Continue reading “Signed Distance Functions: Modeling In Math”

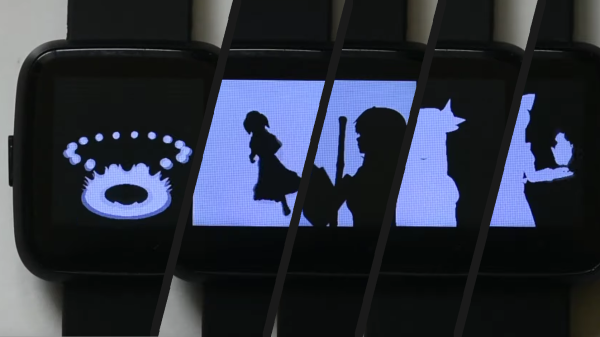
Several frames from Bad Apple

PineTime Smartwatch And Good Code Play Bad Apple

PineTime is the open smartwatch from our friends at Pine64. [TT-392] wanted to prove the hardware can play a full-motion music video, and they are correct, to a point. When you watch the video below, you should notice the monochromatic animation maintaining a healthy framerate, and there lies all the hard work. Without any modifications, video would top out at approximately eight frames per second.

To convert an MP4, you need to break it down into images, which will strip out the sound. Next, you load them into the Linux-only video processor, which looks for clusters of pixels that need changing and ignores the static ones. Relevant pixel selection takes some of the load off the data running to the display and boosts the fps since you don’t waste time reminding it that a block of black pixels should stay the way they are. Lastly, the process will compress everything to fit it into the watch’s onboard memory. Even though it is a few minutes of black and white pictures, compiling can take a couple of hours.

You will need access to the watch’s innards, so hopefully, you have the developer kit or don’t mind cracking the seal. Who are we kidding, you aren’t here for intact warranties. The video resides in the flash chip and you have to transfer blocks one at a time. Bad Apple needs fourteen, so you may want to practice on a shorter video. Lastly, the core memory needs some updating to play correctly. Now you can sit back and…watch.

Pine64 had a rough start with the single-board computers, but they’re earning our trust with things like soldering irons and Google-less Linux mobile phones.

Continue reading “PineTime Smartwatch And Good Code Play Bad Apple”

Drones, Clever Hacks, And CG Come Together For Star Wars Fan Film

We weren’t certain if this Star Wars fan film was out kind of thing until we saw the making of video afterwards. They wanted to film a traditional scene in a new way. The idea was to take some really good quadcopter pilots, give them some custom quadcopters, have them re-enact a battle in a scenic location, and then use some movie magic to bring it all together.

The quadcopters themselves are some of those high performance racing quadcopters with 4K video cameras attached. The kind of thing that has the power to weight ratio of a rocket ship. Despite what the video implies, they are unfortunately not TIE Fighter shaped. After a day of flying and a few long hikes to retrieve the expensive devices after inevitable crashes (which, fortunately, provided some nice footage), the next step was compositing.

However, how to trick the viewer into believing they were in a X-Wing quadcopter? A cheap way to do it would be to spend endless hours motion tracking and rendering a cockpit in place. It won’t look quite real. The solution they came up with is kind of dumb and kind-of brilliant. Mount a 3D printed cockpit on a 2×4 with a GoPro. Play the flight footage on a smartphone while holding the contraption. Try to move the cockpit in the same direction as the flight. We’re not certain if it was a requirement to also make whooshing and pew pew laser noises while doing so, but it couldn’t hurt.

In the end it all came together to make a goofy, yet convincingly good fan film. Nice work! Videos after the break.

Continue reading “Drones, Clever Hacks, And CG Come Together For Star Wars Fan Film”

3D Render Live With Kinect And Bubble Boy

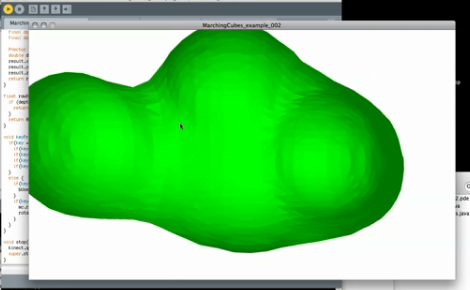
[Mike Newell] dropped us a line about his latest project, Bubble boy! Which uses the Kinect point cloud functionality to render polygonal meshes in real time.  In the video [Mike] goes through the entire process from installing the libraries to grabbing code off of his site. Currently the rendering looks like a clump of dough (nightmarishly clawing at us with its nubby arms).

[Mike] is looking for suggestions on more efficient mesh and point cloud code, as he is unable to run any higher resolution than what is in the video. You can hear his computer fan spool up after just a few moments rendering! Anyone good with point clouds?

Also, check out his video after the jump.

Continue reading “3D Render Live With Kinect And Bubble Boy”

Render Your Next Render Farm


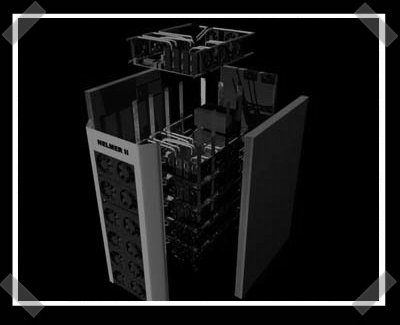
You might remember [Janne]’s IKEA cluster. Now he’s got a couple of dream rigs in mind, so he started doing 3D renderings of them. Helmer 2 is designed to contain 24 video cards attached to six motherboards with quad core CPUs. (AMD has even taken enough interest to send him some cpus to get started) The rendering really comes in handy for designing the custom copper heat pipes and the aluminum cooling fin enclosure. Still bored, he put together a rendering of a 4 PetaFLOP machine using 2160 video cards.
Update: The Helmer 2 link is fixed.