Inputs Of Interest: SafeType™ Vertical Keyboard With Mirrors Puts Pain In The Rear-View

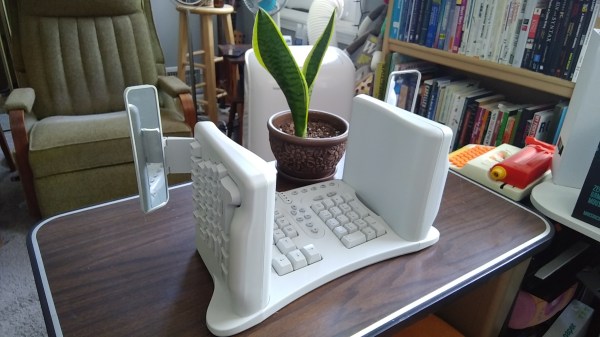
Yep, this keyboard is another ebay special. I can’t stay away! This is a SafeType™ V801 from probably the early 2000s, although there is no date on it anywhere. I’m basing my guess on the fact that there are so many media buttons. I’ve been eyeing these weirdo mirrored keebs for a while, and when I saw how cheaply this one was going for, I had to have it. That’s just how it goes. I was really excited to clack on it and I’m only marginally disappointed by it. But I can tell you that if my Kinesis were to suddenly die, I would probably reach for this keyboard until the new one showed up.

Yes, mirrors on a keyboard are weird. But if you can’t touch-type the numerals and F keys, they’re absolutely necessary.

So, why does it look like this? There are varying levels of ergonomics when it comes to keyboards. This one fights strongly against wrist pronation and forces you into a position that helps the shoulders and neck as well. You’d think it would be weird to hold your arms aloft at right angles, but it’s actually not that strange in practice because you’re pressing inward to type, kind of like playing an accordion or something.

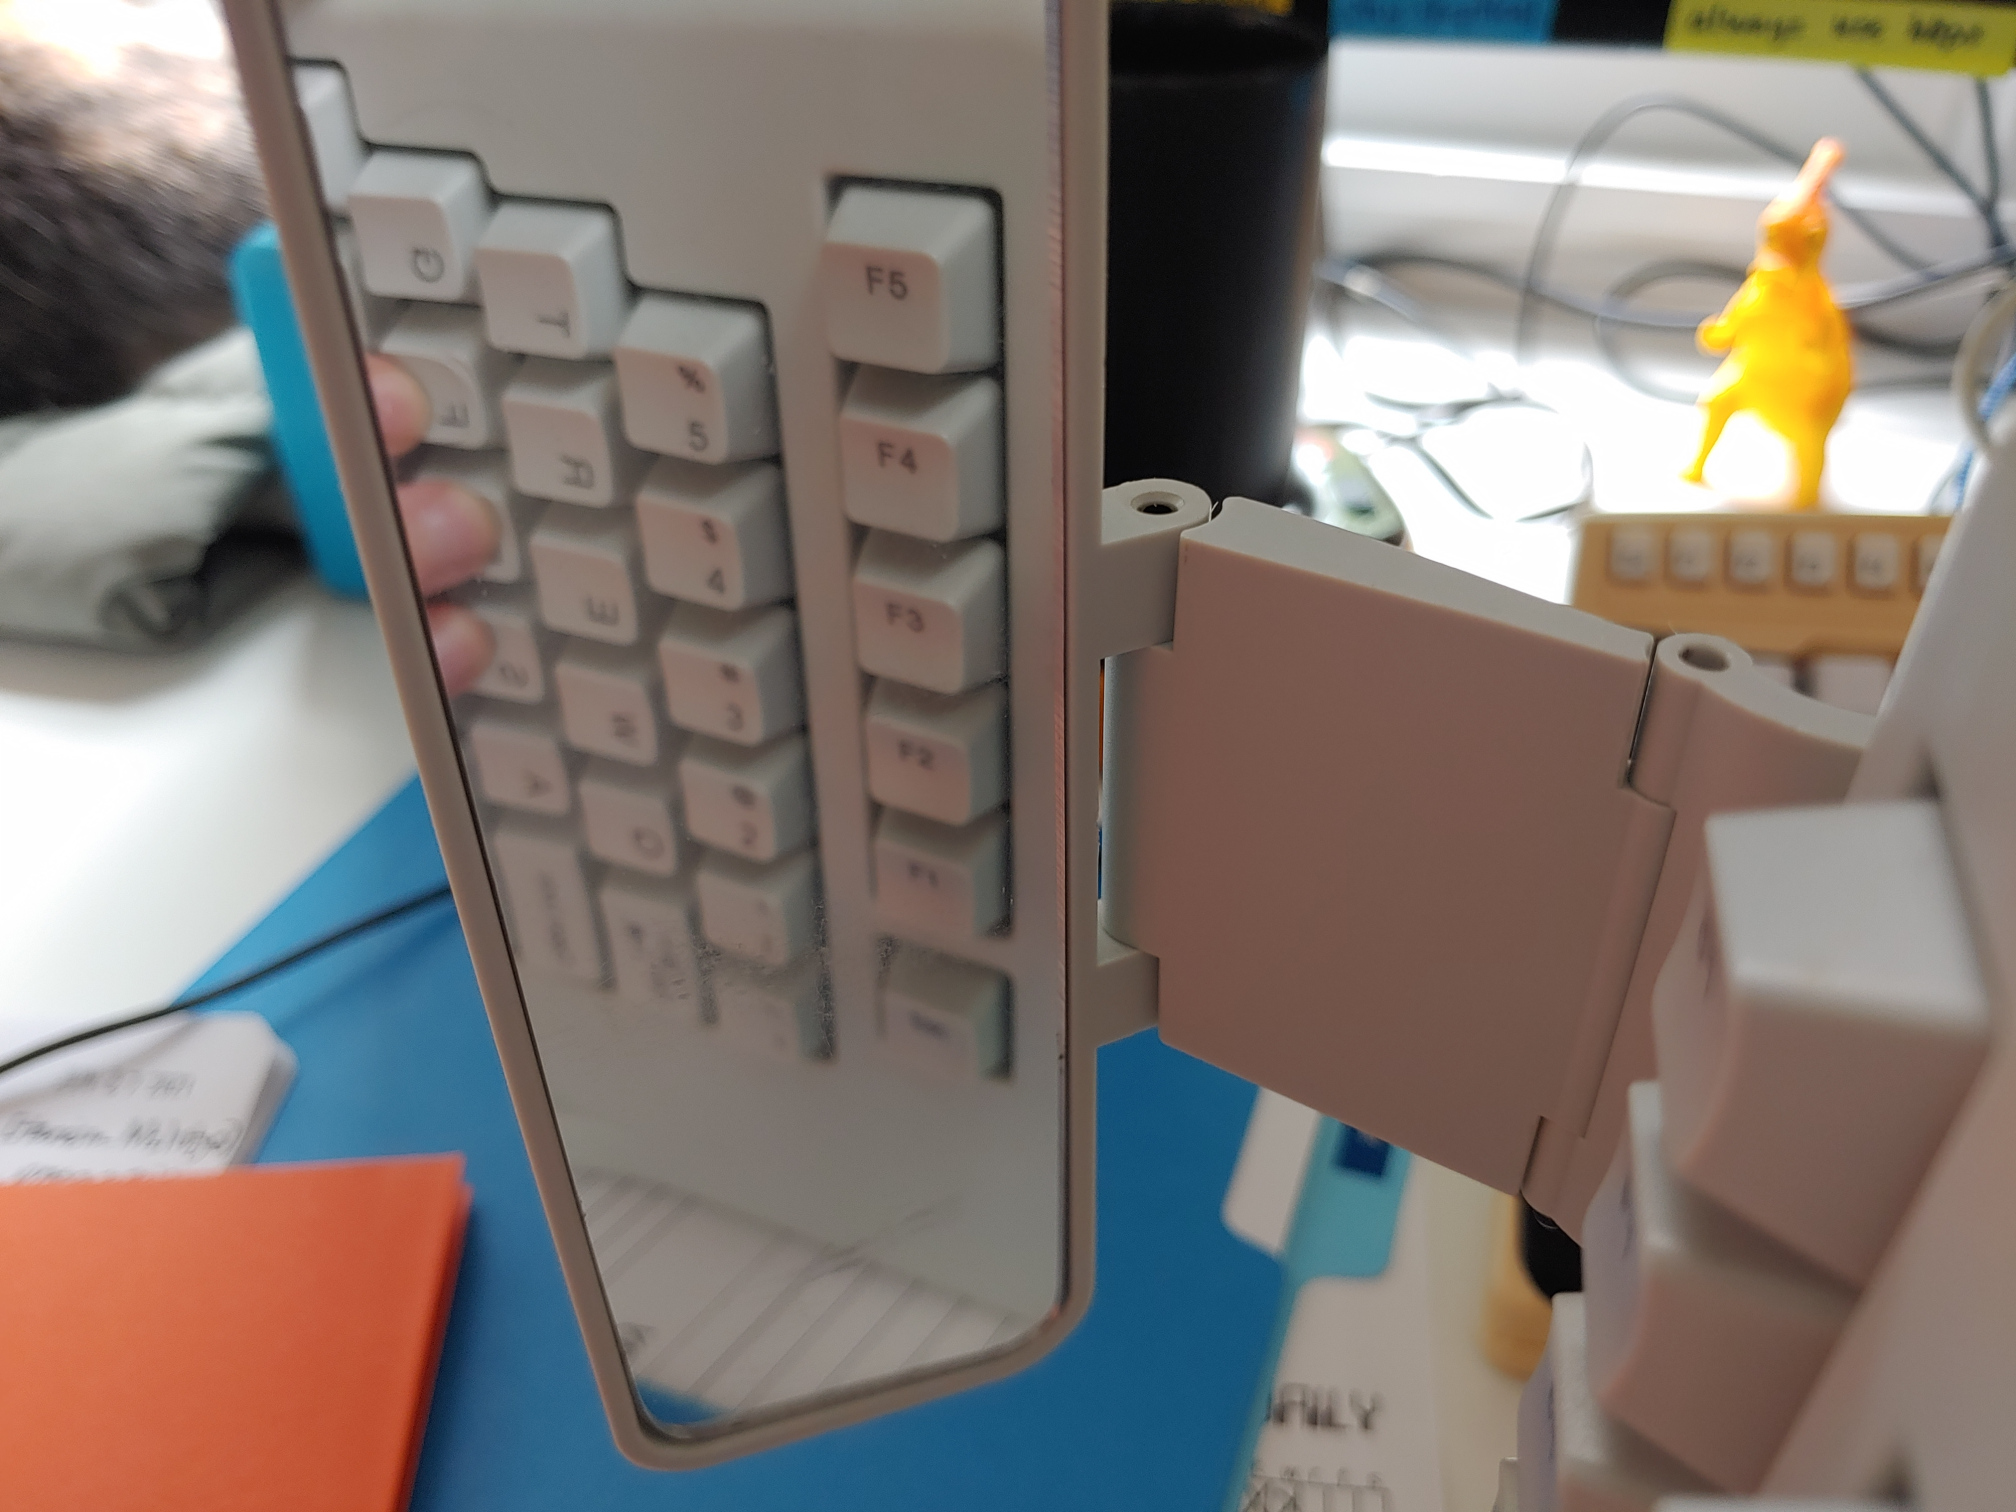
The weird part is looking in the rear-view mirrors to accurately hit the numerals and F keys, though I’ll be honest: in my test drives, I found myself using the mirrors mostly to make sure my hands were on the home row. And that’s with three homing protrusions apiece on F and J! More about that later.

So yes, some of the keycap legends are backwards so you can read them in the mirror. If you don’t like using the numeral row, there’s a num pad in the center, along with the Home/End cluster, a quartet of comically large arrow keys, and a boatload of dedicated media and program launch buttons. All the buttons in the middle are fairly awkward to reach because you must either pull your hand down and around the bottom, or else go over the top. Continue reading “Inputs Of Interest: SafeType™ Vertical Keyboard With Mirrors Puts Pain In The Rear-View”

AlphaSmart Neo Teardown: This Is The Way To Write Without Distractions

History will always have its in-between technologies — that stuff that tides us over while the Next Big and Lasting Thing is getting the kinks worked out of it. These kinds of devices often do one thing and do it pretty well. Remember zip drives? Yeah you do. Still have mine.

The halcyon days of the AlphaSmart NEO sit in between the time where people were chained to heavy typewriters and word processors and the dawn of on-the-go computing. Early laptops couldn’t be trusted not to die suddenly, but the NEO will run for 700 hours on three AAs.

The NEO stands for the freedom to get your thoughts down wherever, whenever, without the need for a desk, paper, ink, ribbons, power cords, and the other trappings that chain people indoors to flat surfaces. And that’s exactly what was so tantalizing to me about it. Inspiration can truly strike anywhere at any time, so why not be prepared? This thing goes from off to blinking cursor in about a second and a half. There’s even a two-button ‘on’ option so you don’t run the battery down or accidentally erase files while it’s in your bag.

These might be the world’s greatest scissor switches.
L-R: DC power, IR, USB-B, and USB-A for connecting to a printer.

I bought this funny little word processor a few years ago when I wanted to attempt NaNoWriMo — that’s National Novel Writing Month, where you write 50,000 words towards a novel, non-fiction book, or short story collection in any genre you want. It averages out to 1,667 words a day for 30 days. Some days it was easy, some days it was not. But every non-Hackaday word I typed that month was on this, my Mean Green Words Machine.

Continue reading “AlphaSmart Neo Teardown: This Is The Way To Write Without Distractions”

Making Membrane Keypads From Scratch

A few years ago, [Paul]’s son got a simple electronic toy that plays funny noises and sings to him. The son loves the toy, but after months and months of use, the toy was inevitably broken beyond repair. Figuring an ‘electronic box that plays sounds’ wouldn’t be a hard project to replicate, [Paul] set out on making his own. The electronics weren’t hard, but custom membrane keypads are hard to come by. No matter, because it’s actually pretty easy to build your own.

Membrane switches are usually made with silkscreen conductive inks on fancy plastic, but that’s not a requirement to build your own. All you really need are four layers – a ‘front decal’, a ‘top foil’ layer for the rows, a ‘bottom foil’ layer for the columns, and a ‘cutout’ layer that provides enough separation between the rows and columns.

[Peter] laid out the four layers in Illustrator, printed the layers, and covered the rows and columns with copper tape. The cutout layer is the crucial part that keeps the layers separated until the button is pressed, and that was just a piece of card stock with strategically placed holes.

Once the rows, columns, and other layers were glued up, [Peter] could connect this keypad up to a microcontroller. The code is very easy with the Arduino keypad library, and should stand up to the rigors of being handled by a child.