A Nitrogen Soldering Iron Review

If you’ve ever welded, you know that some welders blow a shield gas over the work for different reasons. For example, you often use a gas to displace oxygen from the area and avoid oxidation. You can also solder using a nitrogen shield. This allows higher temperatures and a reduction of flux required in the solder. Wave soldering often uses nitrogen, and JBC offers a soldering iron that can employ nitrogen shield gas. [SDG Electronics] puts that iron through its paces in the video below.

As you might expect, this isn’t a $50 soldering iron. The price for the iron is just under $1,000 and that doesn’t include the power supply or the nitrogen source. The nitrogen generator that converts compressed air into nitrogen is particularly expensive so [SDG] just used a cylinder of gas.

Continue reading “A Nitrogen Soldering Iron Review”

A soldering iron applied to a stuck threadlocked screw in a titanium pen

Removing Threadlocked Screws With A Soldering Iron

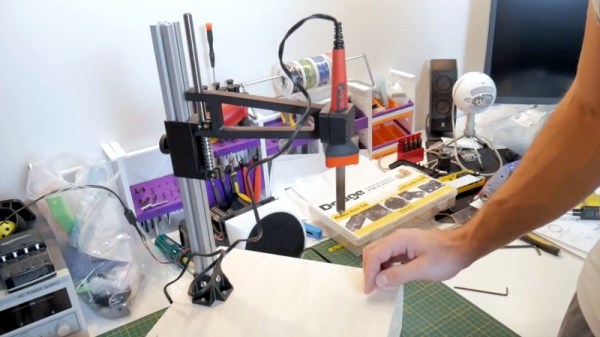
We’ve all been there – that last stubborn screw, the one thing between you and some real progress on a repair or restoration. It’s stuck tight with thread-locking fluid, and using more torque threatens to strip the head. Frustration mounting, drilling that sucker out is starting to seem pretty tempting. But wait! [Daniel] offers a potential solution using nothing but a soldering iron.

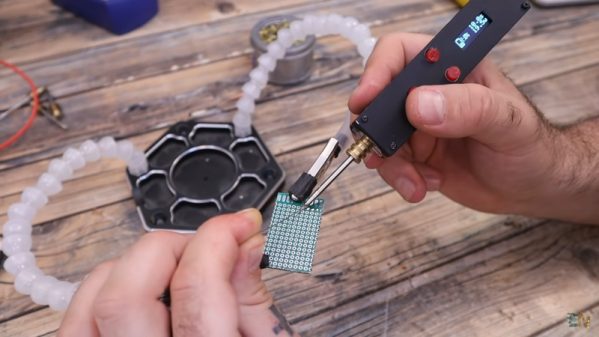
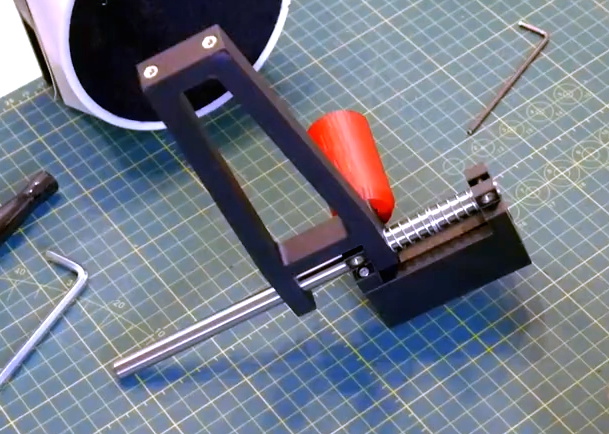
This tool hack is pretty simple, but all the great ones tend to be straightforward. In the video, [Daniel] is faced with a titanium Torx screw that refuses to come loose due to threadlocker, an adhesive that is applied to screws and other fasteners to prevent them coming loose. Available in a variety of strengths, thread-locking fluid is great at keeping screws where they need to be, but too much (or the wrong kind) can seize a screw permanently.

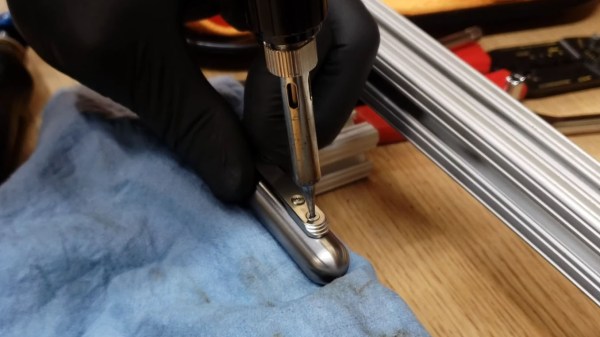
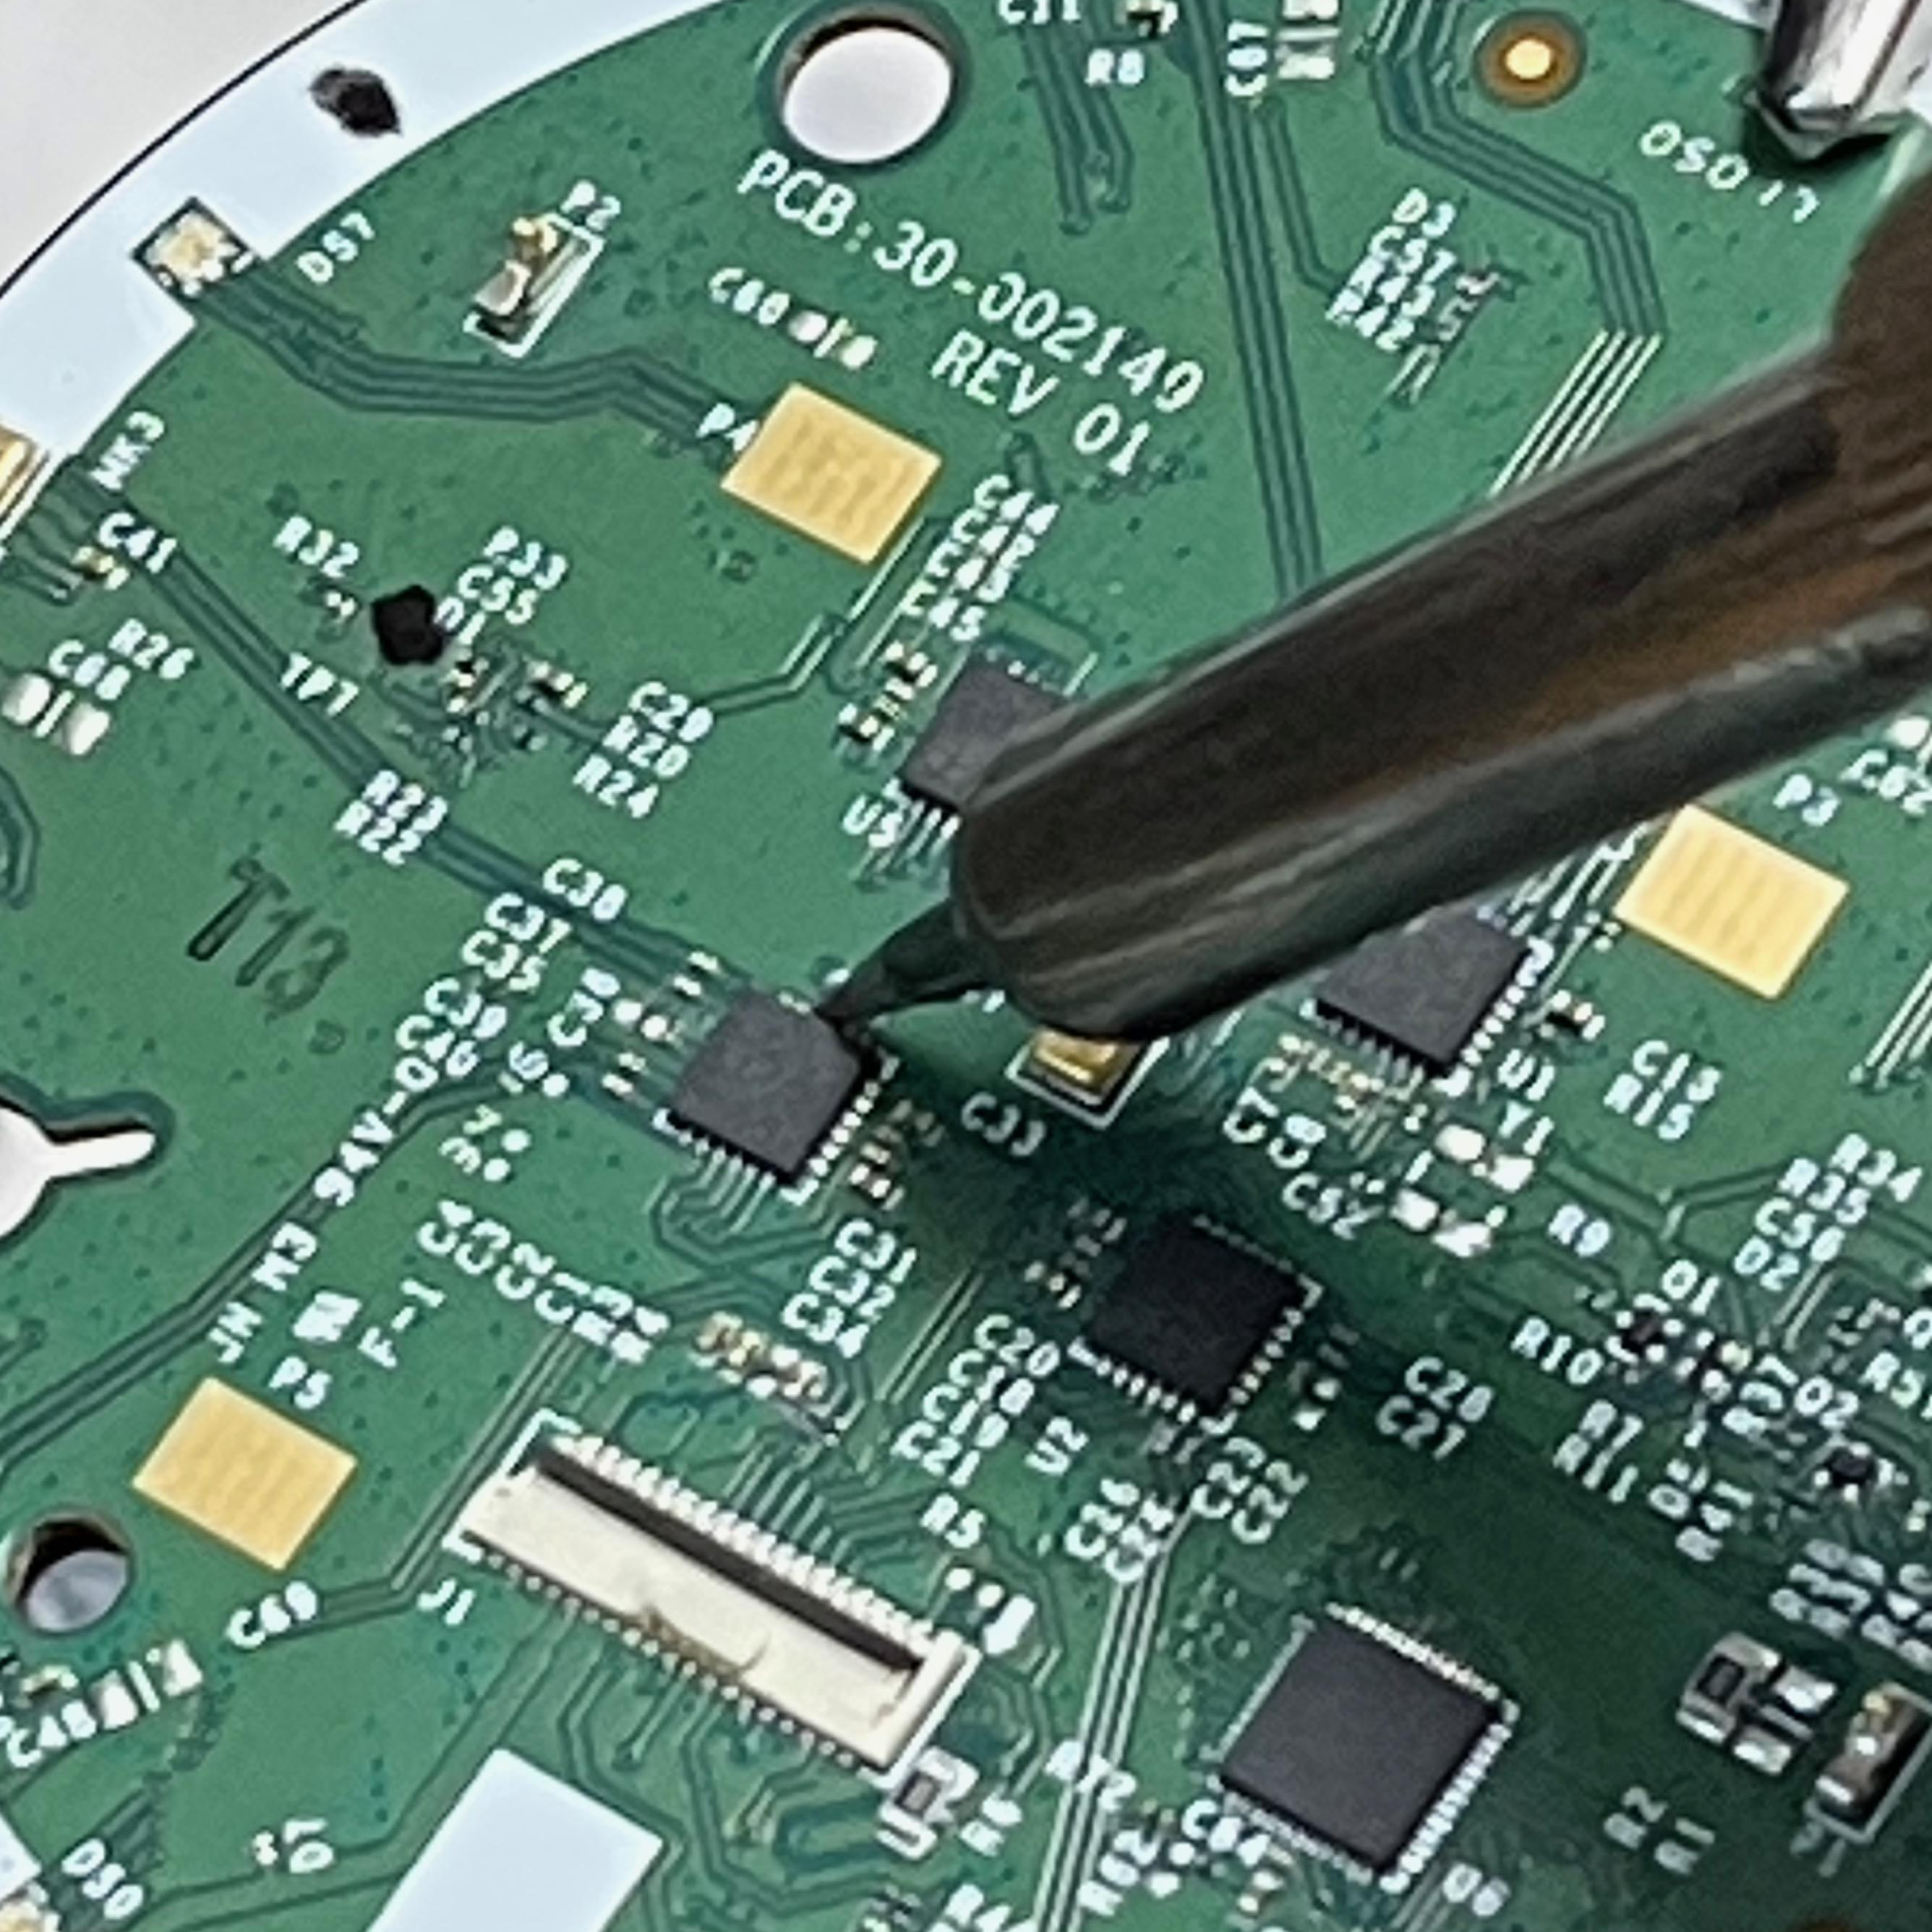
Instead of drilling out the offending screw, [Daniel] reaches for his soldering iron. By applying a significant amount of heat to the screw head, the adhesive starts to give. After heating, working the screw back and forth breaks the threadlocker, thus freeing the screw. The whole process takes just a couple of minutes, and potentially saves the repairer from destroying a screw.

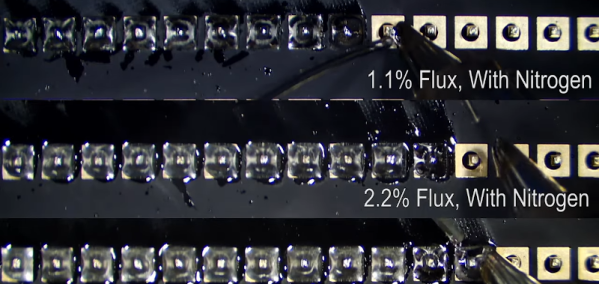
The chemistry behind thermoset adhesives makes for some great bedtime reading, however the main takeaway is that threadlock fluid, while somewhat resistant to heat, will eventually become brittle enough for the screw to come loose. Unlike most adhesives, which melt under high temperature (think glue sticks), thermoset materials tend to initially harden with the application of heat, before turning brittle and breaking. While high-temperature threadlocker derivatives exist, typical Loctite-branded threadlocker (and similar products) would not appear to be able to stand the heat of a typical soldering iron.

This soldering iron hack isn’t the first we’ve featured on Hackaday – check out this method on removing enamel from magnet wire. If you’re not too squeamish, also check out our thoughts on soldering iron cauterization.

Continue reading “Removing Threadlocked Screws With A Soldering Iron”

Packing Heat With A Homemade Portable Soldering Iron

Small portable soldering irons are all the rage so [electronoobs] decided to build one on his own. While the design isn’t quite as sleek as a commercial unit, considering it holds its own batteries, it looks pretty good.

Of course, the question is: does it work? You can see in the video below that it does, melting solder in about ten seconds. The weight is about 100 g, so it should be very comfortable to use.

Continue reading “Packing Heat With A Homemade Portable Soldering Iron”

Soldering Iron Plus Camera Gimbal Helps Cancel Out Hacker’s Hand Tremors

Soldering requires steady hands, so when [Jonathan Gleich] sadly developed a condition called an essential tremor affecting his hands, soldering became much more difficult. But one day, while [Jonathan] was chatting with a friend, they were visited by the Good Ideas Fairy and in true hacker fashion, he ended up repurposing a handheld camera stabilizing gimbal to hold a soldering iron instead of a camera or smartphone. Now instead of the gimbal cancelling out hand movements to keep a camera steady, it instead helps keep a soldering iron steady.

While the inner workings of the cheap gimbal unit didn’t need modification, there were a couple of things that needed work before the project came together. The first was to set up a way to quickly and easily connect and disconnect the soldering iron from the gimbal. Thanks to a dovetail-like connector, the iron can be safely stored in its regular holster and only attached when needed.

The other modification is more subtle. The stabilizer motors expect to be managing something like a smartphone, but a soldering iron is both lighter and differently balanced. That meant that the system worked, but not as well as it needed to. After using some small lead weights to tweak the mass and center of gravity of the soldering iron — making it feel and move a bit more like an iPhone, as far as the gimbal was concerned — results were improved.

The soldering iron stabilizer works well enough for now, but we don’t doubt that [Jonathan] already has further tweaks in mind. This is a wonderful repurposing of a consumer device into an assistive aid, so watch it in action in the short video embedded below.

Continue reading “Soldering Iron Plus Camera Gimbal Helps Cancel Out Hacker’s Hand Tremors”

Review: Sequre SQ-D60 Temperature Controlled Soldering Iron

Over the past few years a new class of soldering iron has arisen: a temperature controlled iron no longer tied to a bulky mains-powered base station, but using low-voltage DC power and with all electronics concealed in a svelte handle. First came the Miniware TS100, and then  many more, with slightly different feature sets and at varying price points. We’ve reviewed a few of them over the years, and today we have the most recent contender in the Sequre SQ-D60. It follows the formula closely, but costs only £20 (about $26). This price puts it in an attractive budget category, and its USB-C power option makes it forward-looking over models with barrel jacks. Description over, it’s time to plug it in and put it through its paces.

What’s In The Box?

That's a lot of extra bits for a budget iron!
That’s a lot of extra bits for a budget iron!

In the box, aside from the handle containing the electronics, were a surprisingly comprehensive array of parts and accessories. The handle itself is similarly-sized to its competitors, being only slightly longer than that of Pine64’s Pinecil. The tip supplied was unexpectedly a slanted chisel, so I may have managed to order incorrectly, though since it shares the same tip design as both the TS100 and the Pinecil I have plenty of alternative tips should I need one. Otherwise there was a little bag of hex screws along with a key and a driver for them, a little stand with a sponge, a set of Sequre stickers, a USB-C to barrel jack cable, and a barrel jack-to-XT60 connector for use with LiPo battery packs. These last two cables are a particularly useful addition.

At first sight the tip doesn’t seem to have any means of being fixed into its socket, but a closer inspection reveals that there is a hex screw hiding underneath a silicone finger sleeve that holds it securely when tightened. The handle has a simple enough interface, with just two buttons and a 3-digit, 7-segment display. Powering it up from a 45 W USB-PD power supply, and it heats up to 300 °C in around ten seconds after pressing one of the buttons. My usual soldering temperature is 360 °C, and it has an interface involving long presses of one of the buttons before they become up and down buttons to select the temperature. In prolonged use the handle doesn’t become noticeably warm, and aside from a slight new-electronics-getting-hot smell there was no immediate concern that it might release magic smoke. Continue reading “Review: Sequre SQ-D60 Temperature Controlled Soldering Iron”

Review: Pine64 Pinecil Soldering Iron

There was a time when decent quality soldering irons were substantial affairs, soldering stations with a chunky base unit containing the electronics and a lightweight handheld iron for the work. That has changed with the arrival of a new breed of microprocessor controlled lightweight handheld irons. There’s a new kid on the block from a company we associate more with open-source phones, laptops, and single board computers, Pine64 have produced the Pinecil. It’s a lightweight handheld iron with some innovative features at an attractive price, but does it raise the bar sufficiently to take on the competition?

I put the Pinecil through its paces, and and although the device is fully open source, give it a teardown for good measure. Spoiler: it’s my new favorite.
Continue reading “Review: Pine64 Pinecil Soldering Iron”

Building An Affordable Press For Heat Set Inserts

If you’re building mechanical assemblies with 3D printed parts, you’ll quickly realize that driving machine screws into thermoplastic isn’t exactly an ideal solution. It can work in a pinch, but you can easily strip the threads if you crank down too hard. The plastic holes can also get worn down from repeated use, which is a problem if you’re working on something that needs to be taken apart and reassembled frequently. In those situations, using brass heat set inserts gives the fasteners something stronger to bite into.

You can install these inserts by hand, but if you plan on doing a lot of them, a dedicated press station like the one [Chris Chimienti] recently put together will save you a lot of aggravation in the long run. In the video after the break he walks viewers through the design and use of the device, which itself relies on a number of 3D printed parts using the very same inserts it’s designed to install.

The spring-loaded arm can slide up and down the extrusion to adjust for height.

To build this tool you’ll need a piece of aluminum extrusion, some smooth rod, a couple springs, and an assortment of fasteners. Nothing that wouldn’t likely be in the parts bin of anyone who’s been tinkering with 3D printers for awhile, though even if you had to buy everything, the Bill of Materials will hardly break the bank. For the base you can use a piece of scrap wood, though [Chris] has opted to make it a storage compartment where he can store the inserts themselves. We really like this approach, but obviously you’ll need to have access to woodworking tools in that case.

Clearly shopping on the top shelf, [Chris] purchased a kit that actually came with a Weller soldering iron and the appropriate tips for the various sized inserts. If you’re like us and just buy the inserts that come in a plastic baggie, you may need to adapt the arm to fit your iron of choice. That said, the idea of having a dedicated iron that you can leave mounted in the press makes a lot of sense to us if you can swing it.

[Joshua Vasquez] wrote up a phenomenal guide to getting started with heat set inserts last year that’s an absolute must-read for anyone interested in the concept. Whether you build a dedicated press or just push them in freehand, his tips and tricks will help insure you get the best result possible.

Continue reading “Building An Affordable Press For Heat Set Inserts”