Remember Terminator 2? Guns were nearly useless against the murderous T-1000, played by Robert Patrick. Bullets fired at the “liquid metal” robot resulted only in a chrome-looking bullet splash that momentarily staggered the killing machine. The effects were done by Stan Winston, who died in 2008, but a video and short blurb shared by the Stan Winston School of Character Arts revealed, to our surprise and delight, that the bullet impact effects were not CGI.
 How was this accomplished? First of all, Winston and his team researched the correct “look” for the splash impacts by firing projectiles into mud and painstakingly working to duplicate the resulting shapes. These realistic-looking crater sculpts were then cast in some mixture of foam rubber, and given a chromed look by way of vacuum metallizing (also known as vacuum deposition) which is a way of depositing a thin layer of metal onto a surface. Vacuum deposition is similar to electroplating, but the process does not require the object being coated to have a conductive surface.
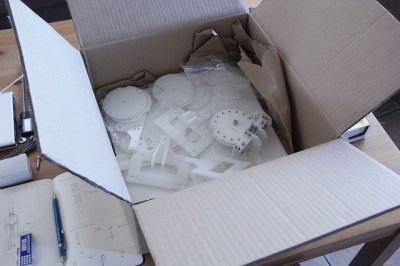
These foam rubber splash patterns — which look like metal but aren’t — were deployed using a simple mechanical system. A variety of splashes in different sizes get individually compressed into receptacles in a fiberglass chest plate. Covering each is a kind of trapdoor, each held closed by a single pin on a cable.
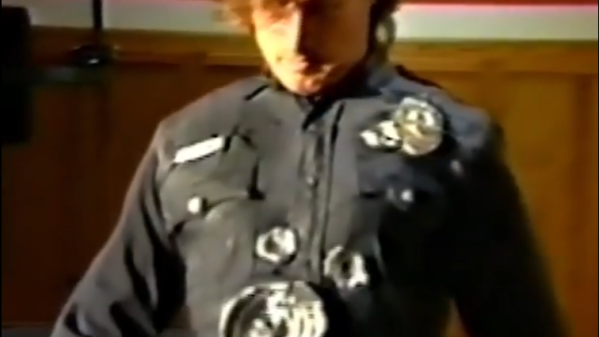
To trigger a bullet impact effect, a wireless remote control pulls a cable, which pulls its attached pin, and the compressed splash pattern blossoms forth in an instant, bursting through pre-scored fabric in the process. Sadly there are no photos of the device itself, but you can see it in action in the testing video shared by the Stan Winston School, embedded below.
Continue reading “Those Bullet Effects In Terminator 2 Weren’t CGI”