Print-in-Place Engine Aims To Be The Next Benchy

While there are many in the 3D-printing community who loudly and proudly proclaim never to have stooped to printing a 3DBenchy, there are far more who have turned a new printer loose on the venerable test model, just to see what it can do. But Benchy is getting a little long in the tooth, and with 3D-printers getting better and better, perhaps a better benchmarking model is in order.

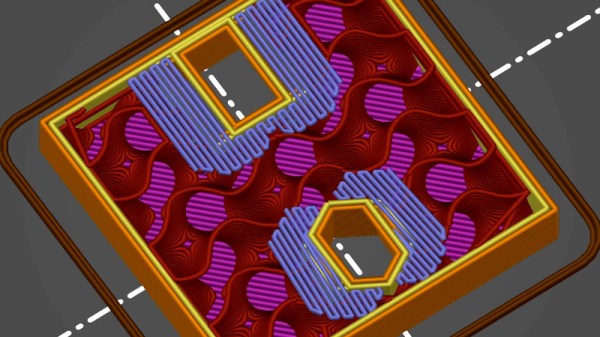
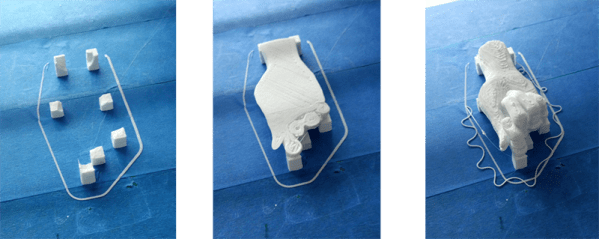
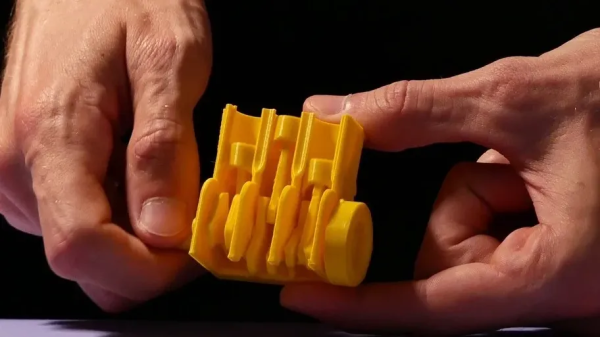
Knocking Benchy off its perch is the idea behind this print-in-place engine benchmark, at least according to [SunShine]. And we have to say that he’s come up with an impressive model. It’s a cutaway of a three-cylinder reciprocating engine, complete with crankshaft, connecting rods, pistons, and engine block. It’s designed to print all in one go, with only a little cleanup needed after printing before the model is ready to go. The print-in-place aspect seems to be the main test of a printer — if you can get this engine to actually spin, you’re probably set up pretty well. [SunShine] shares a few tips to get your printer dialed in, and shows a few examples of what can happen when things go wrong. In addition to the complexities of the print-in-place mechanism, the model has a few Easter eggs to really challenge your printer, like the tiny oil channel running the length of the crankshaft.

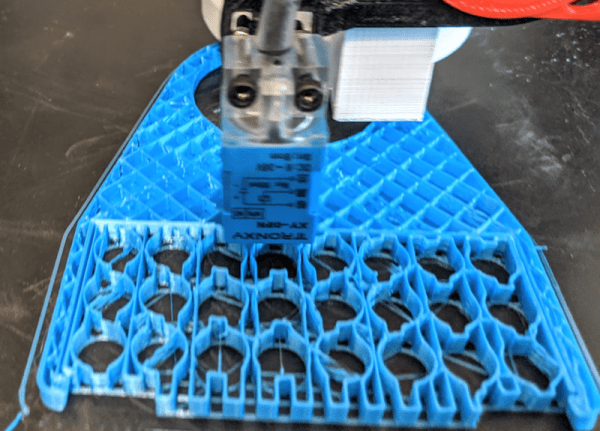
Whether this model supplants Benchy is up for debate, but even if it doesn’t, it’s still a cool design that would be fun to play with. Either way, as [SunShine] points out, you’ll need a really flat bed to print this one; luckily, he recently came up with a compliant mechanism dial indicator to help with that job.

Continue reading “Print-in-Place Engine Aims To Be The Next Benchy”

Look Ma, No Support For My Floating Holes!

Do you find supports to be annoying, when you use a 3D printer? A lot of time breaking away surplus pieces of plastic and then cleaning up the resulting ragged edges on your prints is certainly an unwelcome chore. But printing in free space is beyond the capabilities of even the most expensive printer, so it seems we’re stuck with supports for the foreseeable future. [Adam Haile] may have a solution to some support woes though, in the form of a clever technique for printing inset holes without support. His designs have a significant quantity of screw holes with inset heads, too far for the printer to bridge over so his technique breaks down the bridge into manageable smaller distances.

In the video below the break he shows how its done, with successive single layers that contain polygons bridging chords across the circle, with each layer approximating further to the final hole and the last holding the hole itself. Over a few layers the hole is created, without any support but with the minor inconvenience of a not perfectly flat inset. It’s a very clever idea, and one that we’d be interested to see further expanded upon by others.

Continue reading “Look Ma, No Support For My Floating Holes!”

Everything You Wanted To Know About 3D Printing Support But Were Afraid To Ask

At the dawn of 3D printing, support structures were something to avoid. ABS is a hard substance to clear off, and the slicers did a comparatively poor job of making structures that were easy to remove. Today, supports are not a big deal and most of the slicers and materials allow for high-quality prints with supports. We were printing something with supports the other day and noticed that Cura has a support floor and roof function. Curious, we did a quick search and found this very comprehensive post about the current state of support.

With 25 topics in the table of contents, this isn’t a 3-minute read. Of course, you might wish to skip over some of the first parts if you get why you need support and understand the basic ideas. We became more interested when we reached the geometry section.

Continue reading “Everything You Wanted To Know About 3D Printing Support But Were Afraid To Ask”

Try This For 3D Printing Without Support

Have a look at the object to the right. Using a conventional fused deposition printer, how would you print the object? There’s no flat surface to lay on the bed without generating a lot of overhangs. That usually requires support.

In theory, you might be able to print the bottom of the sphere down, but it is difficult to get that little spot to adhere to the bed. If you have at least two extruders and you are set up to print support material, that might even be the best option. However, printing support out of the same material you are printing with makes it hard to get a good clean print. There is another possibility. It does require some post-processing, but then again, not as much as hacking away a bunch of support material.

A Simple Idea

The idea is simple and — at first — it will sound like a lot of trouble. The basic idea is to cut the model in half at some point where both halves would be easy to print and then glue them together.  Stick around (no pun intended), though, because I’ll show you a way to make the alignment of the parts almost painless no matter how complex the object might be.

The practical problem with gluing together half models is getting the pieces in the exact position, but that turns out to be easy if you just make a few simple changes to your model. Another lesser problem is clamping a piece while gluing. You can use a vise, but some oddly-shaped parts are not conducive to traditional vise jaws.

In Practice

Starting with an OpenSCAD object, it is easy to cut the model in half. Actually, you could cut it anywhere. Then it is easy to rotate half of it so the cut line is at the bottom of each part. That doesn’t solve the alignment problem nor does it help you clamp when you glue.

The trick is to build a flange around each part. The flanges mate with a few screws after printing so alignment is perfect and bolts through the flange holes can keep the parts together and immobilized while your glue of choice sets. The kicker is that I even have an automated process to make the design side of this trick very easy.

Continue reading “Try This For 3D Printing Without Support”

Self-assembling Polymers Support Silicone 3D Prints

We all know what the ultimate goal of 3D printing is: to be able to print parts for everything, including our own bodies. To achieve that potential, we need better ways to print soft materials, and that means we need better ways to support prints while they’re in progress.

That’s the focus of an academic paper looking at printing silicone within oil-based microgels. Lead author [Christopher S. O’Bryan] and team from the Soft Matter Research Lab at the University of Florida Gainesville have developed a method using self-assembling polymers soaked in mineral oil as a matrix into which silicone elastomers can be printed. The technique takes advantage of granular microgels that are “jammed” into a solid despite being up to 95% solvent. Under stress, such as that exerted by the nozzle of a 3D printer, the solid unjams into a flowing liquid, allowing the printer to extrude silicone. The microgel instantly jams back into a solid again, supporting the silicone as it cures.

[O’Bryan] et al have used the technique to print a model trachea, a small manifold, and a pump with ball valves. There are Quicktime videos of the finished manifold and pump in action. While we’ve covered flexible printing options before, this technique is a step beyond and something we’re keen to see make it into the hobby printing market.

[LonC], thanks for the tip.

3D Printing Without Support

3D printing is getting better every year, a tale told by dozens of Makerbot Cupcakes nailed to the wall in hackerspaces the world over. What was once thought impossible – insane bridging, high levels of repeatability, and extremely well-tuned machines – are now the norm. We’re still printing with supports, and until powder printers make it to garages, we’ll be stuck with that. There’s more than one way to skin a cat, though. It is possible to print complex 3D objects without supports. How? With pre-printed supports, of course.

[Markus] wanted to print the latest comet we’ve landed on, 67P/Churyumov–Gerasimenko. This is a difficult model for any 3D printer: there are two oversized lobes connected by a thin strand of comet. There isn’t a flat space, either, and cutting the model in half and gluing the two printed sides together is certainly not cool enough.

To print this plastic comet without supports, [Markus] first created a mold – a cube with the model of the comet subtracted with a boolean operation. If there’s one problem [Markus] ran into its that no host software will allow you to print an object over the previous print. That would be a nice addition to Slic3r or Repetier Host, and shouldn’t be that hard to implement.