Pi Zero Video Card Via Bare Metal Programming

Rolling your own synthesizer is no small feat, which is what [Thomas] has taken on with his project “Nerdsynth”. [Thomas] has an impressive amount of data on his site covering the overall design and progress of the project, but that isn’t what piqued our interest. [Thomas] has an on-board TFT display to navigate the versatile Nerdsynth’s menu nerdsynth-sketch
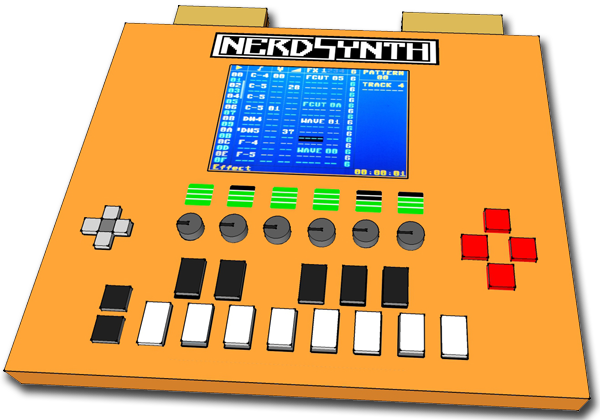
but he wanted to add video output to  do some video sequencing. After some investigation and poking around the available options he decided to tackle yet another sub-project (textbook scope-creep).

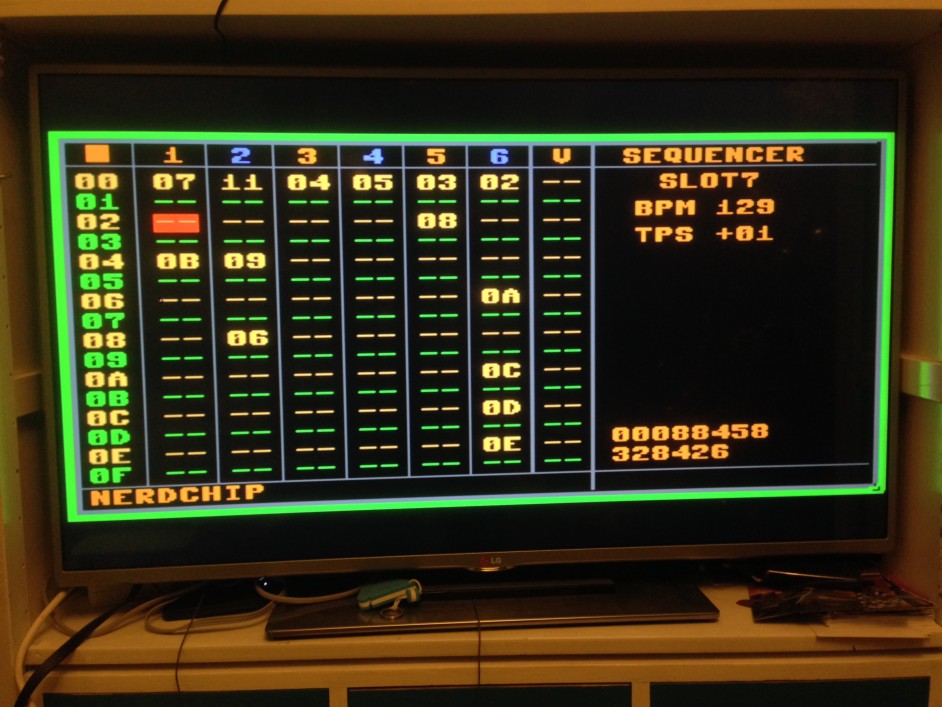
[Thomas] chose to do to some bare metal programming on the Pi Zero to use it as a video card for video output. By following a tutorial  from Valvers and modifying an SPI driver from Microelecroniki he was able to clone the video on an external monitor. This is a step in the right direction and we’ll have to keep an eye on his site for updates about video sequencing on the external display.

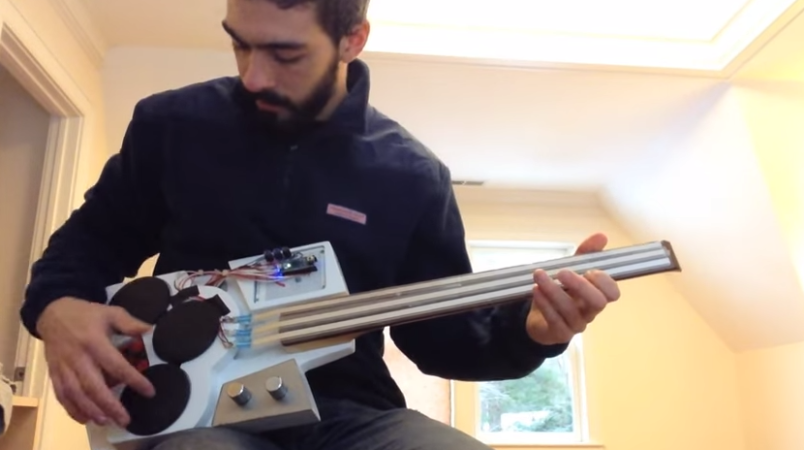
You can check out a recent demo of the Nerdsynth in action after the break, sadly you’ll have to settle for a pic of the cloned screen (below) until [Thomas] posts another update.

nerdsynth_tv-942x707

Continue reading “Pi Zero Video Card Via Bare Metal Programming”

Synth Guitar

Arduino Synth Guitar Really Rocks

[Gr4yhound] has been rocking out on his recently completed synth guitar. The guitar was built mostly from scratch using an Arduino, some harvested drum pads, and some ribbon potentiometers. The video below shows that not only does it sound good, but [Gr4yhound] obviously knows how to play it.

The physical portion of the build consists of two main components. The body of the guitar is made from a chunk of pine that was routed out by [Gr4yhound’s] own home-made CNC. Three circles were routed out to make room for the harvested Yamaha drum pads, some wiring, and a joystick shield. The other main component is the guitar neck. This was actually a Squire Affinity Strat neck with the frets removed.

For the electronics, [Gr4yhound] has released a series of schematics on Imgur. Three SoftPot membrane potentiometers were added to the neck to simulate strings. This setup allows [Gr4yhound] to adjust the finger position after the note has already been started. This results in a sliding sound that you can’t easily emulate on a keyboard. The three drum pads act as touch sensors for each of the three strings. [Gr4yhound] is able to play each string simultaneously, forming harmonies.

The joystick shield allows [Gr4yhound] to add additional effects to the overall sound. In one of his demo videos you can see him using the joystick to add an effect. An Arduino Micro acts as the primary controller and transmits the musical notes as MIDI commands. [Gr4yhound] is using a commercial MIDI to USB converter in order to play the music on a computer. The converter also allows him to power the Arduino via USB, eliminating the need for batteries.

Continue reading “Arduino Synth Guitar Really Rocks”