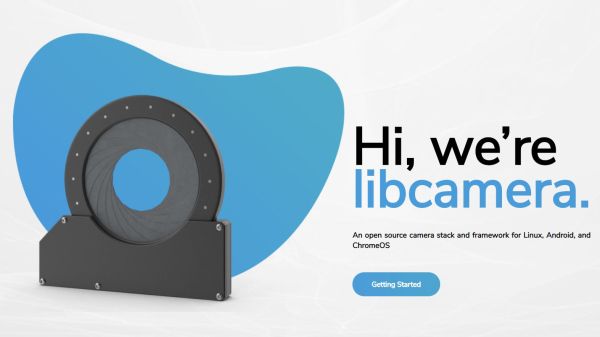
As open as the Raspberry Pi Foundation has been about their beloved products, they would be the first to admit there’s always more work to be done: Getting a Pi up and running still requires many closed proprietary components. But the foundation works to chip away at it bit by bit, and one of the latest steps is the release of a camera stack built on libcamera.
Most Linux applications interact with the camera via V4L2 or a similar API. These established interfaces were designed back when camera control was limited and consisted of a few simple hardware settings. Today we have far more sophisticated computational techniques for digital photography and video. Algorithms have outgrown dedicated hardware, transforming into software modules that take advantage of CPU and/or GPU processing. In practice, this trend meant bigger and bigger opaque monolithic pieces of proprietary code. Every one a mix of “secret sauce” algorithms commingling with common overhead code wastefully duplicated for each new blob.
We expect camera makers will continue to devise proprietary specialties as they seek a competitive advantage. Fortunately, some of them see benefit in an open-source framework to help break up those monoliths into more manageable pieces, letting them focus on just their own specialized parts. Leveraging something like libcamera for the remainder can reduce their software development workload, leading to faster time to market, lower support cost, and associated benefits to the bottom line that motivates adoption by corporations.
But like every new interface design borne of a grandiose vision, there’s a chicken-and-egg problem. Application developers won’t consume it if there’s no hardware, and hardware manufacturers won’t implement it if no applications use it. For the consumer side, libcamera has modules to interop with V4L2 and other popular interfaces. For the hardware side, it would be useful to have a company with wide reach who believes it is useful to open what they can and isolate the pieces they can’t. This is where the Raspberry Pi foundation found a fit.
The initial release doesn’t support their new High-Quality Camera Module though that is promised soon. In the short term, there is still a lot of work to be done, but we are excited about the long term possibilities. If libcamera can indeed lower the barrier to entry, it would encourage innovation and expanding the set of cameras beyond the officially supported list. We certainly have no shortage of offbeat camera sensor ideas around here, from a 1-kilopixel camera sensor to a decapped DRAM chip.
[via Hackster.io]
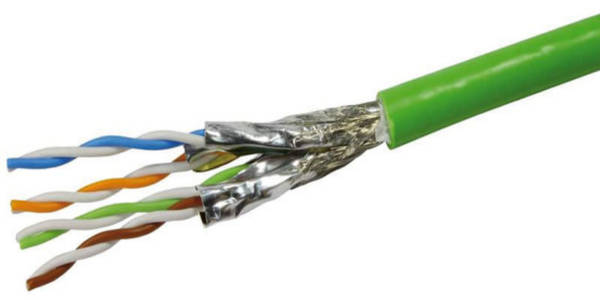
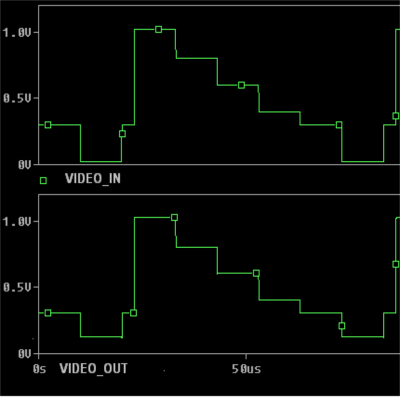 A differential amplifier usually requires a dual-polarity power supply, which may not be available when adding this upgrade to an existing system. To over come this limitation, [Maurizio] uses a bias voltage equal to half of the power supply value. This bias voltage is added to the non-inverting amplifier signal, and subtracted from the inverting amplifier signal. The resultant differential signal is then fed into the twisted pair cable through impedance matching resistors. At the receiving end, a single amplifier receives the differential signals and outputs a signal that corresponds to the original video signal.