Raspberry Pi Server Cluster In 1U Rack-Mount Case

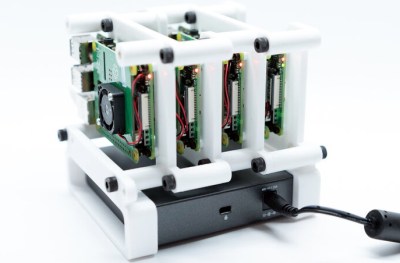
[Paul Brown] wants to take advantage of off-site server colocation services. But the providers within [Paul]’s region typically place a limit of 1A @ 120V on each server. Rather than search out commercial low-power solutions, [Paul] embraced the hacker spirit and built his own server from five Raspberry Pi 4b single board computers.

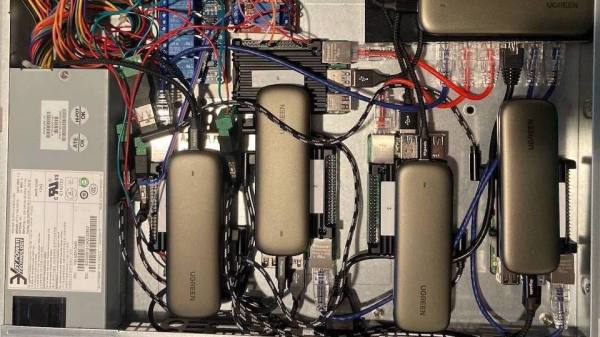
The task involves a little bit more than just mounting five Pi4s in a chassis and calling it done. There is an Ethernet switch connecting all the modules to the network, and each Pi has a comparatively bulky SSD drive + enclosure attached. By far the most annoying part of the assembly is the power supply and distribution cabling, which is further complicated by remote controlled power switching relays (one of the computers is dedicated to power management and can shut the other four modules on and off).
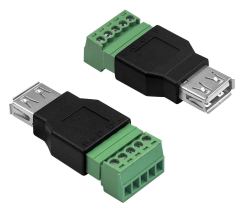
Even if you’re not planning on building your own server, check out the thoroughly documented assembly process and parts list — we particularly liked the USB connector to screw terminal breakout connector that he’s using for power distribution. For all the detailed information, assembly instructions and photos, we think a top-level block diagram / interconnection drawing would be very helpful for anyone trying to understand or replicate this project.

There are a lot of connections in this box, and the final result has a messy look-and-feel. But in fairness to [Paul]’s craftsmanship, there aren’t many other ways to hook everything together given the Raspberry Pi form-factor. Maybe a large and costly PCB or using CM4 modules instead of Raspberry Pi boards could help with cable management? In the end, [Paul] reckons he shelled out about $800 for this unit. He compares this expense with some commercial options in his writeup, which shows there are some cheaper and more powerful solutions. But while it may be cheaper to buy, we understand that strong urge to roll your own.

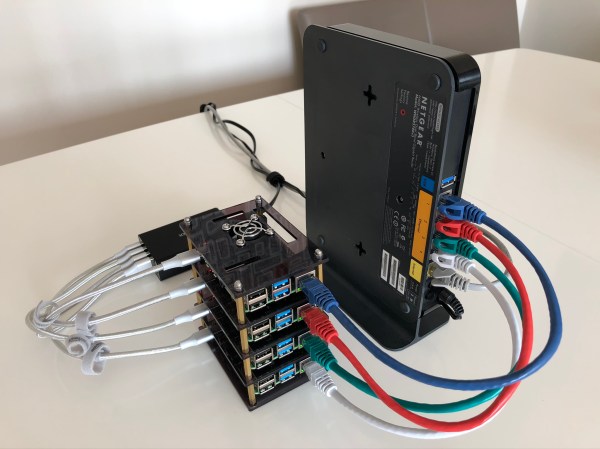
We’ve written about many Pi cluster projects in the past, including this one which contains a whopping 750 Raspberry Pis. Have you ever used a colocation service, and if so, did you use a DIY or an off-the-shelf server?

Building A Cheap Kubernetes Cluster From Old Laptops

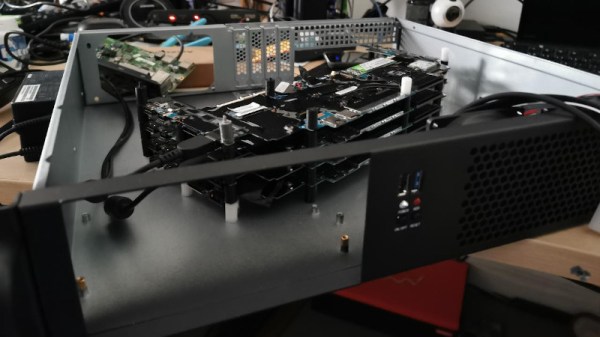
Cluster computing is a popular choice for heavy duty computing applications. At the base level, there are hobby clusters often built with Raspberry Pis, while the industrial level involves data centers crammed with servers running at full tilt. [greg] wanted something cheap, but with x86 support – so set about building a rig his own way.

The ingenious part of [greg]’s build comes in the source computers. He identified that replacement laptop motherboards were a great source of computing power on the cheap, with a board packing an i7 CPU with 16GB of RAM available from eBay for around £100, and with i5 models being even cheaper. With four laptop motherboards on hand, he set about stacking them in a case, powering them, and hooking them up with the bare minimum required to get them working. With everything wrapped up in an old server case with some 3D printed parts to hold it all together, he was able to get a 4-node Kubernetes cluster up and running for an absolute bargain price.

We haven’t seen spare laptop motherboards used in such a way before, but we could definitely see this becoming more of a thing going forward. The possibilities of a crate full of deprecated motherboards are enticing for those building clusters on the cheap. Of course, more nodes is more better, so check out this 120 Pi cluster to satiate your thirst for raw FLOPs.

Alfa Romeo Gauge Cluster Gets A Fresh Set Of LEDs

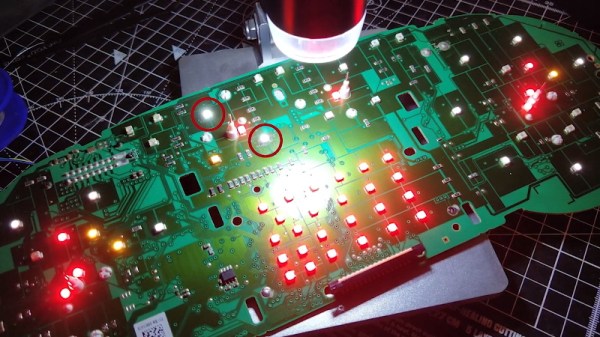
On older vehicles, if you noticed that the lights had gone out behind one of your gauges, you knew it was time to snake your hand back there and replace the little incandescent bulb that had given up the ghost. But what are you supposed to do if you’re seeing the same problem on a modern vehicle that’s already made the leap to LED dash lighting? That’s what [Tysonpower] recently had to find out when the fuel indicator on his Alfa Romeo Giuletta QV went dark.

In the video after the break, [Tysonpower] details how to remove the instrument cluster from the Giuletta’s dash, which we imagine would be a useful little tutorial for anyone who owns the same vehicle. Once he has it out on the bench, he strips it down to the bare PCB and starts (literally) poking around.

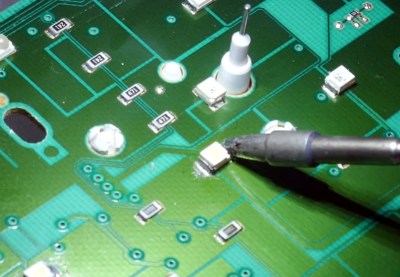
He eventually noticed that if he pushed on the board near the fuel indicator he could get the appropriate 3528 SMD LED to light up, but touching up the solder joints didn’t seem to fix the issue. Assuming the LED must be defective internally, he simply replaced it and all was good again.

Well, not exactly. The light produced by the new part didn’t match the color or brightness of the other dozen or so white LEDs that were installed on the board, so [Tysonpower] decided to just dive in and replace them all. While it obviously took a lot more time and effort, he says the end result is that the instrument cluster looks noticeably brighter and crisper when driving at night. Not bad for an afternoon’s work and a couple bucks worth of LEDs.

Most of the time, when we see somebody messing around behind the dash it’s because they intend on replacing the original instruments with something more capable. But projects like this, which add just a touch of refinement to the existing hardware, prove that stock components aren’t always a disappointment.

Continue reading “Alfa Romeo Gauge Cluster Gets A Fresh Set Of LEDs”

Cluster Deck Packs Four Pis Into One Portable Package

Parallel computing is a fair complex subject, and something many of us only have limited hands-on experience with. But breaking up tasks into smaller chunks and shuffling them around between different processors, or even entirely different computers, is arguably the future of software development. Looking to get ahead of the game, many people put together their own affordable home clusters to help them learn the ropes.

As part of his work with decentralized cryptocurrency, [Jay Doscher] recently found himself in need of a small research cluster. He determined that the Raspberry Pi 4 would give him the best bang for his buck, so he started work on a small self-contained cluster that could handle four of the single board computers. As we’ve come to expect given his existing body of work, the final result is compact, elegant, and well documented for anyone wishing to follow in his footsteps.

The core unit would make a great desktop cluster.

Outwardly the cluster looks quite a bit like the Mil-Plastic that he developed a few months back, complete with the same ten inch Pimoroni IPS LCD. But the internal design of the 3D printed case has been adjusted to fit four Pis with a unique staggered mounting arrangement that makes a unit considerably more compact than others we’ve seen in the past. In fact, even if you didn’t want to build the whole Cluster Deck as [Jay] calls it, just printing out the “core” itself would be a great way to put together a tidy Pi cluster for your own experimentation.

Thanks to the Power over Ethernet HAT, [Jay] only needed to run a short Ethernet cable between each Pi and the TP-Link five port switch. This largely eliminates the tangle of wires we usually associate with these little Pi clusters, which not only looks a lot cleaner, but makes it easier for the dual Noctua 80 mm to get cool air circulated inside the enclosure. Ultimately, the final product doesn’t really look like a cluster of Raspberry Pis at all. But then, we imagine that was sort of the point.

Of course, a couple of Pis and a network switch is all you really need to play around with parallel computing on everyone’s favorite Linux board. How far you take the concept after that is entirely up to you.

Raspberry Pi Cluster Shows You The Ropes

Raspberry Pi clusters are a common enough project, but a lot of the builds we see focus on the hardware side of the cluster. Once it’s up and running, though, what comes next? Raspberry Pis aren’t very powerful devices, but they can still be a great project for learning how to interact with a cluster of computers or for experimental test setups. In this project from [Dino], four Pis are networked together and then loaded with a basic set of software for cluster computing.

The first thing to set up, after the hardware and OS, is the network configuration. Each Pi needs a static IP in order to communicate properly. In this case, [Dino] makes extensive use of SSH. From there, he gets to work installing Prometheus and Grafana to use as monitoring software which can track system resources and operating temperature. After that, the final step is to install Ansible which is monitoring software specifically meant for clusters, which allows all of the computers to be administered more as a unit than as four separate devices.

This was only part 1 of [Dino]’s dive into cluster computing, and we hope there’s more to come. There’s a lot to do with a computer cluster, and once you learn the ropes with a Raspberry Pi setup like this it will be a lot easier to move on to a more powerful (and expensive) setup that can power through some serious work.

Your Raspberry Pi Cluster Is Not Like This One

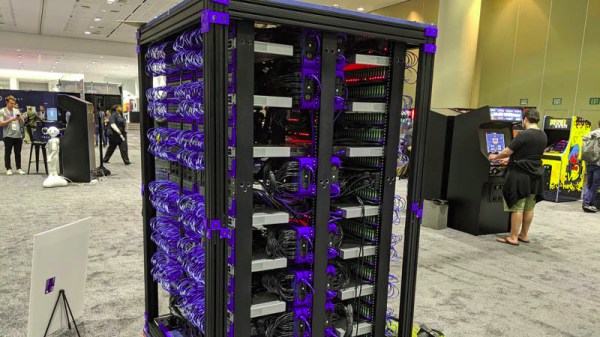
Many readers will have had their first taste of experimentation with cluster computing through the medium of the Raspberry Pi. The diminutive Linux capable boards can easily be hooked up as a group via a network hub, and given the right software become a whole that is greater than the sum of its parts. None of us will however have reached the heights of the Raspberry Pi cluster shown by Oracle at their Oracle OpenWorld conference, a mighty rack packing a cluster of no less than 1060 Pi 3 B+ boards. This machine is touted as a supercomputer and it’s worthy of the name, though perhaps it’s not in the same class as the elite in that field.

Getting that number of individual 3Bs into a human-sized rack is no easy feat, and they have gone for custom 3D-printed racks to hold the boards. PoE would have resulted in too much heat dissipation, so instead they use USB power from an array of large multi-way USB power supplies. A set of switches provide the networking, and a conventional server sits in the middle to provide storage and network booting.

It’s certainly a cool way to wow the crowds at a conference, but we’re unsure whether it delivers the best bang for your supercomputing buck or whether it’s more useful as a large room heater. Meanwhile you can take a look at a few more modest Pi clusters, with unusual operating systems, or slightly more adherence to convention.

Thanks [Frisco] for the tip.

The Raspberry Pi Cluster From Outer Space

We see a lot of weird and esoteric stuff here at Hackaday, but even by our standards, Bell Lab’s Plan 9 operating system is an oddball. Named after the science fiction film Plan 9 from Outer Space, it was designed to extend the UNIX “everything is a file” mentality to the network. It envisioned a future where utilizing the resources of another computer would be as easy as copying a file. But as desktop computers got more powerful the idea seemed less appealing, and ultimately traditional operating systems won out. Of course, that doesn’t mean you still can’t play around with it.

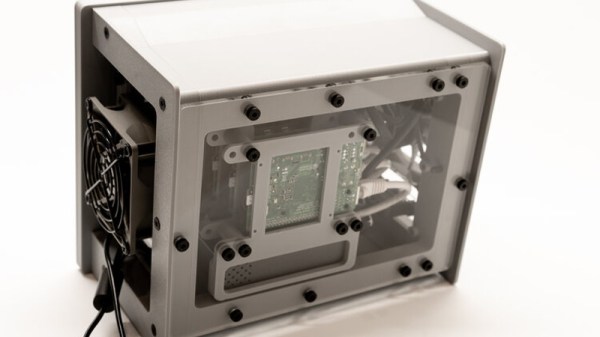
Logically to make use of a distributed operating system you really need something to distribute it on, but as [Andrew Back] shows, today that’s not nearly the challenge it would have been back then. Using the Raspberry Pi, he builds a four-node Plan 9 cluster that’s not only an excellent way to explore this experimental operating system, but looks cool sitting on your desk. Even if you’re not interested in drinking the Bell Lab’s Kool-Aid circa 1992, his slick desktop cluster design would work just as well for getting your feet wet with modern-day distributed software stacks.

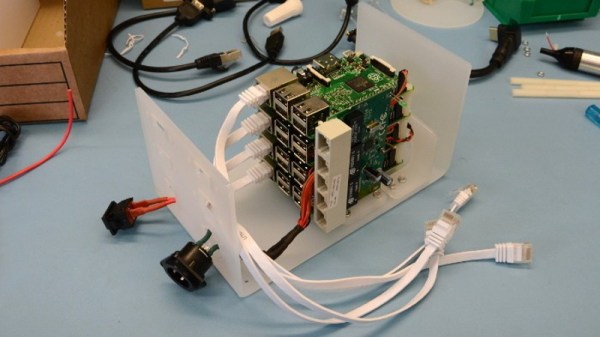
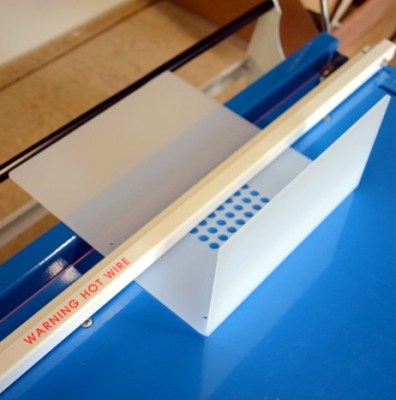
The enclosure for the cluster is built from laser cut acrylic panels which are then folded into shape with a hot wire bending machine. That might seem like a tall order for the home hacker, but we’ve covered DIY acrylic benders in the past, and the process is surprisingly simple. Granted you’ll still need to get access to a beefy laser cutter, but that’s not too hard anymore if you’ve got a hackerspace nearby.

[Andrew] uses short extension cables and female panel mount connectors to keep everything tidy, and with the addition of some internal LED lighting the final product really does look like a desktop computer from a far more fashionable future. Combined with the minimalist keyboard, the whole setup wouldn’t look out of place on the set of a science fiction movie. Perhaps that’s fitting, giving Bell Lab’s futuristic goals for Plan 9.

Its been the better part of a decade since we first brought you word that Plan 9 was available for the Raspberry Pi, and yet in all that time we’ve never really seen it put to use. Hopefully builds like this will inspire others to play around with this fascinating piece of computing history.

[Thanks to Dave for the tip.]