How Low-Power Can You Go?

[lasersaber] has a passion: low-power motors. In a bid to challenge himself and inspired by betavoltaic cells, he has 3D printed and built a small nuclear powered motor!

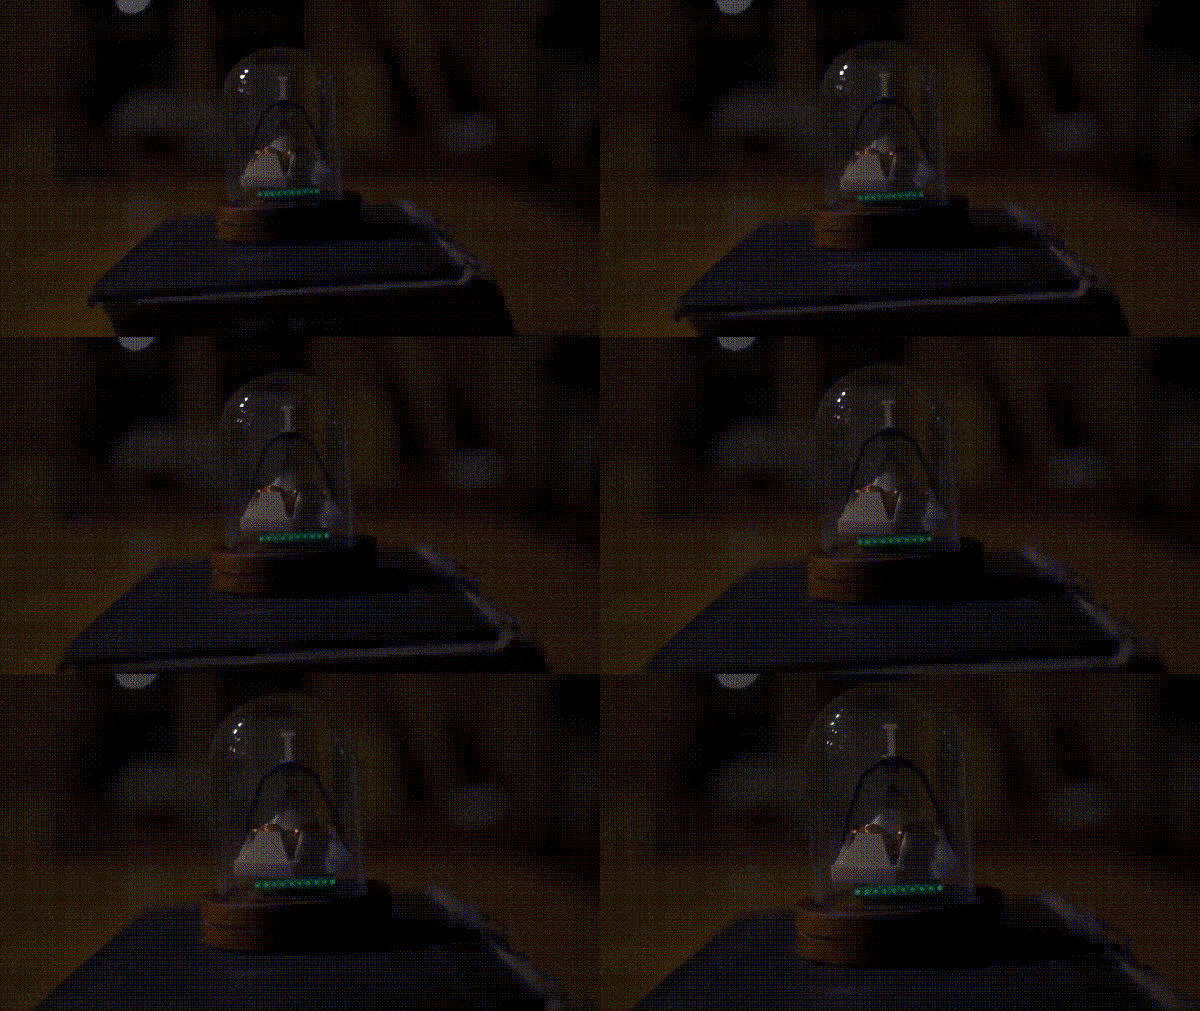
This photovoltaic battery uses fragile glass vials of tritium extracted from keychains and a small section of a solar panel to absorb the light, generating power. After experimenting with numerous designs, [lasersaber] went with a 3D printed pyramid that houses six coils and three magnets, encapsulated in a glass cloche and accompanied by a suitably ominous green glow.

Can you guess how much power and current are coursing through this thing? Guess again. Lower. Lower.

Under 200mV and 20nA!

Continue reading “How Low-Power Can You Go?”

Make Your Own Nuclear Battery

miami_nano
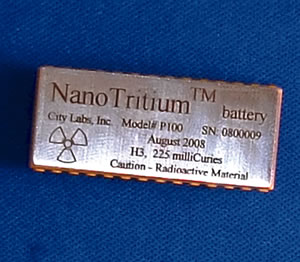
A commercial nuclear battery from City Labs.

A Betavoltaic cell is a device that uses a radioactive source of beta particles and a semiconductor p-n junction to generate electricity. Tritium, an isotope of hydrogen, is often used as the radioactive element. You may think that tritium is hard to obtain or even forbidden, however, recently you can find tritium in self-lightning key chains, and it is also used in watches and firearm night sights. The beta particles (electrons) from the tritium radioactive process causes phosphors in the device to glow, giving a light that can last for years.

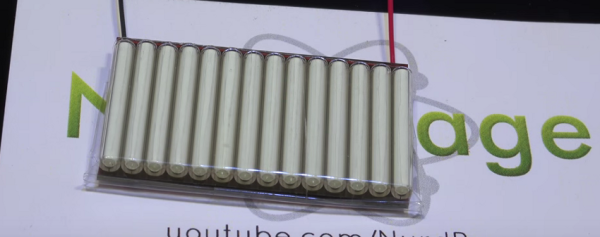
[NurdRage] has just created a nuclear battery using tritium vials from key chains. After getting rid of the plastic containers, he sandwiches the vials between two small solar panels. That’s all! Instant power for the next 15 years. Of course, the amount of power you can get from this device is on the order of microwatts. The battery produces around 1.6 volts at 800 nano amps. He gets 1.23 microwatts, not much, but it is in fact more than the output of commercial units at 0.84 microwatts, for a ten percent of the cost. That minuscule amount of power is actually not easy to measure, and he does a great job explaining the circuit he used to measure the current.

Continue reading “Make Your Own Nuclear Battery”

Ask Hackaday: How Do You Make A Hotplate?

Greetings fellow nerds. The Internet’s favorite artificial baritone chemist has a problem. His hotplates burn up too fast. He needs your help to fix this problem.

[NurdRage] is famous around these parts for his very in-depth explorations of chemistry including the best ways to etch a PCB, building a thermometer probe with no instructions, and chemical synthesis that shouldn’t be performed by anyone without years of experience in a lab. Over the past few years, he’s had a problem: hotplates suck. The heating element is usually poorly constructed, and right now he has two broken hotplates on his bench. These things aren’t cheap, either: a bare-bones hotplate with a magnetic stirrer runs about $600.

Now, [NurdRage] is asking for help. He’s contacted a few manufacturers in China to get a hundred or so of these hotplate heating elements made. Right now, the cost for a mica and metal foil hotplate is about $30 / piece, with a minimum order quantity of 100. That’s $3,000 that could be better spent on something a bit more interesting than a heating element, and this is where you come in: how do you build the heating element for a hotplate, and do it cheaply?

If you buy a hotplate from the usual lab equipment supplier, you’ll get a few pieces of mica and a thin trace of metal foil. Eventually, the metal foil will oxidize, and the entire hotplate will stop working. Repairs can be done with copper tape, but by the time that repair is needed, the heating element is already on its way out.

The requirements for this heating element include a maximum temperature of around 350 ºC. That’s a fair bit hotter than any PCB-based heat bed from a 3D printer gets, so consider that line of reasoning a dead end. This temperature is also above what most resins, thermoplastics, and composites can handle, which is why these hotplates use mica as an insulator.

Right now, [NurdRage] will probably end up spending $3,000 for a group buy of these heating elements. That’s really not that bad – for the price of five hotplates, he’ll have enough heating elements to last through the rest of his YouTube career. There must be a better way, though, so if you have an idea of how to make a high-temperature heating element the DIY way, leave a note in the comments.

Cheap Vacuum Source For Working With Dangerous Chemicals

[Nurdrage] puts out a lot of neat videos, mostly about home chemistry. For the home chemist it is occasionally desirable to pull a vacuum. For example, a potentially dangerous chemical can be boiled and distilled at a much lower temperature than at atmospheric pressures.

However, there’s a problem with just going to the local import store and buying the first vacuum pump on the shelf.  They are primarily designed for atmospheric gasses and tend to melt when exposed to solvents. If you’re a big university or a commercial lab this is no problem. You just drop three grand on a Teflon diaphragm pump or a liquid nitrogen trap. For the home chemist who’s already having enough trouble just buying the chemicals needed for neat experiments, this is not an option.

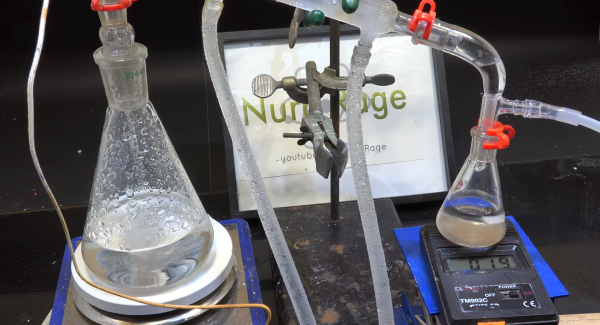
[Nurdrage] demonstrates the proper usage of a much cheaper option: an aspirator vacuum pump. You might remember something similar from high school chemistry. School pumps generally use flowing tap water to produce the vacuum. [Nurdrage] is saving water by using a fluid pump and a reservoir to drive his aspirator.

Aspirator pumps use the Venturi effect to create a vacuum. These devices are cheap because there are no moving parts. We looked it up and the one he is using costs ten US dollars on fleabay. It can pull enough vacuum to boil water below room temperature.

The video is really good and provides a lot of useful information. It also seems like a really useful device for other hacking tasks outside of home chemistry. Video after the break.

Continue reading “Cheap Vacuum Source For Working With Dangerous Chemicals”

A Thermometer Probe For A Hotplate, Plugging Stuff Into Random Holes

[NurdRage], YouTube’s most famous chemist with a pitch-shifted voice, is back with one of our favorite pastimes: buying cheap equipment and tools, reading poorly translated manuals, and figuring out how to do something with no instructions at all.

[NurdRage] recently picked up a magnetic stirrer and hotplate. It’s been working great so far, but it lacks a thermometer probe. [NurdRage] thought he was getting one with the hotplate when he ordered it, he just never received one. Contacting the seller didn’t elicit a response, and reading the terribly translated manual didn’t even reveal who the manufacturer was. Figuring this was a knock-off, a bit more research revealed this hotplate was a copy of a SCILOGEX hotplate. The SCILOGEX temperature probe would cost $161 USD. That’s not cool.

The temperature probe was listed in the manual as a PT1000 sensor; a platinum-based RTD with a resistance of 1000Ω at 0°C. If this assumption was correct, the pinout for the temperature probe connector can be determined by sticking a 1kΩ resistor in the connector. When the hotplate reads 0ºC, that’s the wires the temperature probe connects to.

With the proper pin connectors found, [NurdRage] picked up a PT1000 on eBay for a few dollars, grabbed a DIN-5 connector from a 20 year old keyboard, and connected everything together. The sensor was encased in a pipette, and the bundle of wires snaked down piece of vinyl tube.

For $20 in parts, [NurdRage] managed to avoid paying $161 for the real thing. It works just as good as the stock, commercial unit, and it makes for a great video. Check that out below.

Thanks [CyberDjay] for the tip.

Continue reading “A Thermometer Probe For A Hotplate, Plugging Stuff Into Random Holes”

10 Ways To Etch PCBs At Home

[youtube=http://www.youtube.com/watch?v=Q4tWEse2rDI&w=580]

There are a ton of benefits for etching your own circuit boards at home, chief among them the ability to design a circuit in the morning and have a prototype in your hand by lunch. There’s always the question of how to etch the board, but [NurdRage] over on Youtube has all the chemistry covered on ten different etchant solutions for DIY PCB manufacturing.

The peroxide-based methods use simple over-the-counter Hydrogen Peroxide to remove all the copper on a PCB. By combining H2O2 with either Hydrochloric (muriatic) acid or Sulfuric acid, you’ll get a relatively easy to acquire and somewhat safe etching solution.

Historically, the favorite etchant for the home PCB manufacturer has been Ferric Chloride and is still surprisingly available at a few Radio Shacks around the US. Another chloride etchant – Copper Chloride – is one of the most reusable etchants available, able to be regenerated by simply bubbling air through the solution. You can actually make Copper Chloride etchant by reducing down the products of an H2O2 + HCl etchant, making this a very good etchant for PCB pros.

In the ‘miscellaneous’ category, [NurdRage] goes over some alternative etchants such as Bleach and HCl, Nitric acid, and potassium nitrate and HCl; the potassium nitrate etchant is fairly similar to aqua regia, so if you’ve ever wanted a gold PCB, this is the way to go.

Balancing the ease of production and safety of all these etchants, we’ll stick with our Hydrogen Peroxide and HCl etchant for now, at least until we move up to CuCl for the best etching machine we’ve ever seen.

Continue reading “10 Ways To Etch PCBs At Home”

Making Luminol From Household Chemicals

What to make your own chemiluminescent material? Check out this process that uses common household goods to synthesize luminol. You’ll need some lab equipment, and [NurdRage] mentions some precautions to take as luminol is not itself toxic, but some of the fumes and intermediary chemicals found during the process are.

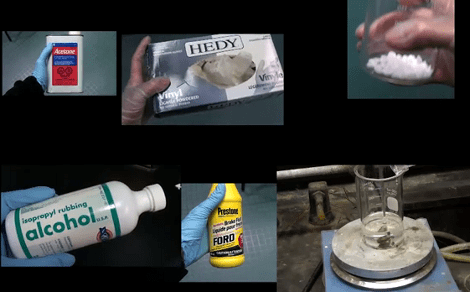
Start by cutting up some vinyl gloves and boiling them with some rubbing alcohol to extract diethyl hexyl phthalate. After filtering, that gets boiled with water and some drain cleaner. The goal here is to continue the process until you have pure phthalic anhydride. Almost done? Not even getting started. This is a very complicated process, but fascinating to watch. After the break you’ll find the full video, or a five-minute abridged version for those that just want a taste of this experiment.

When we looked at the quantum dot manufacturing process a couple of days ago we asked for more chemistry hacks. This is exactly what we were talking about and are thankful that [Rob] sent in the tip. Keep them coming!

Continue reading “Making Luminol From Household Chemicals”