A Dual Screen Luggable With Integrated RTL-SDR

It’s been fascinating to watch the development of bespoke mobile computers go from a few sheets of foam board and a Raspberry Pi into hardware that looks like it’s actually been transported here from an alternate reality. Granted a Raspberry Pi is more often than not still onboard, but the overall design and construction techniques of these very personal computers has improved by leaps and bounds.

The latest of these cyberdecks, a dual screen “luggable” reminiscent of classic computers like the Compaq Portable or Kaypro, comes our way from [dapperrogue]. Powered by the Raspberry Pi 4 and featuring a scratch-built mechanical keyboard to perfectly fit the machines’s specific dimensions, this is easily one of the more practical builds we’ve seen. As visually striking as they may be, few would argue that the small offset display that seems characteristic of most decks are ideal from a usability standpoint.

While the keyboard plate was milled out on a CNC, [dapperrogue] says the design of the HDPE body panels and rear polycarbonate viewing window were simple enough they could be done by hand on a band saw. The PETG internal frame uses a Voronoi pattern that not only reduces the amount of time and material required to print it, but maximizes airflow. The fact that it looks like some kind of alien biological life form only helps the retro-futuristic aesthetics.

There’s still plenty of room inside the enclosure, which is good, as [dapperrogue] says there’s more goodies to come. Adding internal battery power is a logical next step, and now that the Pi 4 can boot to external drives, and SSD is also on the list of future upgrades.

For readers who might be getting a sense of déjà vu from this project, [dapperrogue] notes this design was inspired by the phenomenal Reviiser that [Dave Estes] released earlier this year.

Ham Radio Gets Embedded RTL-SDR

We usually think of the RTL-SDR as a low-cost alternative to a “real” radio, but this incredible project spearheaded by [Rodrigo Freire] shows that the two classes of devices don’t have to be mutually exclusive. After nearly 6 months of work, he’s developed and documented a method to integrate a RTL-SDR Blog V3 receiver directly into the Yaesu FT-991 transceiver.

The professional results of the hack are made possible by the fact that the FT-991 already had USB capability to begin with. More specifically, it had an internal USB hub that allowed multiple internal devices to appear to the computer as a sort of composite device.

Unfortunately, the internal USB hub only supported two devices, so the first order of business for [Rodrigo] was swapping out the original USB2512BI hub IC with a USB2514BI that offered four ports. With the swap complete, he was able to hang the RTL-SDR device right on the new chip’s pins.

Of course, that was only half of the battle. He had a nicely integrated RTL-SDR from an external standpoint, but to actually be useful, the SDR would need to tap into the radio’s signal. To do this, [Rodrigo] designed a custom PCB that pulls the IF signal from the radio, feed it into an amplifier, and ultimately pass it to the SDR. The board uses onboard switches, controlled by the GPIO ports on the RTL-SDR Blog V3, for enabling the tap and preamplifier.

In the video after the break, you can see [Rodrigo] demonstrate his modified FT-991. This actually isn’t the first time somebody has tapped into their Yaesu with a software defined radio, though this is surely the cleanest install we’ve ever seen.

Continue reading “Ham Radio Gets Embedded RTL-SDR”

Remote ADS-B Install Listens In On All The Aircraft Transmissions With RTL-SDR Trio, Phones Home On Cellular

When installing almost any kind of radio gear, the three factors that matter most are the same as in real estate: location, location, location. An unobstructed location at the highest possible elevation gives the antenna the furthest radio horizon as well as the biggest bang for the installation buck. But remote installations create problems, too, particularly with maintenance, which can be a chore.

So when [tsimota] got a chance to relocate one of his Automatic Dependent Surveillance-Broadcast (ADS-B) receivers to a remote site, he made sure the remote gear was as bulletproof as possible. In a detailed write up with a ton of pictures, [tsimota] shows the impressive amount of effort he put into the build.

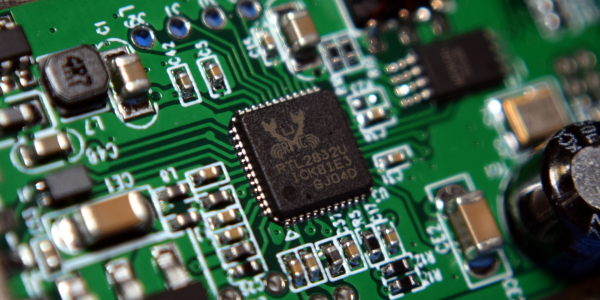
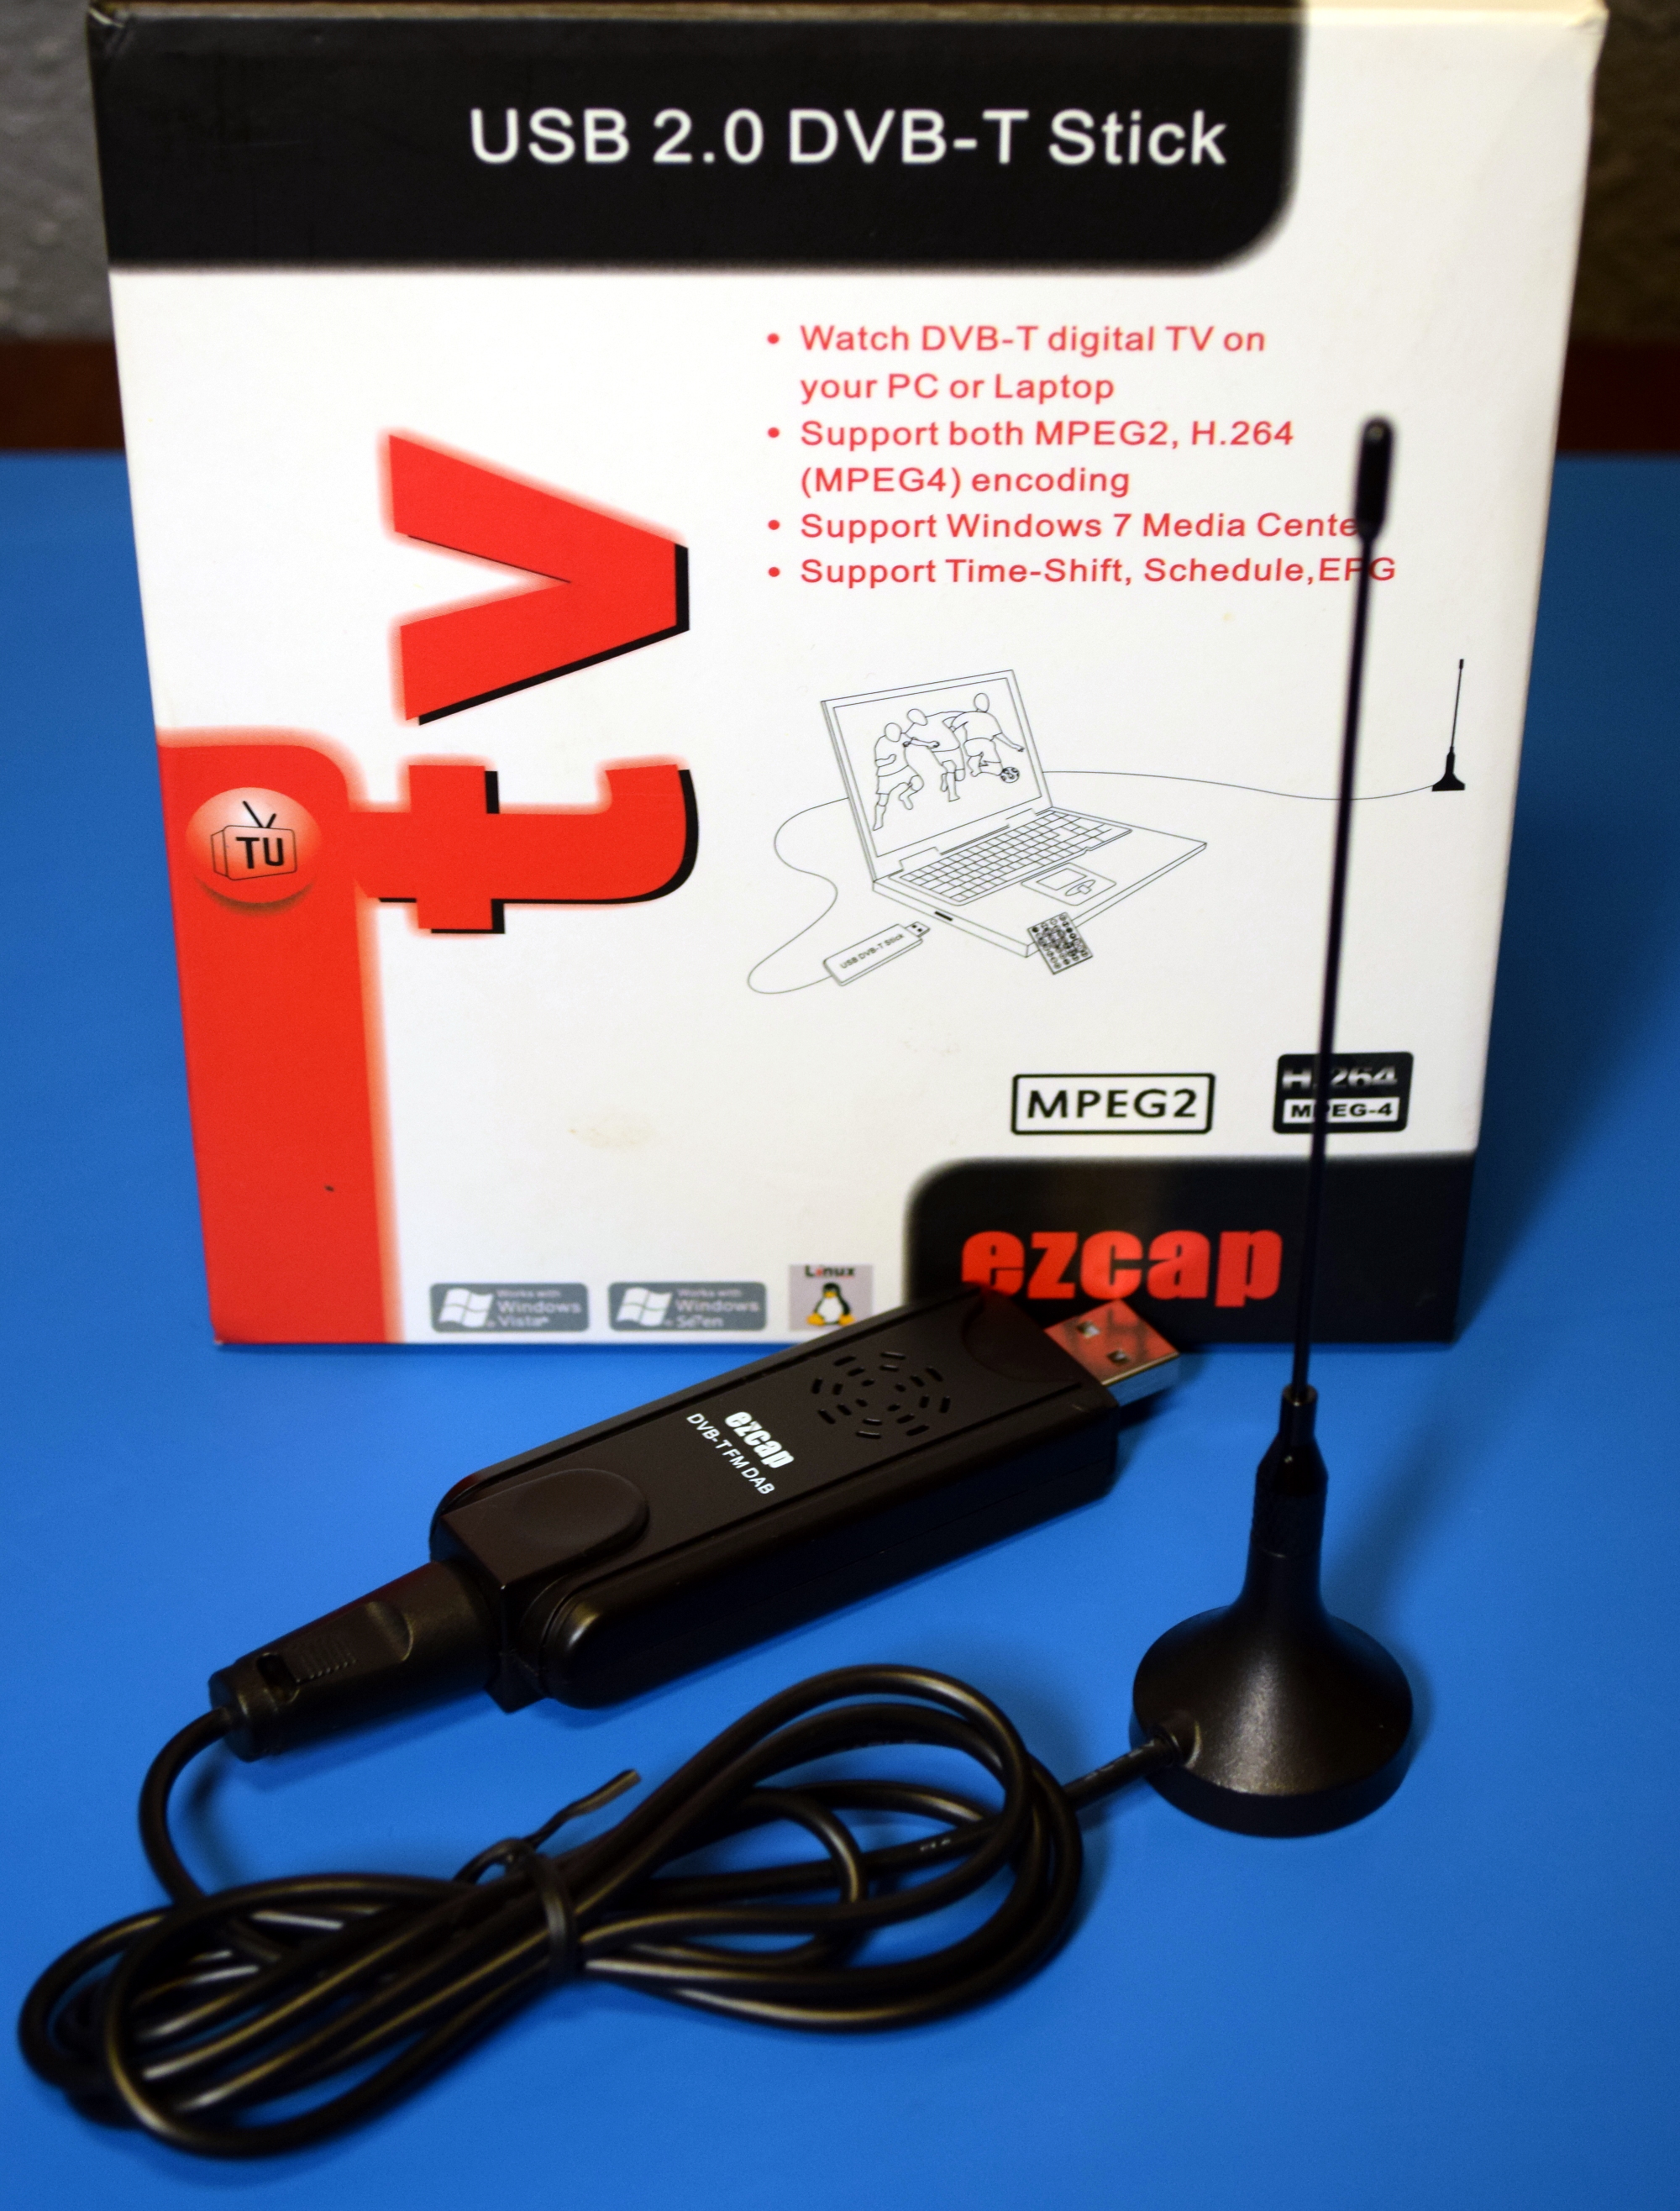
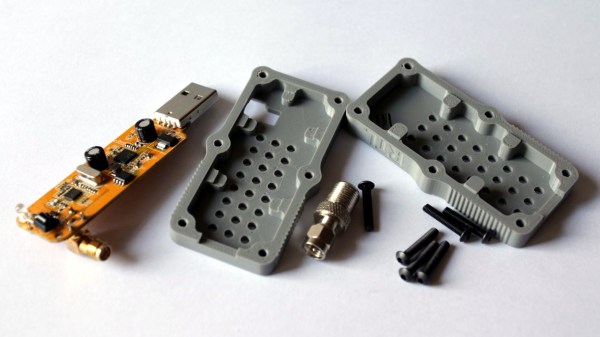
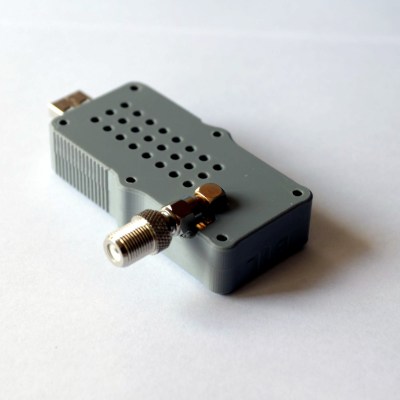
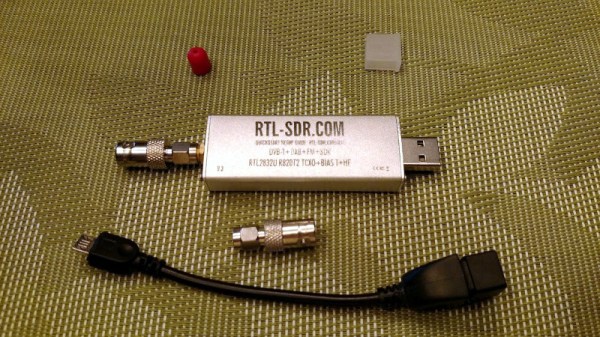
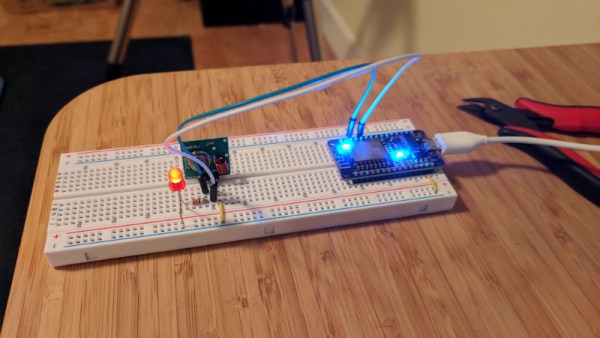
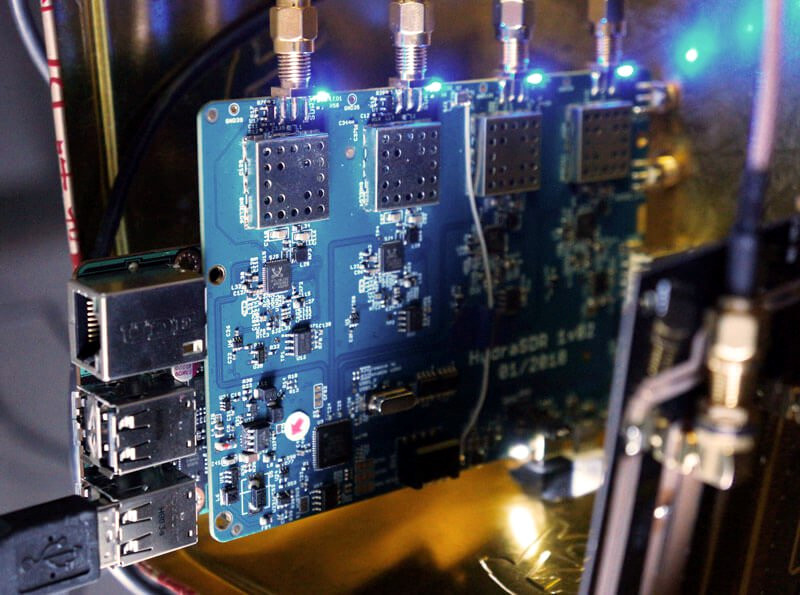
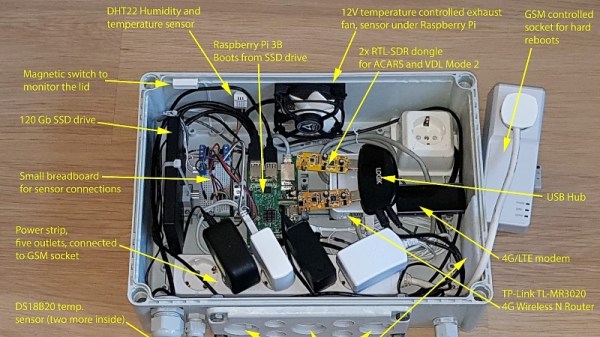
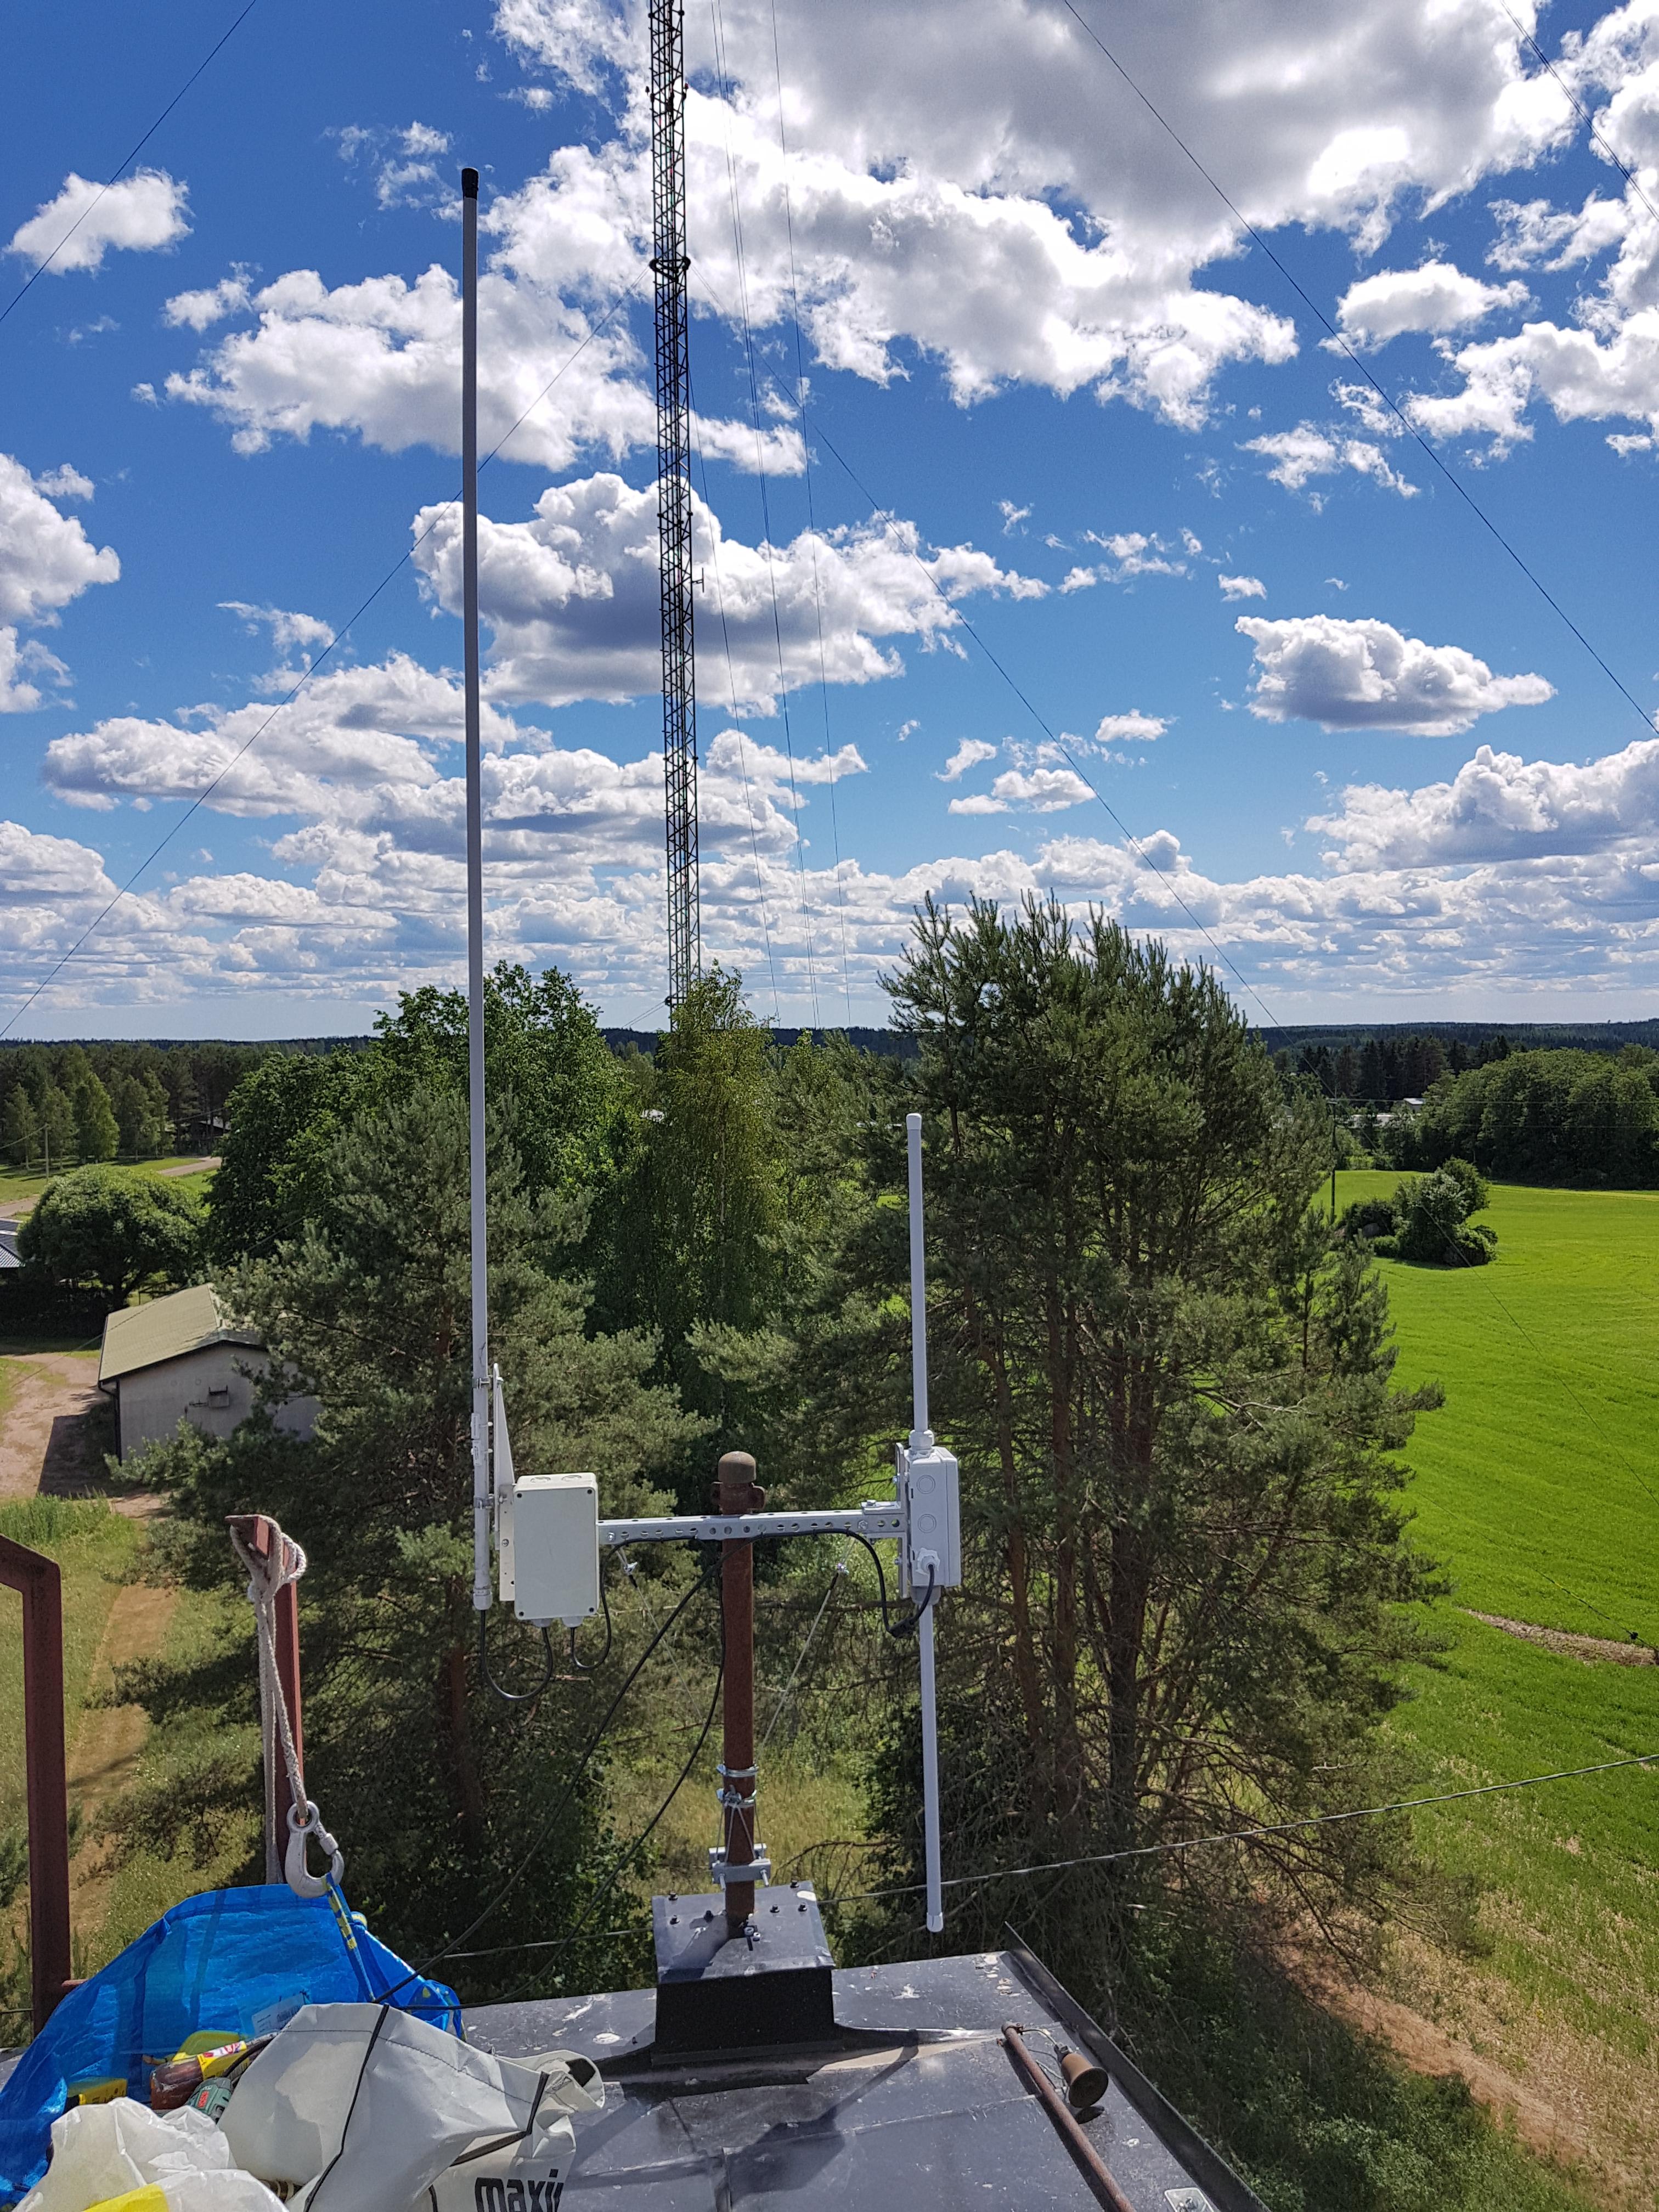
The system has a Raspberry Pi 3 with solid-state drive running the ADS-B software, a powered USB hub for three separate RTL-SDR dongles for various aircraft monitoring channels, a remote FlightAware dongle to monitor ADS-B, and both internal and external temperature sensors. Everything is snuggled into a weatherproof case that has filtered ventilation fans to keep things cool, and even sports a magnetic reed tamper switch to let him know if the box is opened. An LTE modem pipes the data back to the Inter, a GSM-controlled outlet allows remote reboots, and a UPS keeps the whole thing running if the power blips atop the 15-m building the system now lives on.

Nobody appreciates a quality remote installation as much as we do, and this is a great example of doing it right. Our only quibble would be the use of a breadboard for the sensors, but in a low-vibration location, it should work fine. If you’ve got the itch to build an ADS-B ground station but don’t want to jump in with both feet quite yet, this beginner’s guide from a few years back is a great place to start.

Hackaday Podcast 030: Seven Years Of RTL-SDR, 3D Printing Optimized For The Eye, Sega Audiophile, Swimming In Brighteners

Hackaday Editors Mike Szczys and Elliot Williams curate the awesome hacks from the past week. On this episode, we marvel about the legacy RTL-SDR has had on the software-defined radio scene, turn a critical ear to 16-bit console audio hardware, watch generative algorithms make 3D prints beautiful, and discover why printer paper is so very, very bright white.

Take a look at the links below if you want to follow along, and as always tell us what you think about this episode in the comments!

Take a look at the links below if you want to follow along, and as always, tell us what you think about this episode in the comments!

Direct download (60 MB or so.)

Continue reading “Hackaday Podcast 030: Seven Years Of RTL-SDR, 3D Printing Optimized For The Eye, Sega Audiophile, Swimming In Brighteners”

RTL-SDR: Seven Years Later

Before swearing my fealty to the Jolly Wrencher, I wrote for several other sites, creating more or less the same sort of content I do now. In fact, the topical overlap was enough that occasionally those articles would get picked up here on Hackaday. One of those articles, which graced the pages of this site a little more than seven years ago, was Getting Started with RTL-SDR. The original linked article has long since disappeared, and the site it was hosted on is now apparently dedicated to Nintendo games, but you can probably get the gist of what it was about from the title alone.

An “Old School” RTL-SDR Receiver

When I wrote that article in 2012, the RTL-SDR project and its community were still in their infancy. It took some real digging to find out which TV tuners based on the Realtek RTL2832U were supported, what adapters you needed to connect more capable antennas, and how to compile all the software necessary to get them listening outside of their advertised frequency range. It wasn’t exactly the most user-friendly experience, and when it was all said and done, you were left largely to your own devices. If you didn’t know how to create your own receivers in GNU Radio, there wasn’t a whole lot you could do other than eavesdrop on hams or tune into local FM broadcasts.

Nearly a decade later, things have changed dramatically. The RTL-SDR hardware and software has itself improved enormously, but perhaps more importantly, the success of the project has kicked off something of a revolution in the software defined radio (SDR) world. Prior to 2012, SDRs were certainly not unobtainable, but they were considerably more expensive. Back then, the most comparable device on the market would have been the FUNcube dongle, a nearly $200 USD receiver that was actually designed for receiving data from CubeSats. Anything cheaper than that was likely to be a kit, and often operated within a narrower range of frequencies.

Today, we would argue that an RTL-SDR receiver is a must-have tool. For the cost of a cheap set of screwdrivers, you can gain access to a world that not so long ago would have been all but hidden to the amateur hacker. Let’s take a closer look at a few obvious ways that everyone’s favorite low-cost SDR has helped free the RF hacking genie from its bottle in the last few years.

Continue reading “RTL-SDR: Seven Years Later”

Lessons Learned From A 1-Day RTL-SDR Enclosure Project

[ByTechLab] needed an enclosure for his R820T2 based RTL-SDR, which sports an SMA connector. Resolving to design and 3D print one in less than a day, he learned a few things about practical design for 3D printing and shared them online along with his CAD files.

The RTL-SDR is a family of economical software defined radio receivers, and [ByTechLab]’s’ enclosure (CAD files available on GrabCAD and STL on Thingiverse) is specific to his model. However, the lessons he learned are applicable to enclosure design in general, and a few of them specifically apply to 3D printing.

He started by making a basic model of the PCB and being sure to include all large components. With that, he could model the right voids inside the enclosure to ensure a minimum of wasted space. The PCB lacks any sort of mounting holes, so the model was also useful to choose where to place some tabs to hold the PCB in place. That took care of the enclosure design, but it also pays to be mindful of the manufacturing method so as to play to its strengths. For FDM 3D printing, that means most curved shapes and rounded edges are trivial. It also means that the biggest favor you can do yourself is to design parts so that they can be printed in a stable orientation without any supports.

This may be nothing that an experienced 3D printer and modeler doesn’t already know, but everyone is a novice at some point and learning from others’ experiences can be a real timesaver. For the more experienced, we covered a somewhat more in-depth guide to practical 3D printed enclosure design.

[ByTechLab]’s desire for a custom enclosure was partly because RTL-SDR devices come in many shapes and sizes, as you can see in this review of 19 different units (of which only 14 actually worked.)

All The Goodies You Need For Your RTL-SDR

When the RTL2832-based USB digital TV sticks were revealed to have hidden capabilities that made the  an exceptionally cheap software-defined radio receiver, it was nothing short of a game-changing moment for the home radio experimenter. The RTL might not be the best radio available, but remains a pretty good deal for only $10 from your favourite online supplier.

Having bought your RTL SDR, you will soon find yourself needing a few accessories. A decent antenna perhaps, an HF upconverter, and maybe an attenuator. To help you, [IgrikXD] has come up with a repository containing open-source implementations of all those projects and more. There’s an HF upconverter handily in both SMD and through-hole versions, as well as a wideband active antenna. A resonant antenna for a single band will always out-perfom a wideband device if your interest lies on only one frequency, but when your receiver has such a wide range as that of the RTL it’s irresistible to look further afield so the wideband antenna is a useful choice.

The RTL SDR is a device that just keeps on giving, and has featured innumerable times here since since its first appearance a few years ago. Whether you are into passive radar or using it to decode data from RF-equipped devices it’s the unit of choice, though we rather like it as a piece of inexpensive test equipment.

Via Hacker News.

Header image: Joeceads [CC BY-SA 4.0].