Build Your Own Metal Detector

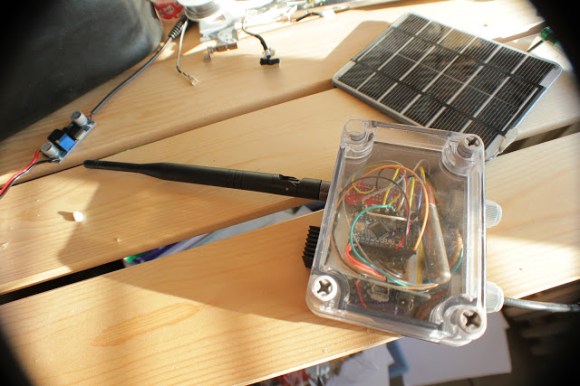
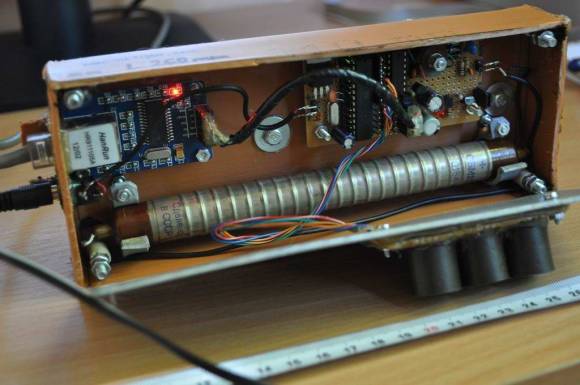
[Dzl] and his rather serious looking son are metal detector enthusiasts. But when they couldn’t find their store-bought metal detector earlier this summer they just went ahead and built their own. [Dzl] starts his write up with an explanation of how most oscillator based metal detectors work. This one differs by using an Arduino to read from the metal detecting coil.

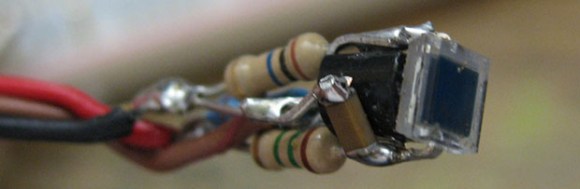
The circuit starts with an oscillator that produces a signal of about 160 kHz which is constantly measured by the Arduino. When metal enters the coil it alters the frequency, which is immediately picked up the Arduino. Instead of that characteristic rising tone this rig uses a Piezo buzzer, issuing the type of clicks you’d normally associate with a Geiger counter.

The last part of the build was to find the best coil orientation. They settled on thirty turns around a metal bucket. An old Ikea lamp is the perfect form factor to host their hardware which seems to work like a charm.

A Very Tiny Gamma Ray Detector

gamma

When you think of a radiation detector, you’re probably thinking of a Geiger tube and its high voltage circuitry. That isn’t the only way to measure gamma radiation, though, and [Alan] has a great circuit to measure even relatively weak radiation sources. It uses a very small photodiode, and draws so little power it’s perfect for projects with the smallest power budgets.

The detector circuit uses a miniature solar cell and a JFET wired up in a small brass tube to block most of the light and to offer some EM shielding. This, in turn, is attached to a small amplifier circuit with a LED, Piezo clicker, and in [Alan]’s case a small counter module. The photodiode is actually sensitive enough to detect the small amounts of gamma radiation produced from a smoke alarm americium source, and also registers [Alan]’s other more powerful radioactive sources.

The circuit only draws about 1mA, but [Alan] says he can probably get that down to a few micoAmps. A perfect radiation sensor for lightweight and low power applications, and gives us the inspiration to put a high altitude balloon project together.

Solar Powered Wifi Radiation Sensor

Solar Radiation Detector

[Manish] packed lots of functionality into this radiation sensor module. The device is completely solar powered and weatherproof, so it can be mounted anywhere. It uses a Geiger Muller tube to monitor radiation and connects to the internet using wifi network to report the readings.

The design uses an Arduino Pro Mini to perform the monitoring and reporting. Wifi connectivity is provided by a RN-XV wifi module. A solar panel, Adafruit’s solar charger, and a LiPo battery are used to provide power to the device. It’s enclosed in Adafruit’s IP-66 rated weatherproof enclosure.

A custom Geiger Muller tube interface is used to interface with the tube. The interface is simple and cheap. It provides the high voltage required to drive the tube, and circuitry needed to detect the ionization events.

Once the device is connected to the internet, it uploads data directly to Cosm. This service lets the data be shared using Twitter, or accessed using an API. The project shows how to build a wireless networked sensor that directly connects to the internet for about $100.

Online Radiation Monitoring Station

geiger-counter-build

This is a Geiger counter which charts its readings on a webpage. [Radu Motisan] put a lot of time into the build and it shows. This thing is packed with features and the hardware choices were the best combinations found through several iterations of development.

In addition to radiation levels the sensor unit takes several other measurements. These include temperature, humidity, luminosity, and barometric pressure. All of the sensor data is monitored and gathered by an ATmega168 which can be charted on a webpage with the help of an ENC28J60 Ethernet chip. The collection and display of this data is detailed at the post linked above.

For those interested in the hardware development, [Radu] published many updates along the way. These are available in his forums posts, as well as his build log. He doesn’t have any videos of his recent work, but way back in May he did publish a clip (found after the break) which shows the testing of different Geiger tubes.

Continue reading “Online Radiation Monitoring Station”

Large Area X-ray Detector

This is an x-ray detector built by [Ben Krasnow]. It’s an interesting combination of parts working with an oscilloscope. The result is an audible clicking much the same as you would hear from a Geiger counter

He’s measuring backscatter, which is the reflection of x-rays on other objects. Because the signal will be quite weak compared to waves emitted directly from an x-ray source he needed a large collector to measure them. He started by gutting an x-ray image intensifying cassette. This has a phosphor layer that glows when excited by x-rays. The idea is that the glowing phosphors do a better job of exposing film than direct x-rays can. But [Ben’s] not using film. He built that pyramid-shaped collector with the phosphor material as the base. At the apex of the pyramid he mounted a photomultiplier tube (repurposed from his scanning electron microscope) which can detect the excited points on its surface. His oscilloscope monitors the PMT, then issues a voltage spike on the calibration connector which is being fed to an audio amplifier. Don’t miss his presentation embedded after the break.

[Ben] mentions that this build is in preparation for a future project. We’d love to hear what you think he’s working on. Leave your guess in the comments section.

Continue reading “Large Area X-ray Detector”

Red-bullet: Cooking Stove From Cans, Fueled By Gas Additive

A couple of beverage containers and a little bit of fuel additive bring together this aluminum can stove project. When lit it shoots flames out each of those holes around the top to heat the vessel resting upon it. [Peter Geiger] calls it the Red-Bullet because one of the stove pieces started as a Red Bull can and the other piece was a Coors (aka silver bullet).

This is basically an alcohol stove. We remember seeing a very well designed version of the penny stove several years back. This is different as it uses a side burner so the stove itself functions as the kettle stand. [Peter] started by cutting the Red Bull can just a bit taller than the final height. He then inserted the top portion of one of those aluminum beer cans that are shaped like glass bottles. The neck was lopped off and inverted. It is joined with the other can base using JB weld and by rolling the aluminum in on itself. After that has dried the holes are added and it’s filled with HEET from a yellow bottle. This gasoline additive is meant to sequester water and keep your gas line from freezing. The yellow bottle is mainly alcohol, the red is methanol so make sure you use the right one!

Generating Truly Random Sequences

Your brain can’t generate random numbers, and computers can’t either. Most of the ‘random’ numbers we come across in our lives are actually pseudorandom numbers; random enough for their purpose, but ordered enough to throw statistical analyses for a loop. [Giorgio] thought generating random sequences would make for an excellent project, so he whipped up a random sequence generator out of a few Opamps, resistors, and a handful of caps.

[Giorgio] used a Chua Circuit – a circuit that models nonlinear equations – to create a chaotic system. When pairs of points from these systems of equations are plotted on a graph, a fabulous and chaotic ‘double scroll’ pattern (seen above) can be found. After taking oscilloscope probes to different points on his Chua circuit, [Giorgio] watched chaos magically appear on his ‘oscope screen.

The double scroll pattern isn’t exactly random, but since the Z signal of his circuit chaotically varies between positive and negative, the only thing needed to create a random sequence of 1s and 0s is sending the Z signal through a comparator.

After calibrating and sampling his circuit [Giorgio] captured thousands of samples at a rate of 5 samples per second. From a cursory glance, it looks like [Giorgio]’s circuit is at least as good as flipping a coin, but proper tests for randomness require many more samples.

A very, very cool piece of work that is much, much more elegant than getting random bits from a Geiger counter.