Everyone loves a big screen TV. Back in the old days, anything over 27 ” was considered big. These days if you’re not sporting at least 50″, you’ll end up with display envy. One thing hasn’t changed though, those who want to go really, really big get into projectors. Hacking and projectors seem to go hand in hand. Anyone else remember those old DIY projection setups where the user would put their TV in a box upside down? This week’s Hacklet is all about projector hacks!
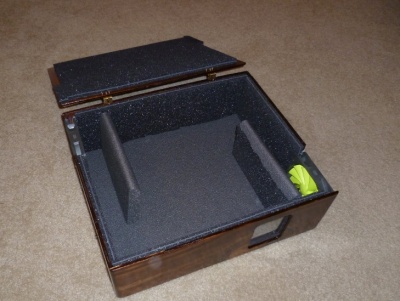 We start with [Chaz] with Projector Hush Box . [Chaz] had a good projector, but still found himself with a problem. Projectors generate a lot of heat, which is dissipated via a fan. For whatever reason, projector companies seem to pick the loudest fans available. [Chaz’s] solution is to put the projector inside a box. Done right, this makes for a quiet projector. Done wrong, it makes an oven. [Chaz] projector hasn’t caught fire yet, so we think he did it right. Two quiet and efficient PC fans direct air through the box, and around baffles which keep the noise down. An anti-reflective coated glass window lets the light out but keeps the noise in. Sound deadening foam helps cut the sound down even further.
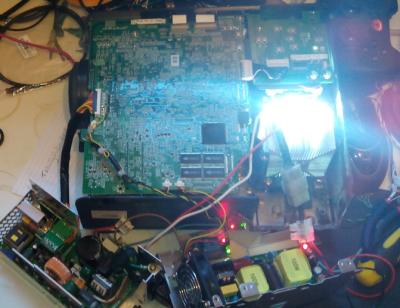 Next up is [ric866] with 100w LED projector conversion. The killer with projectors these days are the bulbs. In some cases it’s more cost-effective to buy a new projector than to replace the bulb in an aging one. That’s how [ric866] ended up with a pair of old NEC projectors – one with a working bulb, and one without. Bulbs for this model aren’t cheap at £100. [ric866] found a cheap replacement in a 100 Watt LED. The LED in question only cost £8.99 from everyone’s favorite auction site. LEDs may be efficient, but anyone who’s played with powerful LEDs can tell you they still get hot. [ric866] had to cut up the projector’s case a bit to fit in a heat sink and fan. He also had to spend some time bypassing the various case interlock switches. The final products color calibration looks to be a bit off, but not too shabby for a quick mod!
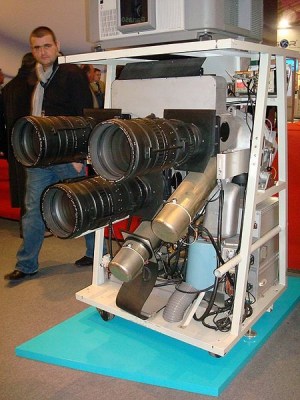
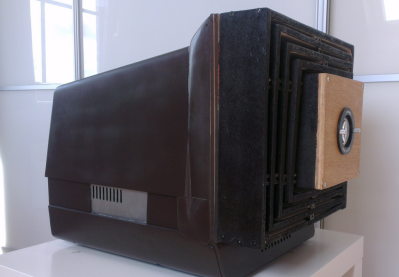 [Tom_VdE] is serious about recycling. He isn’t one to let an old laptop go to waste when it can be turned into a projector! Remember the “TV in a box” kit we mentioned up in the title? This is the modern version of that same idea. [Tom] tore down the laptop’s LCD and placed it in a CRT monitor case with the appropriate lenses. A setup like this needs length, and focus adjustments. [Tom] managed all that by building a collapsible baffle out of plywood. A build like this needs a lot of light, so [Tom] is using a 100 Watt LED (or two). A water cooling system will keep the LED’s from melting down. [Tom] is still in the prototype phase, but we can’t wait to see his first movie night with this upcycled laptop.
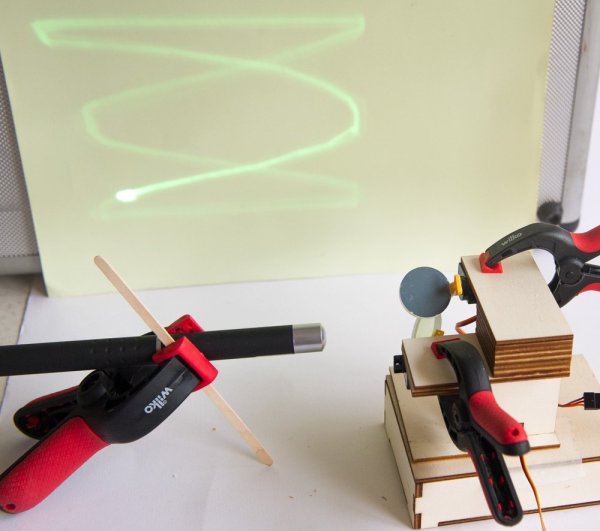
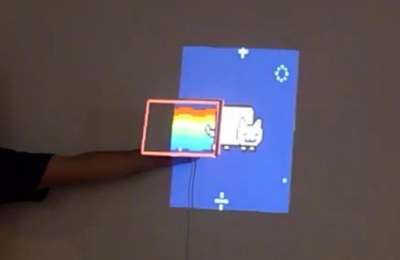 Finally, we have [Alex] who built Automatic projector calibration, project #161 on Hackaday.io. [Alex] took his inspiration from [Johnny Chung Lee] to build a system which can map a projector to any angle, size, or position. The secret is phototransistors embedded in the corners of a rectangular piece of foamboard. An Arduino reads the phototransistors while the projector runs a calibration routine. [Alex] switched over to a scanning line from [Johnny’s] original binary pattern. The scan isn’t quite as fast as the binary, but it sure looks cool. Once the positions of the sensors are known, it’s just a matter of mapping the entire screen to a smaller piece of real estate. Toss in a few neat transitions, and you’ve got an awesome demo.
If you want to see more projector projects, check out our new projector project list! If I missed your project, don’t be shy, just drop me a message on Hackaday.io. That’s it for this week’s Hacklet. As always, see you next week. Same hack time, same hack channel, bringing you the best of Hackaday.io!


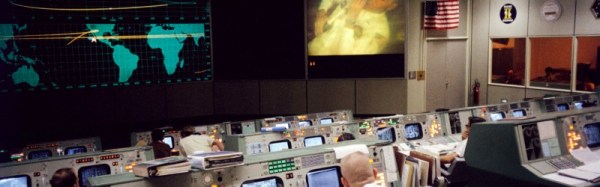
 LCD technology was invented in the 1970s, while DLP was invented at the end of the 1980s. So how did the video projectors that were such a staple of televised spectaculars in the preceding decades work? For that matter, how did NASA project their status displays on the huge screen at Mission Control? Certainly not with CRT technology, even the brightest CRT projectors weren’t up to filling a cinema-sized screen.