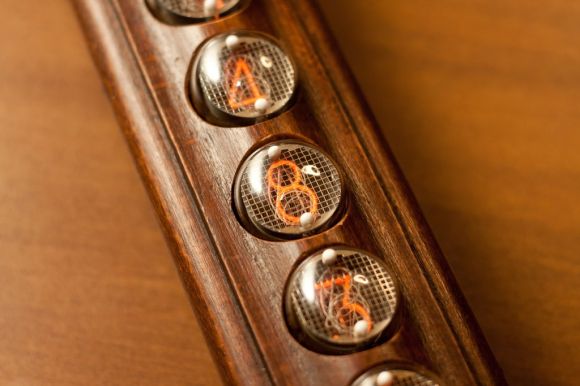
There’s no shortage of Nixie-related projects online, but this vertical wall clock is a solid build and looks pretty sleek. [andreas] actually sourced the wood from an old handrail, into which he drilled six holes for the tubes with 30mm bits, then treated it with some woodworm poison after noticing holes his drill wasn’t responsible for.
The schematic is what you’d expect for a Nixie clock, designed with 123D circuits. [andreas] provides both top and bottom layers in a high-res PDF if you’d prefer to etch your own boards at home rather than order a PCB from the man. He took the finished board and soldered all the components in place, using tape to prevent some short circuit possibilities and mounting the result onto a pair of black plastic rails. The entire assembly mounts to the wooden case and is rounded off with glued-on end caps and a back cover. As always, be aware of the danger presented by the high voltage requirements of Nixie Tubes, and don’t go licking the components.


Nice project, i wonder how would it look with dekatron’s instead of numbers.
That’s a nice build. Wonder why he chose to go vertical though, in my mind horizontal would read better.
Neat!
Yeah, I would too have made a horizontal setup, but, if we all made the same things, then the world would be a bit boring, wouldn’t it?
AND, it doesn’t look that odd, I would gladly put it in my wall if someone made it for me.
guys, I’m happy you like my project :)
my first clock was actually horizontal!
(http://www.instructables.com/id/simple-user-adjustable-DIY-Nixie-Clock/)
Vertical because that’s the space requirement.
A vertical clock would certainly make for a nice looking, and very stand out wall hanger!